
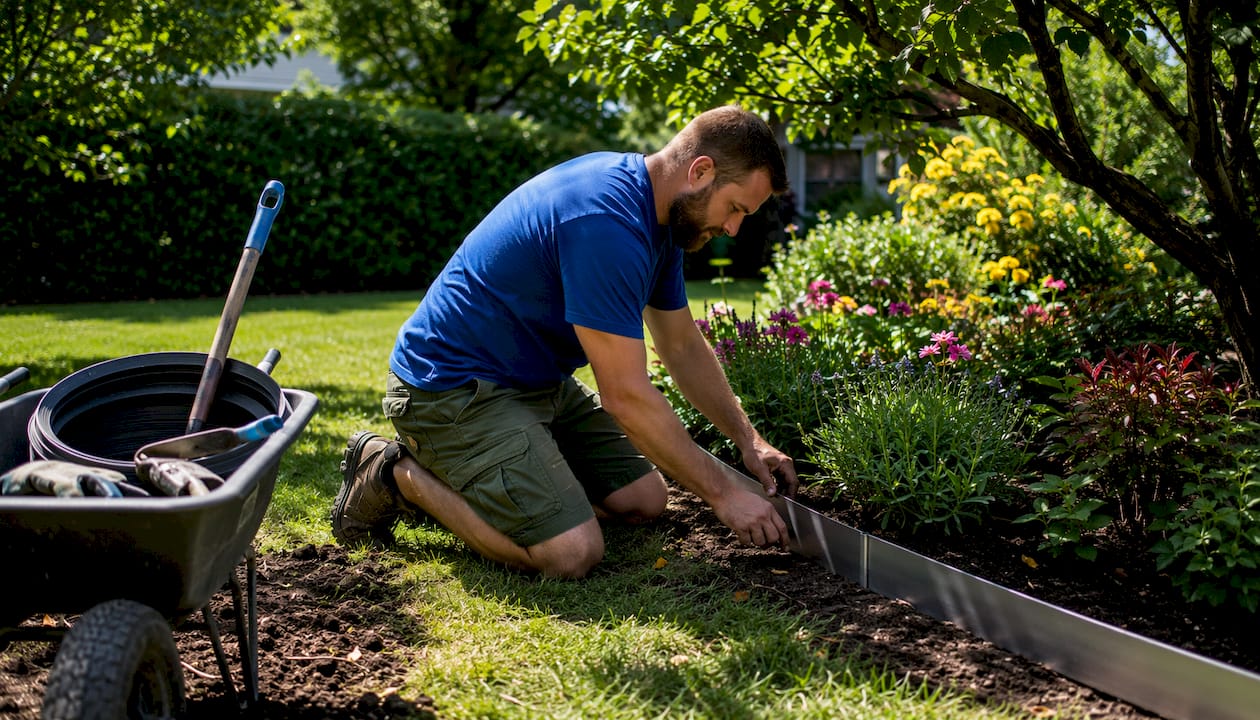
Landscape edging is a physical or visual boundary that separates outdoor zones such as lawn, garden beds, walkways, and patios. It keeps grass from creeping into beds, holds mulch and gravel in place, and gives your mower a clean line to follow. Done well, it also sharpens your yard’s overall appearance without demanding much ongoing effort.
Here is what edging does for your property:
- Stops turfgrass from invading garden beds and shrub areas
- Contains loose materials like mulch, gravel, and soil during heavy rain
- Defines walkways and creates clear transitions between surfaces
- Gives mowers and trimmers a reliable border to follow
- Adds a crisp, well-maintained look that improves curb appeal
Steel edging stands out as the top material choice in 2026, with a lifespan exceeding 20 years and a nearly invisible profile when installed flush with the soil.
What types of landscape edging materials should you consider?
Choosing the right material comes down to your garden’s style, your budget, and how much upkeep you want to take on. Each type has a distinct look, a different price point, and specific strengths.
Natural (trench) edging
Natural edging requires no purchased material at all. You cut a clean trench between the lawn and the bed using a flat spade or rotary edger. The result is an organic, flowing line that suits informal gardens well. The only cost is your time, and you will need to re-cut it once or twice per growing season.
Plastic and rubber edging
Plastic edging is the most budget-friendly option and comes in rolls up to 100 feet long. Basic versions install with landscape spikes and require no digging. Rubber edging, often made from recycled materials, is more flexible and handles curves around trees and flower beds with ease. Both materials can crack or heave in freeze-thaw climates over time.
- Plastic: lowest cost, simple spike installation, less durable long-term
- Rubber: flexible, eco-friendly, handles curves well, resists cracking
Metal edging: steel and aluminum
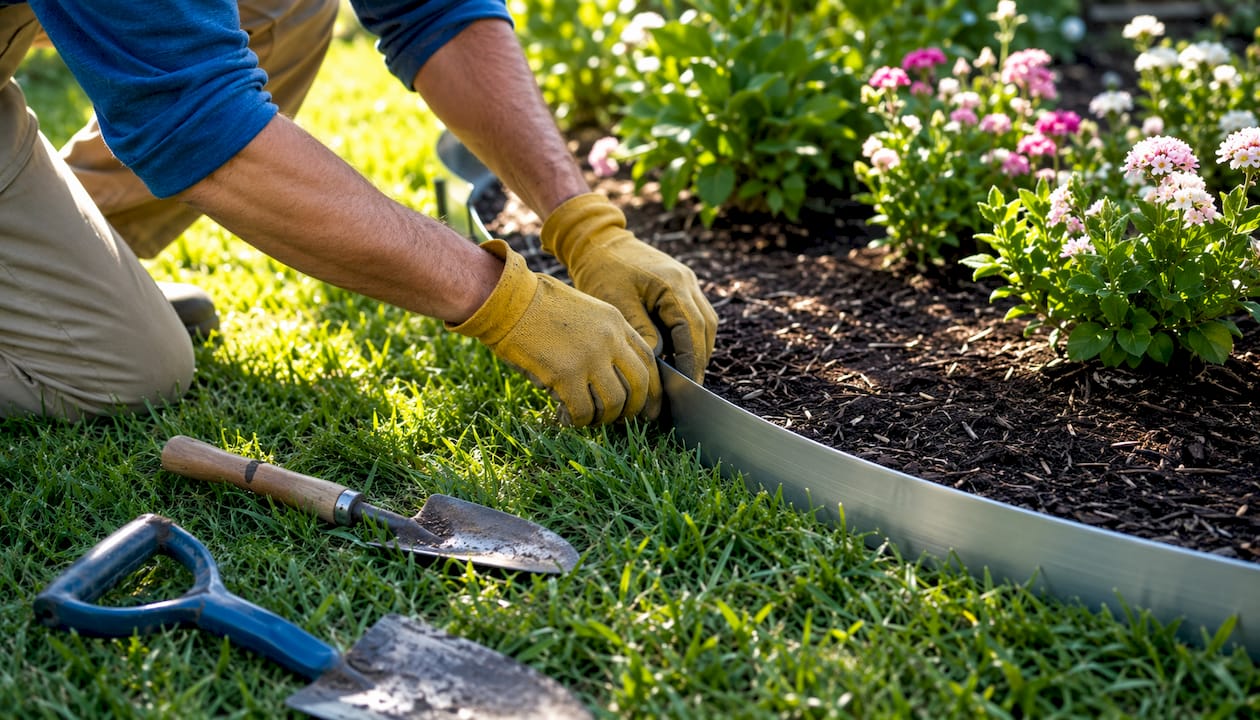
Steel edging offers flexibility for complex curves, minimal visibility, and outstanding durability that landscape professionals consistently prefer over plastic. Aluminum shares many of steel’s qualities at a lighter weight and is easier to bend by hand, making it a practical choice for DIY curved borders. Both create the clean, modern lines that suit formal garden designs.
Wood edging
Cedar, redwood, and pressure-treated lumber all deliver a warm, rustic look that fits naturalistic or cottage-style gardens. Landscaping timbers and railroad ties work well for straight edges and raised beds. Wood will eventually rot, though cedar and redwood resist decay longer than standard lumber. A wood edge installed flush with the ground eliminates the need for hand trimming along the border.
Brick, stone, and concrete edging
Brick and pavers are among the best options for balancing cost, durability, and style. They accommodate curves and grade changes better than wood, and when set flush with the lawn they create a built-in mowing strip. Natural stone, including fieldstone and flagstone, gives an informal, organic feel. Concrete curbing offers a permanent, low-maintenance solution that handles vehicle weight along driveways. These materials pair naturally with existing hardscape services like patios and walkways, creating a unified look across your property.
How do you choose the best edging for your garden?
The right edging balances your garden’s style, your local climate, and the amount of maintenance you are willing to commit to. Picking a material based on appearance alone is a common mistake. Smart choices balance landscape harmony, cost, and long-term maintenance demands.
Use these criteria to guide your decision:
- Garden style: Formal beds call for steel, brick, or concrete. Informal or cottage gardens suit natural stone, wood, or trench edging.
- Climate: In New Hampshire and other cold-weather states, avoid materials that crack under freeze-thaw cycles. Concrete and rubber handle temperature swings better than standard plastic.
- Soil type: Flexible metal or plastic installs easily in sandy or loamy soil. Stone and concrete work better in hard-packed clay.
- Budget: Plastic and natural trench edging cost the least upfront. Steel and brick cost more initially but reduce replacement and repair expenses over time.
- Maintenance capacity: A flush-installed mowing strip in brick or steel cuts your trimming work significantly. Raised wood edges require more frequent hand trimming.
- Local regulations: Check your HOA covenants before purchasing, as some communities restrict edging materials or heights.
Pro Tip: Choose edging that reduces your total maintenance load, not just one that looks good on installation day. A material that saves you 30 minutes of trimming every two weeks pays for itself quickly.
Edging that complements your existing patio, walkway, or retaining wall materials creates a cohesive look, and choosing the right pergola roof options can further enhance your garden’s design. If you are planning a larger yard design project, select your edging material at the same time as your other hardscape finishes.
How to install landscape edging step by step
Most homeowners can install edging in a single afternoon with basic tools. The key is preparation and correct depth.
- Clear the border area. Remove grass, weeds, and debris along the planned edge line. Use a garden hose or spray paint to mark your desired border before you cut anything.
- Dig the trench. For natural edging, cut a trench 4–6 inches deep and wide, angling the wall slightly toward the garden bed. This angle prevents grass roots from crossing underneath. There is no strict “3-inch rule” despite what many guides suggest.
- Set the material. For plastic edging, press the bottom lip into the trench and secure with landscape spikes every 12–18 inches. For steel, use a spade or trenching tool to achieve full depth, then backfill firmly. Brick and stone require a leveled base of compacted gravel or sand before placement.
- Check level and alignment. Use a string line or level to confirm the edging sits flush or just above grade. Edging that sits too high creates a trip hazard and catches mower blades.
- Backfill and compact. Press soil firmly against both sides of the edging to lock it in place. Loose backfill leads to shifting and heaving over the first season.
- Avoid common mistakes. Do not install edging too shallow. Metal edging requires full-depth installation to block invasive grass roots. Shallow plastic kits often fail within a season or two in aggressive turf.
Pro Tip: Use the mowing strip technique by setting edging flush with the lawn surface so your mower wheels can roll directly over it. This eliminates the need for a string trimmer along that border entirely.
Proper installation protects your investment and keeps the border looking sharp season after season. If you want professional results without the guesswork, Divinelandscapingllc installs edging as part of full landscape maintenance and hardscape projects across New Hampshire. Request a quote to get started.
Key Takeaways
Steel edging installed flush with the soil delivers the best combination of durability, low maintenance, and clean appearance for most homeowners in 2026.
| Point | Details |
|---|---|
| Edging defines boundaries | It separates lawn, beds, and paths while containing mulch, gravel, and soil. |
| Steel lasts longest | Steel edging exceeds a 20-year lifespan and stays nearly invisible when set flush. |
| Depth matters at installation | Trench edging 4–6 inches deep blocks grass roots from crossing underneath. |
| Match material to garden style | Formal beds suit steel or brick; informal gardens work well with stone or natural trench edging. |
| Mowing strip saves labor | Flush-installed edging lets mower wheels roll over it, eliminating string trimmer work along that border. |