
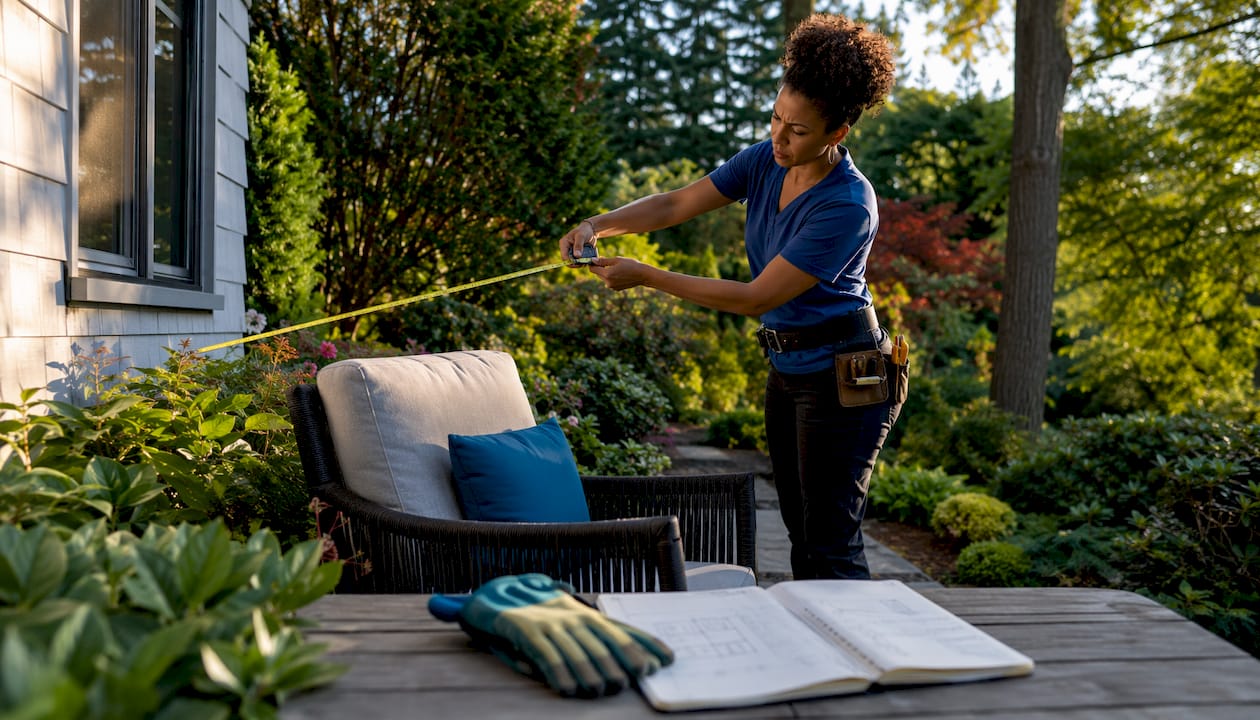
Privacy screening landscaping is the deliberate use of plants, structures, and topography to block specific sightlines and create comfortable, usable outdoor rooms. It differs from simply installing a fence because it is design-forward, sightline-focused, and layered — combining living elements with structural ones to balance seclusion and openness.
The three main approaches homeowners use:
- Living screens: evergreen trees, mixed hedges, and ornamental grasses planted to intercept unwanted views over time
- Structural screens: cedar slats, lattice panels, aluminum louvered systems, and pergolas that deliver privacy immediately
- Hybrid solutions: a fence or panel combined with climbing plants or raised planters that soften the structure and add seasonal interest
Table of Contents
- What privacy screening landscaping actually means
- The main types and materials used for privacy screening
- Benefits and real limitations you should weigh
- How to diagnose your privacy need before buying anything
- Design basics: layering, spacing, and wind considerations
- Plant recommendations for U.S. yards by purpose and climate
- U.S. zoning, HOA rules, and permit tips
- Realistic costs and timelines for privacy screen projects
- How to maintain your privacy screen and avoid common problems
- How a typical privacy project gets diagnosed and resolved
- DIY vs. hiring a pro: how to decide and what to ask
- Key Takeaways
- The case for measuring before you plant
- Divinelandscapingllc can help you get the privacy you want
- Useful sources and further reading
What privacy screening landscaping actually means
The phrase “privacy screening landscaping” covers a specific design discipline: shaping your yard so that neighbors, passersby, and elevated views cannot see into the spaces where you spend time. That is a narrower goal than general landscaping, and it requires a different diagnostic process.
Privacy screening operates across three dimensions. Visual sightlines are the most obvious — blocking a neighbor’s window or a street view from your patio. Sound is the second dimension: dense, layered plantings can filter wind and reduce some noise, though sound reduction requires substantial mass and depth and plants alone rarely eliminate it. Overhead privacy is the third, often overlooked dimension — a second-story window or elevated deck next door can see straight down into your yard even when a 6-foot fence is in place.
A common confusion is treating a privacy screen, a fence, and a shade structure as interchangeable. A fence defines a property boundary. A shade structure manages sun. A privacy screen targets a specific sightline from a specific vantage point. Sometimes one element does all three jobs; often you need two or three working together.
Pro Tip: Measure your privacy need from the “use surface” — the actual seat height of your patio chair or the height you stand at while cooking outdoors. A screen that clears the soil line by 6 feet may still leave you fully visible when seated at 3 feet. Measuring from the use surface rather than the ground is the single most important diagnostic step.
The main types and materials used for privacy screening
Your palette of options falls into three broad categories: living screens, structural screens, and hybrid combinations. Each has a different cost profile, timeline, and maintenance requirement.
Living screens are plants chosen and placed to intercept sightlines:
- Arborvitae (Thuja occidentalis): the most widely used evergreen screen in U.S. yards, reaching 10–15 feet at maturity with a narrow columnar form. Space ‘Green Giant’ varieties 5–6 feet apart for a dense hedge.
- American holly (Ilex opaca): a native evergreen with year-round coverage and wildlife value; slower growing but extremely durable across USDA zones 5–9.
- Yew (Taxus spp.): dense, shade-tolerant, and easily shaped; a reliable mid-height screen for shadier yards, though toxic if ingested by pets or children.
- Boxwood (Buxus spp.): ideal as a mid-layer filler shrub; pairs well with taller evergreen anchors to close low gaps in the screen.
- Ornamental grasses (e.g., Miscanthus sinensis, switchgrass): provide partial, seasonal screening and excellent movement and texture; most go dormant in winter, so they work best as a foreground layer rather than a primary screen.
- Bamboo: fast-growing and visually striking, but running bamboo varieties are invasive across much of the U.S. If you use bamboo, choose clumping varieties (Fargesia spp.) and install a root barrier at least 24 inches deep. For native-plant alternatives and containment strategies, local extension services are a reliable resource.
Structural screens deliver immediate privacy:
- Horizontal cedar slats: warm, natural appearance; precise gap spacing lets you balance opacity and airflow. Cedar weathers well but needs periodic sealing.
- Lattice panels: lower cost, good for climbing plants, but offer limited opacity on their own.
- Perforated metal panels: durable, low-maintenance, and available in custom patterns; higher upfront cost.
- Aluminum louvered systems: biophilic pergola systems with app-controlled louvers can tilt to manage sun, rain, and sightlines simultaneously. These are the premium end of the structural category.
- Pergola with climbing plants: a pergola next to your house blocks second-story views when combined with overhead slats and climbers like wisteria, clematis, or climbing roses.
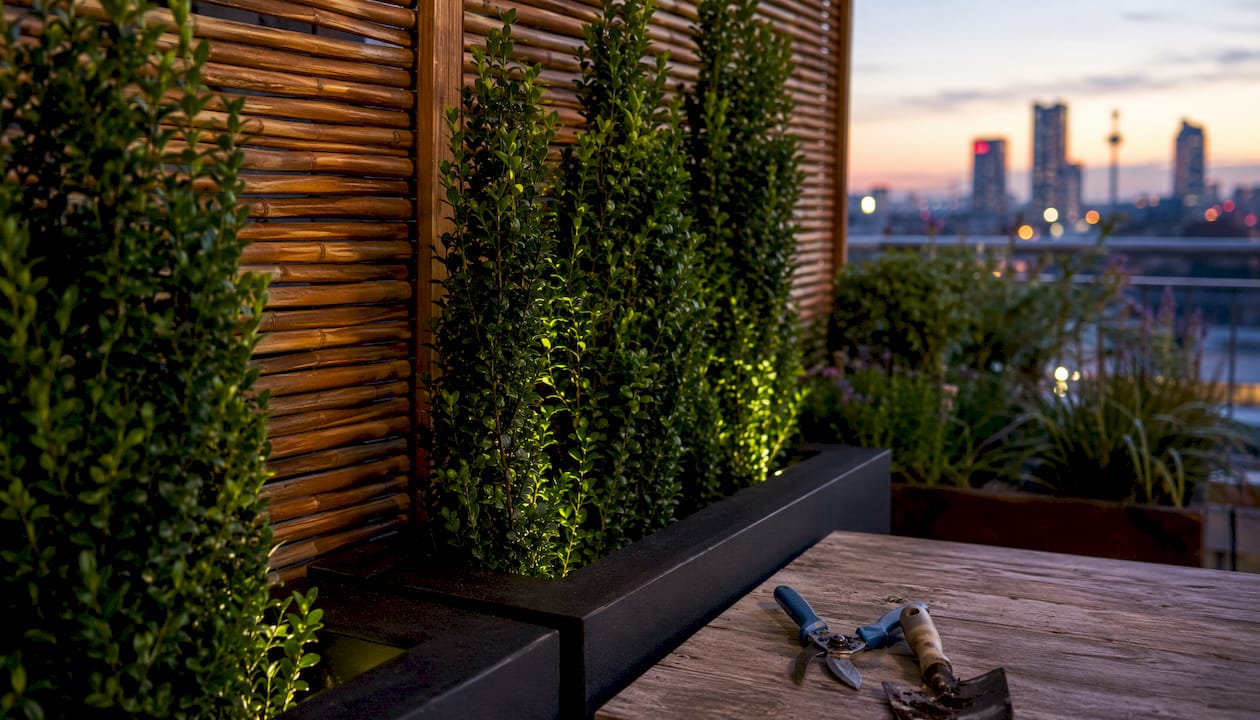
Hybrid solutions combine a structural element with planting: a cedar panel behind a raised planter of columnar arborvitae, or a lattice fence with climbing hydrangea. Hybrids give you immediate coverage while the living component matures. Divinelandscapingllc’s hardscape services cover the structural side of these combinations.
Benefits and real limitations you should weigh
Privacy screening done well delivers more than seclusion. Layered plantings provide shade and cooling through transpiration, reduce wind exposure, and create habitat for birds and pollinators. Well-designed sightline obstructions can also boost property values by 7–12% according to the National Association of Realtors’ landscaping impact research. Those are meaningful returns on a project that also makes your backyard more enjoyable every day.
The limitations are equally real. Living screens take time. Shrubs typically provide usable privacy in 1–3 years; trees can take 4–8 years to reach effective height. A monoculture of a single species — a solid row of one arborvitae variety, for example — is vulnerable to a single pest or disease wiping out the entire screen. And screens placed too close to windows can block light and make interior rooms feel dark.
The most common aesthetic mistake is overdoing it. A solid wall of dense evergreens on three sides of a small patio creates a “prison yard” effect — claustrophobic rather than private. The goal is selective seclusion: block the specific sightlines that bother you while preserving views you enjoy and keeping the space feeling open. Structural screens with precise gap spacing, or a layered planting that filters rather than walls off, usually produce a more livable result than a solid green barrier.
When you need privacy today, a structural panel or pergola is the right first move. Plants can fill in around it over the following seasons. Trying to solve an immediate privacy problem with newly planted 3-gallon shrubs will leave you frustrated for years.
How to diagnose your privacy need before buying anything
Getting the diagnosis right before you spend money on plants or panels saves you from the most expensive mistake in privacy landscaping: placing the screen in the wrong location. Designers recommend moving vertical elements 8–15 feet inside the property line for many patio problems, because the property line is rarely where the sightline needs to be interrupted.
- Sit at your use surface. Take a seat in your patio chair, or stand at the height you normally use the space. This is your eye level for the diagnosis.
- Identify the intrusive sightline. Look toward the neighbor’s window, the street, or the elevated deck that bothers you. Note the exact angle and direction.
- Use a helper or stakes and string. Have a helper stand at the neighbor’s vantage point while you sit at yours. Mark where a vertical element would intercept the sightline using a stake or a tall pole.
- Measure the required height. A seated view is typically 3–4 feet above grade; a standing view is 5–6 feet. The required screen height depends on the distance between you and the screen: a screen placed 10 feet from your seat needs to be taller than one placed 3 feet away.
- Check the distance from your property line. The stake position often falls well inside your yard, not at the fence line. That is where your screen belongs.
- Document with photos. Take photos from the intrusive vantage point before you finalize any design. These photos are also useful for HOA approvals and contractor consultations.
For tight or awkward yards, small-yard privacy strategies can help you work within limited space without overcrowding.
Design basics: layering, spacing, and wind considerations
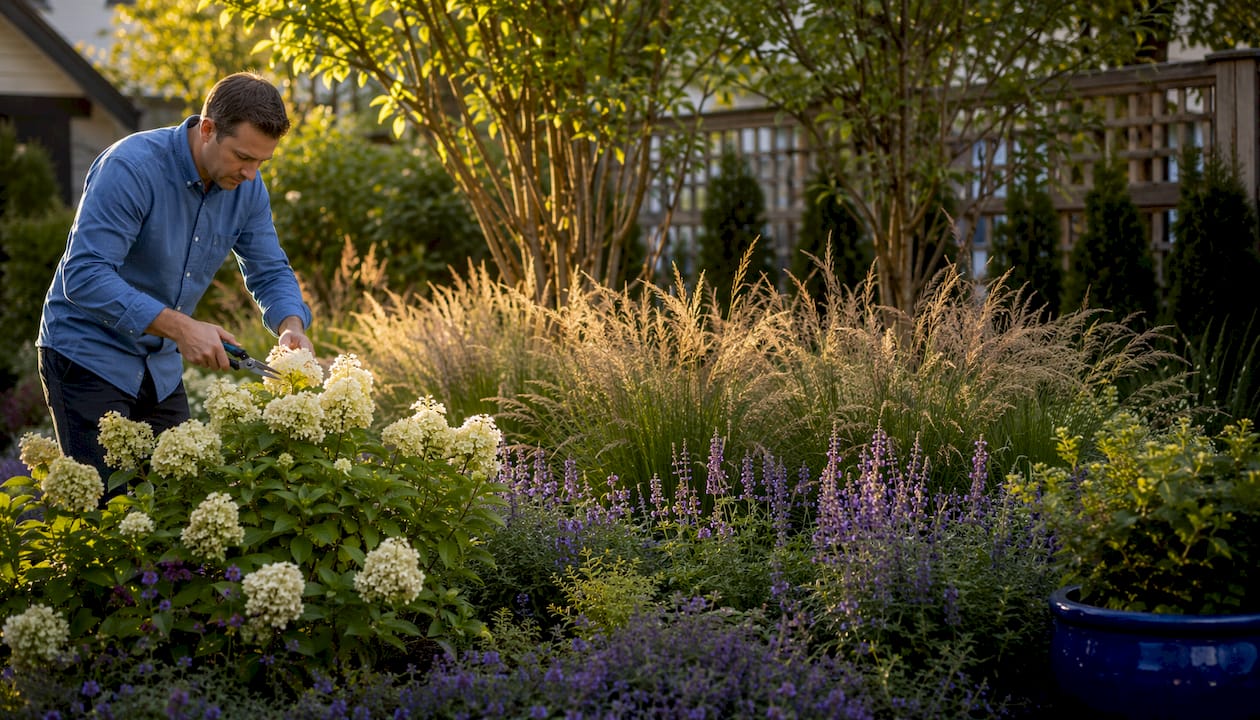
The most resilient and attractive privacy screens use layering rather than a single row of plants. A well-designed screen has three layers: a tall evergreen backdrop (trees or structural panels), a mid-layer of shrubs, and a foreground of ornamental grasses or low plantings. This approach creates visual depth, fills gaps at different heights, and means that if one species struggles, the screen does not fail entirely.
Spacing is where many homeowners make costly mistakes. Plants installed too close together look full immediately but create crowding, poor airflow, and disease pressure within a few years. Design for healthy mature growth, not day-one density. Keep at least 30–36 inches of circulation clearance around seating areas so the screen does not feel like it is closing in on you.
| Plant form | Suggested mature spacing |
|---|---|
| Columnar evergreen (e.g., arborvitae ‘Green Giant’) | 5–6 ft on center |
| Upright shrub (e.g., boxwood, holly) | 3–4 ft on center |
| Ornamental grass (e.g., Miscanthus) | 3–5 ft on center |
| Climbing plant on structure | 30–36 inches on center |
Wind and sound deserve separate consideration. Dense planting does filter wind and reduce some noise when layered deeply, but it rarely eliminates neighbor noise. A small recirculating water feature costing $150–$400 placed near your seating area is often more effective at masking ambient noise than trying to build a massive planting solely for sound reduction.
Plant recommendations for U.S. yards by purpose and climate
Choosing the right plants means matching your goal (year-round screen, seasonal filter, fast temporary coverage) to your climate zone and the time you are willing to wait.
Year-round screening anchors:
- Arborvitae ‘Green Giant’: grows 3–5 feet per year when young; reaches 30–40 feet at full maturity but can be maintained at 10–15 feet. Reliable in zones 5–8. One of the best plants for privacy in the Northeast and Mid-Atlantic.
- American holly: grows 1–2 feet per year; expect 5–8 years to a useful screen height. Native to the eastern U.S., excellent for wildlife, and tolerant of a range of soil conditions.
- Yew: slow to moderate growth (6–12 inches per year); extremely long-lived and shade-tolerant. Best for shadier sites where arborvitae would thin out.
Mixed, resilient screens:
Combining boxwood as a mid-layer filler with native shrubs like inkberry (Ilex glabra) or Virginia sweetspire reduces monoculture risk. Structural diversity in mixed-species screens makes them far less vulnerable to pests, disease, and climate stress than a single-species hedge. Ornamental grasses in the foreground add movement and texture while softening the transition from screen to lawn.
Fast temporary options:
Annual or fast-growing deciduous plants (e.g., ‘Leyland cypress’ for warmer zones, or annual sunflowers for a single-season screen) can fill the gap while permanent plantings establish. A structural panel is the most reliable fast solution for any climate.
Bamboo caveat:
Running bamboo spreads aggressively and is listed as invasive in many U.S. states. If you want bamboo’s look, use clumping varieties (Fargesia robusta or Fargesia rufa) and install a 24-inch-deep HDPE root barrier around the planting area. Even clumping varieties spread slowly over time and should be monitored.
Growth-rate expectations:
Shrubs typically provide a usable screen within a few years from a young container. Trees planted at a substantial initial height usually reach effective screening height in several years. Plant diversity, correct planting technique, and appropriate mulch depth are the three factors most strongly associated with long-term screen success.
U.S. zoning, HOA rules, and permit tips
Regulatory issues are the most common reason a well-planned privacy project stalls or gets torn out after installation. Address them before you build anything.
Residential fence heights in the U.S. commonly cap at 6 feet in front yards and 6–8 feet in backyards, though local ordinances vary significantly. Living screens and lattice-topped structures are common strategies for working within or around those limits — a 6-foot fence with a 2-foot lattice top plus climbing plants can reach an effective 9–10 feet without violating most codes, depending on your municipality.
HOA checklist before you build:
- Pull your CC&Rs and look for restrictions on fence height, materials, plant species, and screen placement.
- Submit design mockups (even simple hand sketches with dimensions) and a materials list to your HOA board in writing.
- Get written approval before ordering materials. Verbal approval from a board member is not binding.
Permit tips:
Most municipalities require a permit for any fence or freestanding structure over a certain height (often 6 feet). Call your local zoning office before digging. Check property setbacks — most codes require fences and structures to sit 2–5 feet inside the property line. Before any digging, call 811 (Miss Utility) to have underground utilities marked. For fencing options and installation guidance, your local contractor can also help you navigate permit requirements.
Documentation for approvals:
Prepare a simple site sketch showing the screen location relative to property lines, a materials list, and photos taken from the intrusive vantage point. This package speeds up both HOA and municipal approvals.
Realistic costs and timelines for privacy screen projects
Budget expectations vary widely depending on whether you are planting, building, or combining both approaches.
| Solution type | Typical cost range | Time to privacy |
|---|---|---|
| DIY plant-only screen (shrubs, 3-gal) | $300 | 2–4 years |
| Professional planting (7–10 gal plants) | $1,500 | 1–3 years |
| Cedar horizontal slat panel (installed) | $1,800 | Immediate |
| Pergola with climbing plants | — | Immediate structure; 1–2 years for full coverage |
| Aluminum louvered system | — | Immediate |
| Hybrid (panel + planting) | — | Immediate partial; full in 1–3 years |
The biggest cost drivers are plant size (a 7-gallon arborvitae costs significantly more than a 1-gallon but gives you 2–3 years of head start), soil preparation, irrigation installation, and labor for any structural work. Permitting fees vary by municipality but typically run $50–$300 for a residential fence or structure.
When you need privacy now but want a living screen long-term, the most cost-effective approach is a temporary structural panel combined with smaller-container plants installed at proper mature spacing. The panel does the work while the plants grow.
How to maintain your privacy screen and avoid common problems
A privacy screen that is not maintained loses effectiveness quickly. Gaps appear, plants thin out, and structural elements deteriorate. A simple seasonal routine prevents most problems.
Seasonal maintenance checklist:
- Spring: prune evergreens lightly to shape and remove winter damage; apply 2–3 inches of mulch around the base of plantings (keep mulch 2–3 inches away from stems).
- Summer: water newly planted shrubs and trees deeply once or twice per week during dry spells; check for pest or disease signs, especially in monoculture sections.
- Fall: plant new additions in early fall when soil is still warm; avoid heavy pruning that stimulates tender new growth before frost.
- Winter: protect tender species with burlap wraps in cold climates (zones 5 and below); check structural panels for loose fasteners or frost heave.
Common problems and fixes:
- Winter gaps in evergreens: often caused by deer browse or salt spray near roads. Add a secondary layer of shrubs or a structural panel behind the affected area.
- Pest outbreaks in monocultures: a single pest can devastate a solid row of one species. Diversify by interplanting a second evergreen species every third plant.
- Thinning from poor spacing: plants installed too close crowd each other and thin at the base. Remove every other plant once crowding becomes visible; it is painful but necessary.
For ongoing care schedules and professional maintenance options, Divinelandscapingllc’s landscape maintenance guide covers what a full-season program looks like.
When to call a professional: repeated die-off despite correct watering, drainage problems that are killing roots, or structural screen repairs involving footings or load-bearing posts.
How a typical privacy project gets diagnosed and resolved
A well-run privacy project follows a consistent diagnostic sequence before any plant is ordered or panel is cut. Here is how that process typically looks in practice.
Site diagnosis: The designer visits the property and sits at the use surface — the actual patio chair or deck railing — to identify the intrusive sightlines. Photos are taken from the neighbor’s vantage point. Sightline stakes are placed to confirm where the screen needs to intercept the view, which is often 8–12 feet inside the property line rather than at the fence.
Short-term structural fix: If the homeowner needs privacy within weeks, a cedar horizontal slat panel or a pergola section is specified first. This solves the immediate problem and gives the planting plan time to work.
Planting plan: A layered palette is proposed: tall evergreen anchors (arborvitae or American holly) as the backdrop, mid-layer shrubs (boxwood or native inkberry) to close low gaps, and ornamental grasses in the foreground for texture. Species are selected for the site’s sun exposure, soil type, and USDA hardiness zone.
Design checklist used by professionals:
- Site photos from all intrusive vantage points
- Sightline mockup (stakes and string or digital overlay)
- Plant palette with mature sizes, spacing, and growth-rate notes
- Materials list for any structural elements
- HOA and permit documentation if required
DIY vs. hiring a pro: how to decide and what to ask
Some privacy projects are straightforward DIY work. Others genuinely need a professional. The decision comes down to five factors.
Quick decision checklist:
- Complexity: a single cedar panel on flat ground is manageable DIY. A layered planting plan with grading, irrigation, and a pergola is not.
- Terrain: slopes, drainage issues, or rocky soil add significant complexity and usually require professional equipment.
- Permit needs: if a permit is required, a licensed contractor handles the documentation and inspections.
- Timeline urgency: professionals can source and install large-caliper plants and structural elements in days; DIY timelines stretch over weekends and seasons.
- Willingness to maintain: a living screen requires years of consistent care. If that is not realistic for your schedule, a lower-maintenance structural solution may serve you better.
Questions to ask any contractor:
- Are you licensed and insured for landscaping and hardscape work in this state?
- Can you show references for privacy-screen projects similar in scope to mine?
- What is your proposed plant palette, and why those species for my site?
- What warranty do you offer on plant survival and structural installation?
- Does the plan include irrigation, and who handles startup and winterization?
Divinelandscapingllc scopes privacy-screen projects with an on-site sightline diagnosis before proposing any materials or plants. You can review project examples and reach out through the project gallery or the main contact page.
Key Takeaways
Privacy screening landscaping works best when you diagnose the sightline first, layer living and structural elements together, and plan for the years it takes a living screen to mature.
| Point | Details |
|---|---|
| Diagnose from the use surface | Measure sightlines from your seated or standing height, not the soil line, to place screens correctly. |
| Layer plants and structures | Combine tall evergreen anchors, mid-layer shrubs, and structural panels for resilient, year-round coverage. |
| Plan for growth timelines | Shrubs take 1–3 years; trees take 4–8 years. Use a structural panel for immediate privacy while plantings establish. |
| Follow local rules first | Check HOA covenants and municipal fence-height limits before ordering any materials or breaking ground. |
| Divinelandscapingllc’s approach | Divinelandscapingllc starts every privacy project with an on-site sightline diagnosis before recommending plants or structures. |
The case for measuring before you plant
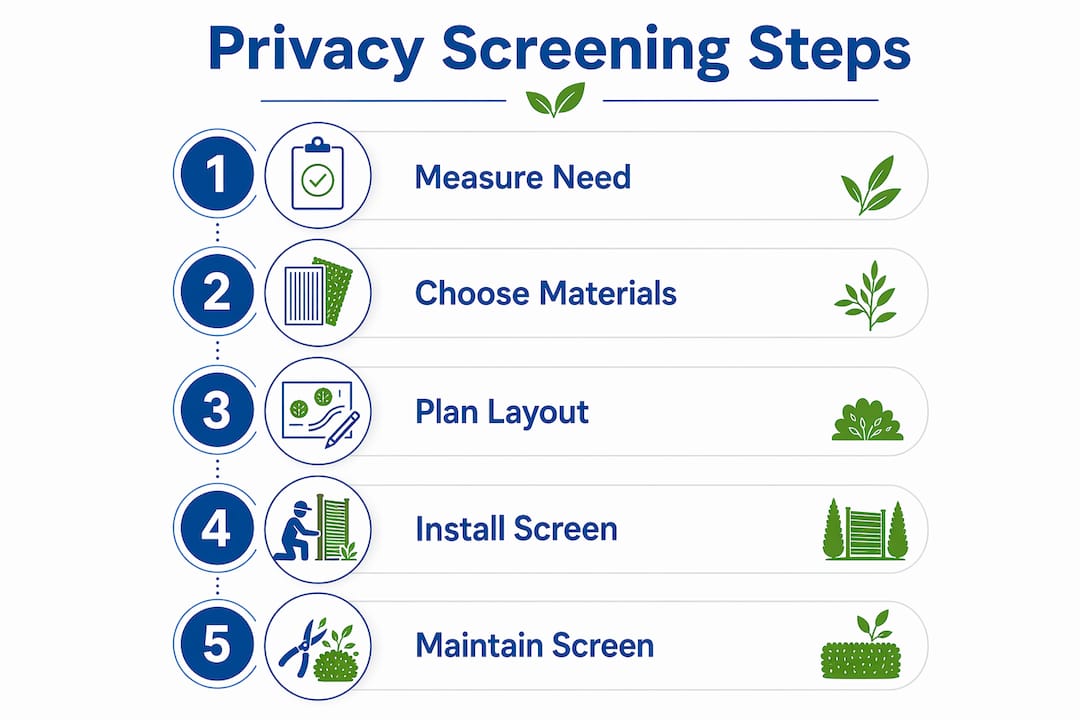
Most privacy problems are solved with the wrong tool in the wrong place. Homeowners buy a flat of arborvitae, plant them along the property line, and wait three years — only to discover the neighbor’s second-story window still has a clear view of the patio because the sightline angle was never measured. The plants are not the problem. The diagnosis was skipped.
The same logic applies to structural screens. A cedar panel installed at the fence line looks good on paper but may do nothing for a seated patio user 20 feet away. Moving that panel 10 feet closer to the seating area, at the correct height for a seated sightline, would have solved the problem with half the material.
What actually works is the sequence: measure first, choose materials second, install third. A layered planting with a structural anchor at the right location will outperform a taller, denser screen placed in the wrong spot every time. In New Hampshire and across the Northeast, where winters thin out deciduous screens and deer pressure is real, getting the structural element right from the start is especially important. The living screen fills in around it; the structure holds the line year-round.
The other underrated factor is species diversity. A solid row of one arborvitae variety is the most common privacy planting in the U.S., and it is also the most vulnerable. Bagworm, Kabatina tip blight, or a single hard winter can open gaps across the entire screen simultaneously. Mixing in American holly, yew, or native inkberry every few plants costs almost nothing extra at installation and dramatically reduces that risk.
Divinelandscapingllc can help you get the privacy you want
Getting the sightline diagnosis right, choosing the correct plant palette for your climate, and navigating HOA approvals are the three steps where most homeowners benefit most from professional guidance. Divinelandscapingllc designs and installs custom privacy screens for residential properties across New Hampshire and the surrounding region, combining hardscape structural elements with layered planting plans that deliver both immediate coverage and long-term resilience.

Whether you need a cedar panel installed this season, a full layered planting plan, or both, the process starts with an on-site consultation to measure your actual sightlines and identify the right solution for your yard. Contact Divinelandscapingllc at divinelandscapingllc.com to schedule your site evaluation and get a clear plan before you spend a dollar on plants or materials.
Useful sources and further reading
- Missouri Department of Conservation: Screens for Small Yards — practical guidance on plant selection and layering for residential privacy screens
- University of Maryland Extension: Plants for Mixed Privacy Screens — species recommendations, planting technique, and diversity principles for resilient screens
- The Garden Scene: Landscaping for Privacy That Works in Real Yards — diagnostic approach and sightline measurement guidance
- The Garden Scene: How to Create a Privacy Buffer in a Suburban Yard — step-by-step placement and inward-screen positioning
- Planting Atlas: Backyard Privacy Screening Guide — overview of structural and living screen options with cost context
For site-specific plant hardiness, contact your local university extension service or your municipal zoning office for fence-height and permit requirements in your jurisdiction.