
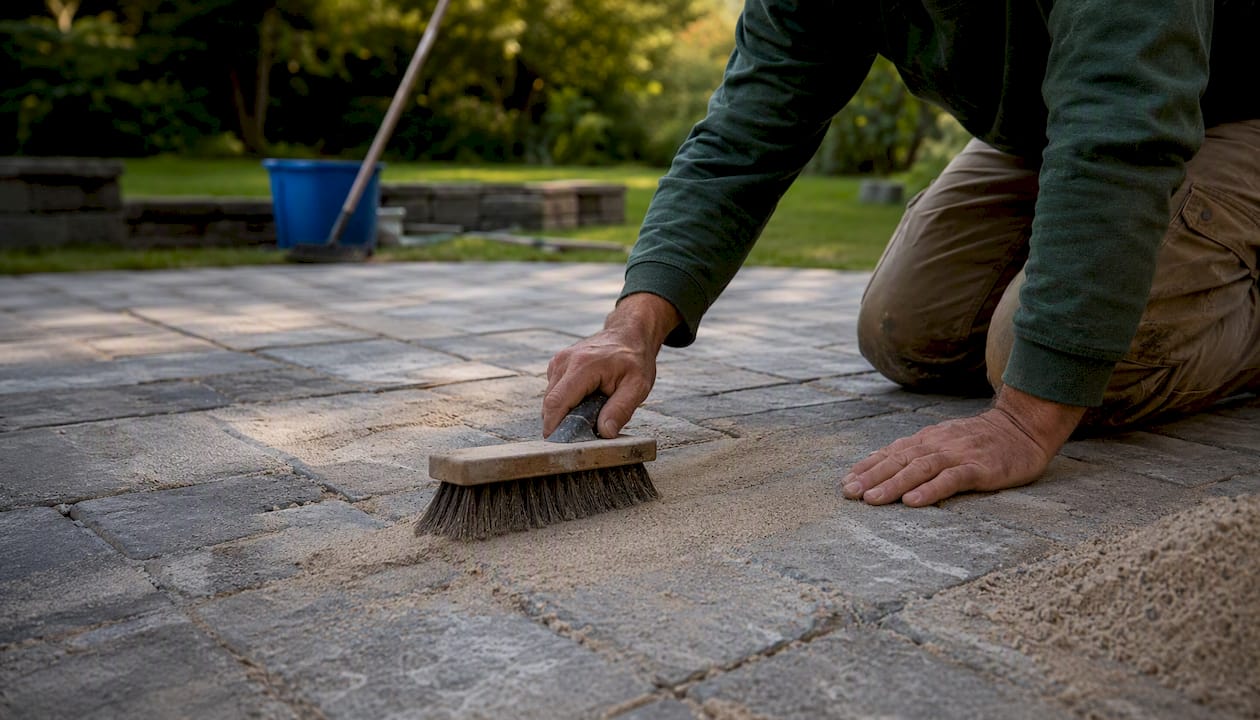
Polymeric sand is a jointing material made from graded silica or quartz sand blended with polymer binders and additives. You sweep it dry into the joints between pavers, then activate it with water. The binders harden, locking the sand grains together into a semi-rigid joint that resists weeds, insects, and washout. Homeowners use it on patios, walkways, driveways, and pool decks anywhere pavers or natural stone need stable, low-maintenance joints.
Key Takeaways
Polymeric sand works reliably when the base is drained, joints meet the product’s size specs, and the three critical steps (compaction, dust removal, controlled watering) are executed correctly.
| Point | Details |
|---|---|
| Composition | Graded silica or quartz sand plus polymer binders, typically 10–15% polymer by weight. |
| Critical install steps | Compact joints, blow all dust off paver faces, then water in sections with a shower-spray nozzle. |
| Drainage requirement | Polymeric sand is not a drainage layer; it requires a properly compacted and drained aggregate base beneath it. |
| Joint size matters | Always check the product TDS for minimum and maximum joint width and depth before buying. |
| Polyhaze prevention | Remove all surface dust before watering; never seal pavers until any haze is fully cleared. |
Table of Contents
- What is polymeric sand made of?
- How does polymeric sand actually work in a joint?
- Why homeowners choose polymeric sand over regular sand
- When polymeric sand is a poor choice
- How to install polymeric sand: a step-by-step checklist
- Common mistakes and how to fix them
- What to expect over time: lifespan and maintenance
- Polymeric sand vs. other jointing options
- How to choose the right polymeric sand product
- Should you DIY or hire a hardscape contractor?
- Ready to get your paver project done right?
- What the experts actually get right about polymeric sand
- Sources
What is polymeric sand made of?
Polymeric sand combines two things: calibrated sand and a polymer binder system. The sand component is typically silica or quartz, graded to a consistent particle size so it fills joints evenly without voids. The polymer component, which accounts for roughly 10–15% of the mix by weight, is what sets this material apart from ordinary jointing sand. When water hits the dry mix, the polymers activate and bind the sand grains into a cohesive, semi-rigid mass.
Product variants you will find on shelves
Manufacturers offer several formulations to match different project types:
- Fine-grade vs. coarse-grade: Fine formulas suit narrow joints (as tight as 1/8 inch on some products); coarse formulas handle wider joints on natural stone or irregular pavers.
- Low-dust formulas: Designed to reduce airborne silica during sweeping, which matters for both safety and haze prevention.
- Color options: Beige, gray, charcoal, and tan are the most common. Techniseal offers color-matched options so you can blend or contrast joint color with your paver surface.
Manufacturers to look up
When you shop or read technical data sheets (TDS), these are the names to know:
- Unilock — offers product-specific polymeric sand matched to its paver lines
- Techniseal — EZSAND® is one of its widely used residential formulas
- Sakrete — available at most home improvement retailers
- Increte — offers specialty jointing products for decorative hardscapes
Each manufacturer publishes a TDS with joint-width minimums and maximums, depth requirements, and activation instructions. Reading the TDS for your chosen product before you buy is not optional. Joint specs vary by formula, and using the wrong product for your joint geometry is one of the most common causes of failure.
Pro Tip: Always check the TDS minimum joint depth, not just width. Most products require at least 1.5 inches of depth to develop full bond strength. Shallow joints are a leading cause of premature crumbling.
How does polymeric sand actually work in a joint?
The activation sequence is straightforward, but each step depends on the one before it. Here is the basic flow:
- Joints are filled dry and compacted.
- Excess sand is swept and blown off paver faces.
- Water is applied in a controlled, sectional pattern.
- The polymer binders cure over 24–48 hours.
The binding mechanism
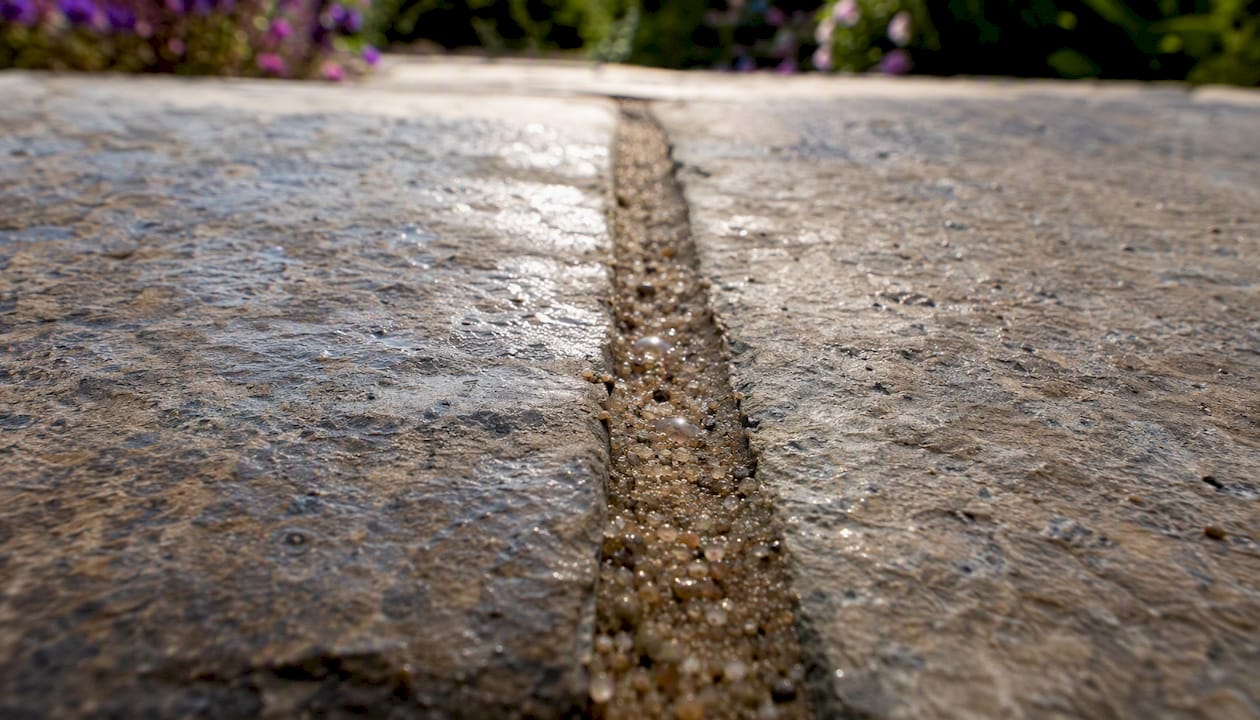
When water penetrates the joint, it dissolves and activates the polymer binders. As the water evaporates during curing, the binders re-solidify and bond the sand grains to each other and to the paver edges. The result is a joint that is firm but not brittle. It can flex slightly with freeze-thaw movement, which is why it performs better in New England climates than rigid mortar in many residential applications.
Drainage: what polymeric sand does not do
This is the point most homeowners miss. Polymeric sand must be installed over a properly drained base. The jointing material itself is not a drainage layer. Water that enters the joint during rain still needs somewhere to go, and that path runs through the bedding sand and the compacted aggregate base beneath your pavers. If the base drains poorly, water will pond under the pavers, destabilize the bedding, and eventually push joints apart regardless of how well the polymeric sand was installed.
Think of the system in layers: paver on top, polymeric sand in the joint, bedding sand below, compacted aggregate base at the bottom, with edge restraints holding everything in place laterally. The polymeric sand only does its job when the layers beneath it are doing theirs.
Pro Tip: Before you buy a bag of polymeric sand, confirm your base is at least 4 inches of compacted crushed stone for pedestrian areas and 6–8 inches for driveways. No jointing product can compensate for a soft or poorly graded base.
Why homeowners choose polymeric sand over regular sand
The practical advantages over loose jointing sand are real and measurable in day-to-day maintenance. Properly installed polymeric sand locks pavers together, resists weed growth, and reduces washout compared with ordinary loose sand that washes out with every heavy rain.
Here is what that means for your yard:
- Joint stability: Pavers stay locked in position. You are not re-sweeping loose sand back into joints every spring.
- Weed resistance: The hardened joint leaves little room for weed seeds to germinate. You will still see occasional growth at the surface, but it is far less than with open sand joints.
- Insect deterrence: Ants and other insects cannot easily excavate a hardened joint. Loose sand joints are a common nesting site.
- Erosion resistance: Normal rain and irrigation runoff will not wash the joint material out. This is especially noticeable on sloped walkways and driveways.
- Cleaner aesthetics: Color-matched joints give finished patios and walkways a polished, intentional look. The joint becomes part of the design rather than an afterthought.
Where it works best
Polymeric sand suits a wide range of residential hardscape applications:
- Patios: The most common use. Stable joints keep furniture from catching on shifting pavers.
- Walkways: Handles foot traffic well; pairs naturally with front yard walkway projects.
- Driveways: Vehicular-rated products exist, but joint specs and base requirements are stricter.
- Pool decks: Works well away from the water edge; constant splash zones need careful product selection (more on that below).
When polymeric sand is a poor choice
Knowing when not to use a product is just as useful as knowing when to use it. Several conditions make polymeric sand a bad fit.
- Permeable paver systems: If your pavers are designed to drain water through the joints (permeable interlocking concrete pavement, or PICP), polymeric sand defeats the purpose. These systems require open-graded aggregate in the joints, not a hardening binder.
- Very wide or irregular joints: Most products top out at a maximum joint width of 1.5–2 inches. Natural flagstone with irregular gaps wider than that needs a different product, such as a polymeric grout or a flexible mortar.
- Mortar-set installations: Pavers set in a mortar bed over a concrete slab use mortar or grout in the joints, not sand-based products.
- Constant standing water or splash zones: Pool edges with constant water exposure can prevent proper curing and weaken the bond over time. Check the product TDS for water-exposure limits.
- Rain or temperature constraints: Most products require dry pavers, air temperatures above 32°F, and a rain-free window of at least 24 hours after activation. Installing in cold or wet conditions is a common cause of weak joints.
Polyhaze: the cosmetic failure you want to avoid
Polyhaze is a milky white film that forms on paver faces when polymer-laden dust is not fully removed before watering. The Sika/Evolution TDS warns that improper sweeping or watering can leave a white haze that sometimes requires specialized cleaners to remove once cured. On textured or tumbled pavers, the residue can lodge in surface pores and become very difficult to remove without an acid-based cleaner.
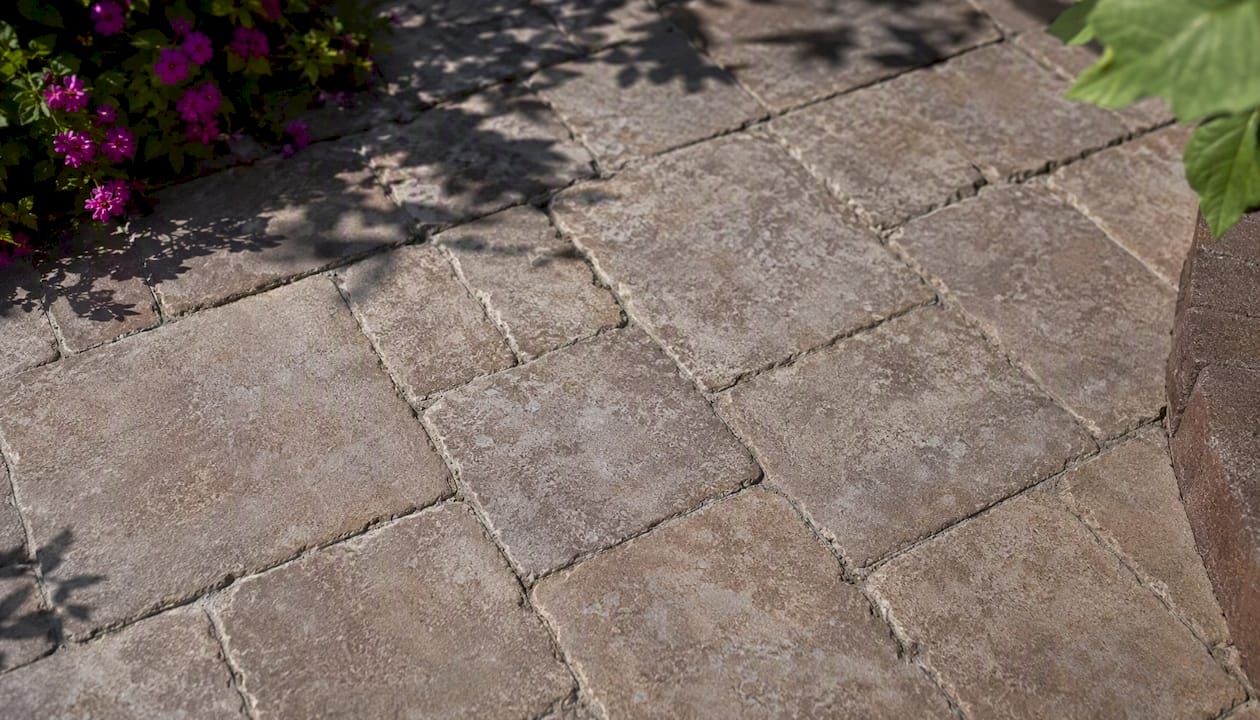
Pro Tip: Never seal your pavers until you are certain all haze is gone. Sealing over polyhaze locks the residue in permanently. If you notice a film after curing, address it with a paver-safe cleaner before applying any sealer.
How to install polymeric sand: a step-by-step checklist
Manufacturer technical data sheets consistently emphasize three non-negotiable steps: mechanical compaction, thorough dust removal, and controlled sectional watering. Skip any one of them and you risk weak joints, washout, or haze.
Tools you need before you start
- Stiff-bristle push broom
- Leaf blower
- Plate compactor with a rubber paving pad or Teflon-coated plate (protects paver faces)
- Garden hose with a “shower” or “mist” nozzle setting
- Rubber mallet
- Safety glasses, dust mask (N95 or better), and gloves
Installation sequence
- Remove old jointing material. Use a stiff broom, a joint scraper, or a pressure washer (on old joints only, not new). Joints must be clean and dry before you begin.
- Inspect the base and edge restraints. Check for any settled or rocking pavers. Reset them now. Confirm edge restraints are secure.
- Let pavers dry completely. Damp pavers cause premature activation. Wait at least 24 hours after rain.
- Sweep polymeric sand into joints. Work in multiple passes, sweeping diagonally across the paver surface. Fill joints to within 1/8 inch of the paver top.
- First compaction pass. Run the plate compactor (with pad) over the entire surface. This vibrates sand deeper into joints and seats the pavers.
- Top off joints. Sweep additional sand into any joints that settled during compaction. Joints should still be filled to within 1/8 inch of the top.
- Remove all surface dust. This step is critical. Blow the paver faces clean with a leaf blower. Every grain of sand left on the surface is potential haze.
- Second compaction pass. One more pass with the plate compactor to finalize joint density.
- Water in sections. Using a shower-spray setting, water approximately 50 square feet at a time, starting at the lowest point of the installation. Spray each section for about one minute, aiming for roughly 1 inch of water penetration into the joint. Avoid high-pressure jets that displace sand.
- Allow to cure. Keep foot traffic off for the period specified in your product’s TDS.
Timing reference
| Stage | Typical wait time |
|---|---|
| After rain before starting | 24 hours minimum (pavers fully dry) |
| Between compaction and watering | Same day; do not leave overnight before watering |
| Before foot traffic after watering | 24 hours |
| Before vehicle traffic after watering | 48–72 hours (check product TDS) |
| Rain-free window after activation | 24 hours minimum |
Always confirm these windows against your specific product’s TDS. Times vary by formula and temperature.
Pro Tip: Always use a rubber paving pad or a Teflon-coated plate attachment on your compactor. Running a bare steel plate directly on concrete or clay pavers can scratch or chip the surface, especially on tumbled or textured finishes.
Common mistakes and how to fix them
Most failures come down to execution, not the product itself. Unilock notes that the majority of bad results homeowners see are sweeping, compaction, or watering errors rather than a fundamental flaw in the material.
-
Polyhaze on paver faces
Signal: Milky or white film after curing.
Cause: Sand dust left on paver surfaces before watering; the polymer binder adhered to the face.
Fix: Cured haze typically requires a specialized cleaner, often acid-based. Test in an inconspicuous area first. Prevention is far easier: blow surfaces completely clean before watering. -
Washout or soft joints
Signal: Sand washes out of joints after the first rain.
Cause: Watering with too much pressure, activating during rain, or not allowing full cure before rain.
Fix: Remove loose material, re-fill joints, and repeat the activation process on a dry day with a proper shower-spray nozzle. -
Crumbling or powdery joints
Signal: Joints feel loose or crumble when touched after curing.
Cause: Insufficient compaction, joints filled too shallow, or product used outside its joint-width range.
Fix: Remove and replace joint material. Check joint depth against the TDS minimum before refilling. -
Paver movement or rocking
Signal: Individual pavers shift or rock after installation.
Cause: Base or bedding problem, not a jointing failure. Polymeric sand cannot stabilize a poorly set paver.
Fix: Reset the affected pavers, address the base issue, then re-joint.
Pro Tip: Do not seal pavers until at least 30 days after polymeric sand installation. Sealing too early traps moisture in the joint and can prevent full curing. If haze is present, sealing before removing it locks the residue in permanently.
What to expect over time: lifespan and maintenance
Polymeric sand does not carry a single universal lifespan number. Durability depends on the product formula, your climate, base quality, and traffic load. Unilock and Hardscape Magazine both describe polymeric sand as long-lasting but emphasize that actual life depends on conditions. In a well-built pedestrian patio in a moderate climate, quality products can hold up for many years before joints need attention. Driveways and freeze-thaw climates like New Hampshire’s put more stress on joints and may require touch-ups sooner.
Routine maintenance checklist
- Spring inspection: Walk the surface after winter. Look for joints that have cracked, crumbled, or heaved. Freeze-thaw cycles are the most common cause of joint degradation in northern climates.
- Weed checks: Pull any surface weeds before they root deeply. A few weeds at the surface does not mean the joint has failed; it means seeds landed on top and germinated in debris.
- Avoid pressure washing joints: High-pressure washing can erode even hardened polymeric sand. Use low-pressure rinsing for routine cleaning.
- Re-top as needed: If joints have settled or eroded in spots, sweep in fresh polymeric sand, compact, and re-activate. You do not need to remove all existing material for a spot repair.
- Drainage check: Confirm that water is still sheeting off the surface correctly. Pooling water signals a base or grading issue that no amount of joint repair will fix.
For patio installation tips specific to New Hampshire’s climate, including freeze-thaw considerations and seasonal maintenance timing, local guidance is worth reviewing before your first spring inspection.
Polymeric sand vs. other jointing options
Choosing the right jointing material depends on your project type, traffic load, and drainage requirements. Here is how the main options compare:
| Jointing option | Best for | Traffic rating | Permeability | Typical durability |
|---|---|---|---|---|
| Polymeric sand | Patios, walkways, driveways (pedestrian to light vehicle) | Pedestrian to vehicular (product-dependent) | Low; needs drained base | Long-lasting with correct install |
| Loose paver sand | Temporary or budget installs; easy reset | Pedestrian only | Moderate | Low; washes out regularly |
| Mortar/grout | Mortar-set slabs, pool surrounds, tile | Pedestrian to vehicular | Very low | High when properly applied |
| Permeable jointing aggregate | PICP systems, eco-drainage installs | Pedestrian to vehicular | High (by design) | Moderate; may need periodic top-off |
When to choose each option
- Polymeric sand: Your pavers are set on a compacted aggregate base, joints are between 1/8 inch and 2 inches wide, and you want low-maintenance stability without mortar rigidity.
- Loose sand: You are setting a temporary path, or you need easy access to utilities under the pavers and plan to lift them regularly.
- Mortar or grout: Pavers are bonded to a concrete slab, or the installation is in a wet zone (pool interior surround, shower area) where a waterproof joint is required.
- Permeable aggregate: Your project is designed for stormwater infiltration, or local code requires permeable coverage.
How to choose the right polymeric sand product
Before you buy, run through this checklist against the product’s TDS:
- Joint width compatibility: Confirm your joint width falls within the product’s minimum and maximum range.
- Joint depth: Most products need at least 1.5 inches of depth. Measure your actual joints before selecting.
- Color match: Hold a sample bag next to your pavers if possible. Colors look different once wet and cured.
- Dust rating: Low-dust formulas reduce silica exposure during sweeping and lower haze risk.
- Activation window: Check the required rain-free period and temperature range. In New Hampshire, spring and fall installs need careful scheduling.
- Bag coverage: Manufacturers list square-foot coverage per bag, but actual coverage depends on joint width, depth, and paver size. Calculate your total joint volume and add a 10–15% safety margin.
Manufacturers and products to research
| Manufacturer | Notable product | Key feature to check in TDS |
|---|---|---|
| Unilock | Polymeric sand (paver-matched) | Joint width range and color options |
| Techniseal | EZSAND® | Joint depth minimum and traffic rating |
| Sakrete | Paver Set Polymeric Sand | Coverage per bag and activation window |
| Increte | Specialty jointing products | Decorative applications and joint geometry |
Coverage calculation example: A 200-square-foot patio with 3/8-inch joints and 2-inch-deep pavers has roughly 1,200 linear feet of joint. Most standard bags cover 50–80 square feet depending on joint size. For this patio, plan on 3–4 bags plus one extra for waste and top-off.
Pro Tip: Buy one extra bag beyond your calculation. Running short mid-installation means stopping, driving to the store, and risking a partially activated surface that cures unevenly.
Should you DIY or hire a hardscape contractor?
Polymeric sand installation is within reach for a careful DIYer on a straightforward patio or walkway. Larger or more complex projects tip the balance toward hiring a professional.
When DIY makes sense
- The patio or walkway is under 300 square feet.
- Joints are consistent in width and within the product’s specified range.
- The base is confirmed solid, level, and well-drained.
- You have access to a plate compactor (rental is fine) and a proper spray nozzle.
- Weather conditions allow a full dry-and-cure window.
When to hire a hardscape professional
- The project involves vehicular loads (driveways, parking areas).
- You suspect base problems: soft spots, poor drainage, or previous heaving.
- Joint widths are irregular (natural flagstone, reclaimed pavers).
- The installation is large enough that consistent compaction and watering in sections becomes difficult to manage alone.
- You want a warranty on materials and labor.
Questions to ask a contractor before hiring
- Which polymeric sand product do you use, and can you show me the TDS?
- How do you compact the joints, and what plate compactor attachment do you use on pavers?
- What is your process for removing surface dust before watering?
- How do you handle polyhaze if it appears after curing?
- What is your rain-window policy, and how do you reschedule if weather changes?
Red flags to watch for
- No plate compactor on the job (hand tamping is not adequate for most projects).
- Watering with a standard hose nozzle at high pressure.
- Skipping the leaf-blower dust-removal step.
- No edge restraints on the perimeter.
- Pressure-washing joints immediately after installation.
For a full picture of what professional hardscape services include, from base prep to final jointing, it helps to understand the full scope before you compare bids.
Ready to get your paver project done right?

Whether you are planning a new patio, refreshing a walkway, or tackling a driveway in New Hampshire or neighboring Massachusetts, Divinelandscapingllc designs and builds hardscape projects that are built to last. Proper base preparation, correct jointing, and attention to drainage are important parts of every project.
Explore our hardscape and masonry services or view completed projects in our gallery to see what a properly built paver installation looks like from the ground up.
What the experts actually get right about polymeric sand
Most online guides treat polyhaze and washout as product problems. They are not. They are technique problems, and that distinction matters for how you approach any paver project.
Hardscape Magazine’s reporting on polymeric sand makes the point clearly: the product has improved significantly since its introduction in the late 1990s, and modern formulas are reliable when installed correctly. The failures that homeowners complain about almost always trace back to one of three skipped steps: incomplete dust removal, inadequate compaction, or watering with too much pressure.
What I find underappreciated is how much the base system matters. Homeowners spend time comparing sand brands and colors, then install over a base that was never properly compacted or graded. The joint filler is the last line of defense in a layered system. When the layers beneath it fail, no amount of good jointing material saves the surface.
The other thing worth saying plainly: if your project involves vehicular loads, irregular natural stone, or a site with drainage challenges, the cost of getting it wrong is much higher than the cost of hiring a contractor who knows the TDS requirements and has the right equipment. A plate compactor rental and a careful weekend can handle a straightforward patio. A driveway with soft spots and wide joints is a different project entirely.
Sources
These are the primary technical references used throughout this article. Each TDS contains product-specific joint dimensions, compaction requirements, and activation instructions that override any general guidance.
- Polymeric Sand Guide: Installation, Benefits and Pro Tips | Unilock
- Evolution Polymeric Sand
- POLYBIND Complete Sand G2 technical documentation
- How to Identify and Remove Poly Sand Haze on Brick Pavers (2026 Guide) | Concrete Sealing Ratings