
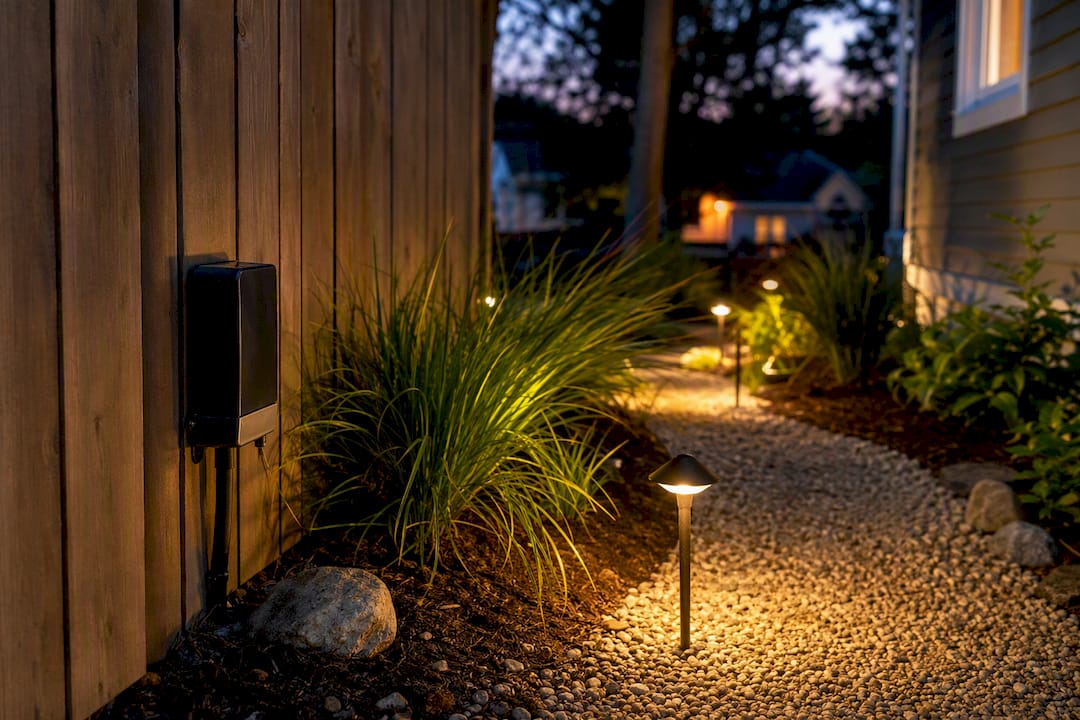
Low-voltage landscape lighting (12V) is the safest, most DIY-friendly way for most homeowners and small business owners to add path, step, and accent lighting to a property. It runs on a fraction of household voltage, uses LED fixtures that sip far less energy than old incandescent floods, and falls under the National Electrical Code’s Class 2 limited-energy classification, which is why it’s touch-safe even in wet garden beds.
When it’s the right call:
- Front walkways, garden beds, small to mid-size backyards, and patios where you want ambiance, not floodlit security lighting
- Properties where you want to add fixtures gradually, season by season
- Anyone comfortable with basic hand tools and a weekend afternoon
When to look elsewhere or call in help: large commercial properties needing high-lumen security lighting, very long cable runs (over 100 feet from the transformer), or homes where the electrical panel and outdoor GFCI setup need upgrading first.
Most homeowners with a standard-size yard can DIY a low-voltage kit in a day. If your property has multiple zones, tricky grading, or you want a warrantied, code-checked install, Divine Landscaping LLC and similarly qualified contractors are worth the call.
Key Takeaways
Low-voltage (12V) landscape lighting delivers safe, energy-efficient path and accent lighting for most residential properties when the transformer is sized correctly and voltage drop is managed.
| Point | Details |
|---|---|
| 12V is the safer standard | Class 2 low-voltage systems run touch-safe even in wet garden beds, unlike 120V wiring. |
| Size the transformer with headroom | Add up fixture wattage, then buy 20 to 25% more transformer capacity for future expansion. |
| Split long runs to avoid dimming | Multiple shorter cable runs beat one long daisy chain for keeping voltage steady. |
| Match specs to the task | Choose fixtures by lumens, color temperature, and IP rating, not marketing labels. |
| Divine Landscaping handles full installs | Divine Landscaping LLC offers design, fixture selection, code-compliant wiring, and warranty support for readers who’d rather not DIY. |
Table of Contents
- What Does “Low-Voltage” Actually Mean in Landscape Lighting?
- Which Fixture Types Fit Which Spot in Your Yard?
- How Do You Size a Transformer and Avoid Voltage Drop?
- Should You Buy a Kit or Assemble Your Own System?
- What Specs Actually Matter When You’re Comparing Fixtures?
- How Do You Install a Low-Voltage System Yourself?
- What Does Low-Voltage Lighting Typically Cost, and How Long Does It Take?
- How Do You Maintain a System and Fix Common Problems?
- When Should You Hire a Pro Instead of DIYing?
- What Does a Basic Wiring Plan Look Like on Paper?
- What Electrical Code Rules Apply to Landscape Lighting?
- Sources
What Does “Low-Voltage” Actually Mean in Landscape Lighting?
Low-voltage landscape lighting runs on 12 volts instead of your home’s standard 120-volt household current. A transformer plugged into a regular outdoor outlet steps that 120V down to 12V (some systems use 24V for longer runs), then sends power out through buried cable to each fixture. That step-down process is what makes the whole system safer to handle and simpler to install than wiring full household voltage outdoors.
A complete 12V system has five basic parts:
- Transformer — converts and regulates the power, usually mounted on an exterior wall or post near an outlet
- Low-voltage cable — typically 12 or 14 AWG direct-burial wire, rated for underground use
- Fixtures — path lights, spotlights, floods, and similar units wired along the cable run
- Connectors — waterproof quick-connects or wire nuts that tap fixtures into the main line
- Controls — a timer, photocell, or smart switch that turns the system on and off automatically
Picture it as a tree: the transformer is the trunk, and each cable run is a branch feeding several fixtures. Most residential setups use two to four runs off one transformer rather than one enormous loop.
Which Fixture Types Fit Which Spot in Your Yard?
Matching the fixture to the job matters more than picking the prettiest one on the shelf. Here’s how the common categories break down:
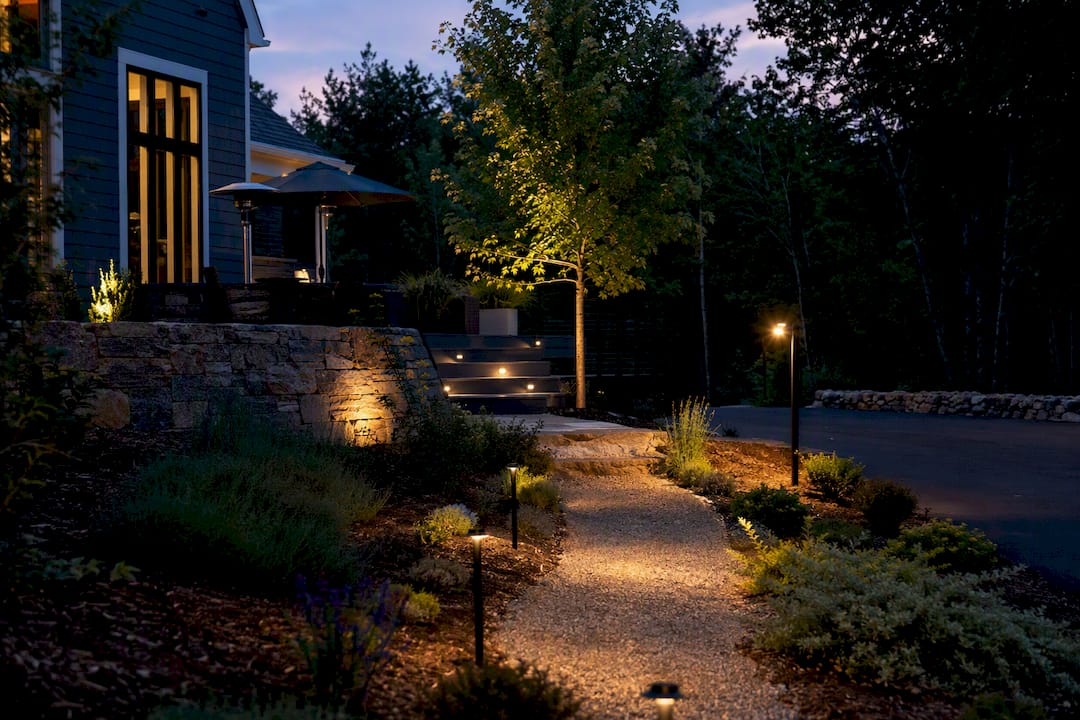
- Path lights — mushroom-cap or lantern-style fixtures spaced 8 to 10 feet apart along walkways for safe footing
- Spotlights (aimable accent lights) — narrow beams that highlight a specimen tree, a stone wall, or an architectural feature
- Floodlights — wider beams for washing a facade, garage, or larger planting bed in soft light
- Step and deck lights — small, recessed or surface-mounted units built into risers and rail posts
- Well lights — flush-mounted, in-ground fixtures that uplight trees or columns without a visible housing
- Pond and underwater lights — fully sealed fixtures rated for submersion, used in water features
On the lamp question: integrated LED fixtures have the diode built in and typically last 20,000 to 50,000 hours with no bulb changes, while lamp-ready fixtures accept a replaceable MR16 or bi-pin LED bulb. Integrated units are simpler for most homeowners; lamp-ready fixtures make sense if you already own extra bulbs or want the option to swap color temperature later.
A typical front walk gets six to eight path lights and a couple of well lights at the entry. A driveway often does better with taller path lights spaced wider apart, since the sightlines are longer. A backyard patio usually mixes step lights on any stairs with one or two spotlights aimed up into a tree canopy, which gives the space depth instead of a flat wash of light.
How Do You Size a Transformer and Avoid Voltage Drop?
Undersizing the transformer or ignoring cable length is the single most common mistake in a DIY low-voltage installation, and it’s an easy one to avoid with a little planning.
Start by adding up the wattage of every fixture you plan to install, then buy a transformer rated with some additional headroom beyond that total. This headroom leaves room to add more fixtures later without buying new equipment, and it keeps the transformer from running at full capacity around the clock. That headroom leaves room to add two or three more fixtures later without buying new equipment, and it keeps the transformer from running at full capacity around the clock.
Voltage drop is the other half of the equation. The farther electricity travels down a cable, the more voltage it loses, and fixtures at the end of a long run visibly dim compared to ones near the transformer. Installer guidance consistently recommends splitting long layouts into multiple shorter runs from the transformer rather than daisy-chaining everything off one line.
Wire gauge guidance:
- Use 12 AWG cable for runs longer than 50 feet or for runs carrying more than 100 watts
- Use 14 AWG for shorter runs under 50 feet with lighter fixture loads
- Consider a 24V transformer instead of 12V if any single run needs to stretch past 100 feet
Layout and testing checklist:
- Sketch your yard and mark fixture locations before buying cable
- Group fixtures into two to four runs based on distance from the transformer, not just convenience
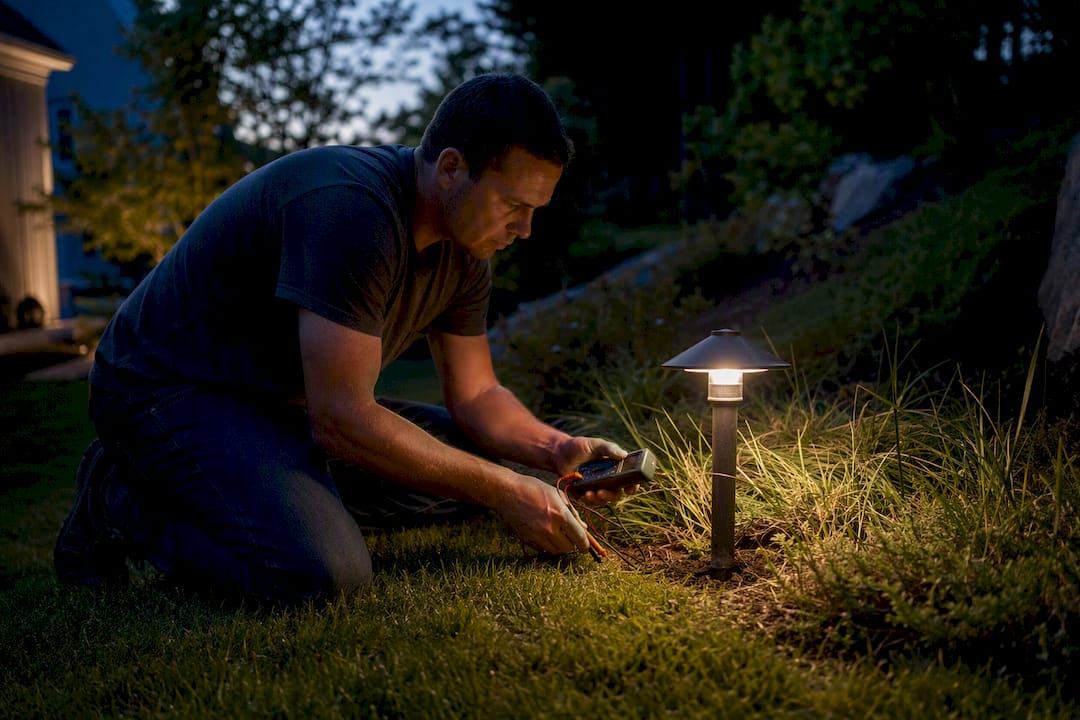
- Install the system, then test voltage at the farthest fixture on each run with a multimeter
- Aim for a reading no lower than 10.5 volts at the end of any run; adjust by upgrading wire gauge or splitting the run if it’s lower
Pro Tip: Test voltage at dusk before you bury a single foot of cable. It’s far easier to swap a transformer tap or split a run while everything is still sitting on top of the grass.
Should You Buy a Kit or Assemble Your Own System?
Kits and component systems both get you to a lit yard, but they suit different situations.
Kits bundle a transformer, a matched set of fixtures, and enough cable for a basic layout, usually for six to eight lights. They’re the fastest way to start, since the transformer is already sized correctly for the included fixtures and everything arrives in one box. The tradeoff: you’re locked into whatever fixture style and finish came in the box, and expanding later means checking whether the included transformer has any spare capacity.
Buying components separately means choosing your own transformer wattage, fixture styles, and cable gauge from the start. It takes more upfront research, but it lets you phase the project (front yard this year, backyard next spring) and match fixtures to specific tasks instead of accepting a one-size-fits-all set.
If you start with a kit, check the transformer’s rated wattage against what’s actually installed. Most kits leave at least some spare capacity, and that gap tells you how many more fixtures you can add before you need a second transformer or a full upgrade.
What Specs Actually Matter When You’re Comparing Fixtures?
Marketing copy loves words like “bright” and “premium.” Specs tell you what you’re actually buying.
- Lumens, not watts — with LED fixtures, wattage tells you almost nothing about brightness. Aim for 50 to 100 lumens for path lights, 100 to 300 for accent spotlights, and 300+ for floods on larger facades
- Color temperature — 2700K to 3000K (warm white) suits most landscape settings and flatters stone, wood, and plantings; cooler tones above 4000K read more institutional and work better for task-focused security lighting
- Beam angle — narrow beams (10 to 25 degrees) work for spotlighting a single tree or statue; wider beams (60 degrees or more) suit washing a wall or bed
- IP rating — look for IP65 or higher on any fixture near sprinklers, ponds, or coastal salt air; well lights and submersible units should carry IP68
- Finish and materials — solid brass or copper fixtures resist corrosion far longer than painted aluminum, especially near the coast
- Certifications — look for UL or ETL listing and a Class 2 transformer rating, plus a manufacturer warranty of at least three years on fixtures
How Do You Install a Low-Voltage System Yourself?
A weekend is realistic for most single-zone front yard installs. Here’s the sequence that keeps mistakes to a minimum:
- Sketch your layout and mark fixture positions relative to the house, walkways, and outlets
- Locate a GFCI-protected exterior outlet for the transformer, or have an electrician install one
- Mount the transformer in a dry, protected spot, at least a few inches off the ground
- Run the main cable from the transformer along your planned route, laying it on the surface first for a trial
- Connect fixtures to the cable using waterproof quick-connects at your marked spacing
- Bury cable 3 to 6 inches deep once you’re happy with fixture placement
- Power on the transformer, test voltage at the farthest fixture, and walk the yard after dark to check aim
Safety checklist before you touch anything:
- Shut off power to the outlet feeding the transformer at the breaker, not just the switch
- Call 811 or your local utility locator before digging, to mark buried gas, water, and other utility lines
- Confirm the outlet feeding the transformer is GFCI protected, per NEC Class 2 wiring rules
- Keep the transformer mounted above grade in a location shielded from direct spray or standing water
Tools and materials worth having on hand: a voltage tester or multimeter, wire cutters and strippers, waterproof connectors or splice kits, a flat spade or edger for trenching, and a garden hose laid out as a placement guide before you cut into the lawn.
Testing happens twice: once electrically, with a multimeter at the farthest fixture on each run, and once visually, walking the property after sunset to check beam angles and fix anything aimed into a neighbor’s window. Leave that 20 to 25% headroom on the transformer even after everything’s tested and buried; it’s what lets you add three or four more fixtures next season without starting over.
Pro Tip: Lay every fixture and run cable on top of the grass first, then live with it for a night before you dig. What looks right on paper often needs a tweak once you see it lit up.
What Does Low-Voltage Lighting Typically Cost, and How Long Does It Take?
DIY kits for a modest front yard typically run from $150 to $500, depending mostly on fixture count, finish quality (brass costs more than painted aluminum), and whether the fixtures use integrated LEDs versus replaceable lamps.
A professional installation for a full property, covering front and back with multiple zones, commonly runs from $2,000 to $8,000 or more. What pushes that number up: trenching through hardscape or roots, longer cable runs requiring heavier gauge wire, permit requirements in some municipalities, and complex mounting like uplighting a two-story facade.
What changes your timeline:
- A single-zone front yard kit: one weekend, start to finish, for most homeowners
- A multi-zone whole-property install with a contractor: typically 1 to 3 days depending on trenching needs and fixture count
- Adding a second phase to an existing system: usually a few hours, assuming the transformer already has spare capacity
Installer data notes that low-voltage systems generally cost less to install than comparable 120V outdoor lighting, largely because the wiring itself doesn’t require the same conduit and permitting overhead in most jurisdictions. That gap is one of the main reasons low-voltage has become the default choice for residential accent and path lighting.
How Do You Maintain a System and Fix Common Problems?
A low-voltage system is low-maintenance, not maintenance-free. Build a simple seasonal routine: check every lamp each spring, wipe down lenses that have gone cloudy with dirt or algae, and inspect connectors for corrosion after winter thaw cycles.
Troubleshooting quick reference:
- Fixtures dimming toward the end of a run — classic voltage drop; check with a multimeter and consider splitting the run or upgrading to heavier gauge wire
- One fixture out, others fine — usually a bad connector or a failed lamp, not a wiring problem; check the quick-connect first
- Green or white corrosion on fittings — clean and reseal with dielectric grease, or replace the connector if corrosion has spread into the wire strands
- Entire system dark — check the transformer’s breaker, timer settings, and photocell before assuming a bigger failure
If corrosion keeps returning at the same connector, or the transformer itself trips repeatedly, that’s usually a sign of a deeper wiring or grounding issue worth having a licensed electrician or lighting contractor look at.
When Should You Hire a Pro Instead of DIYing?
Some projects are genuinely better left to a licensed contractor. Consider hiring out when your layout involves long cable runs across multiple zones, roofline or second-story uplighting that needs ladder work, or when your municipality requires permits for outdoor electrical work.
Warranty expectations matter too. A self-installed system carries only the manufacturer’s fixture warranty, while a professional install often comes with labor and workmanship coverage on top of that.
Divine Landscaping LLC handles the full range of that work for homeowners and small business owners in New Hampshire and nearby Massachusetts:
- Design and fixture selection — matching fixture type, beam angle, and finish to your property’s architecture and plantings
- Full installation — trenching, transformer sizing, wire gauge selection, and connector work done to code
- Night-time proofing — walking the property after dark to fine-tune every beam before calling the job finished
- Warranty and maintenance plans — ongoing support so lamp changes and voltage checks aren’t left entirely on your plate
A professional design visit typically starts with walking the property in daylight to map zones, followed by a lighting mockup, transformer and circuit sizing based on the finalized fixture count, and a night-time walkthrough to confirm everything’s aimed correctly before the crew wraps up. You can see examples of that process on Divine Landscaping’s outdoor lighting page or their Salem, NH lighting service page.
What Does a Basic Wiring Plan Look Like on Paper?
Before you buy a single fixture, sketch the property to scale, even roughly on graph paper. Mark the transformer location near its GFCI outlet, then draw each planned run as a line branching out from that point.
A typical suburban front yard plan looks like this: the transformer sits on the front of the house near the garage, close to an existing exterior outlet. Run 1 heads toward the front walkway, feeding five path lights spaced 8 feet apart. Run 2 branches toward a specimen tree and the foundation planting bed, feeding two spotlights and one well light. Both runs total maybe 140 watts combined, well under a 300-watt transformer’s capacity.
For a backyard patio addition, Run 3 might feed step lights along a set of stairs plus two spotlights aimed at a pergola or fence line, kept as a separate run so a problem on the patio side never dims the front walkway lights.
The point of sketching runs separately, rather than one continuous loop, is that it isolates problems and keeps voltage drop manageable. If Run 2’s well light starts flickering, you know to check that branch specifically instead of tracing wire across the entire property.
Label each run’s total wattage on your sketch as you finalize fixture choices. That number is what you’ll use to confirm the transformer has enough capacity, and it’s what a contractor will ask for first if you eventually bring in professional help for an expansion. Keep the sketch, even a photo of a napkin drawing works, since it saves real time during any future troubleshooting or add-on project.
What Electrical Code Rules Apply to Landscape Lighting?
Low-voltage systems fall under a specific part of the National Electrical Code: the secondary, low-voltage side is typically classified as Class 2 limited-energy wiring, which is why you can safely handle connectors with your bare hands even in wet grass.
That safety allowance doesn’t extend to the primary side of the transformer. The outlet feeding the transformer runs standard 120V household current, and code requires GFCI protection on that outdoor circuit. Skipping that step is the single most common code violation on DIY landscape lighting projects, and it’s also the one most likely to cause a real safety problem if the connection ever gets wet.
Burial depth for low-voltage cable is generally more forgiving than for 120V wiring, but local jurisdictions sometimes add their own minimum depth or conduit requirements, especially under driveways or walkways where cable might get disturbed. Before digging, call your local utility locating service to mark buried gas, water, and communication lines. A shovel through a gas line turns a lighting project into an emergency call fast.
If your project involves permanent structural mounting, uplighting on a second story, or tying into an existing irrigation control panel, check with your town’s building department before starting. Some municipalities require a permit for any new exterior electrical circuit, even a low-voltage one, and skipping that step can complicate things if you ever sell the property.
A Practical Note on Priorities and Staging
If you’re staging a DIY install, light your walkways and entry points first. Safety and first impressions matter more early on than backyard accent lighting, and you can always add a second zone once the first one proves out. Add customer project photos or a testimonial link here once available.
Get a Lighting Plan Without the Guesswork
Divine Landscaping LLC is the pro-install alternative for homeowners who’d rather skip the trenching, transformer math, and after-dark beam adjustments and just get a system that works the first time. Where a DIY kit asks you to size the transformer and test voltage drop yourself, a full design and install from Divine Landscaping includes fixture selection, code-compliant wiring, and a night-time walkthrough before the crew leaves your property.

Our lighting work is one piece of a broader design and build practice across New Hampshire and nearby Massachusetts, so a lighting project can scale into patios, walkways, or a full landscape design plan if you decide to expand later. If you want fixtures picked, wired, and aimed by a crew that’s done it before, request a quote and we’ll set up a site visit to map your property’s lighting zones.