
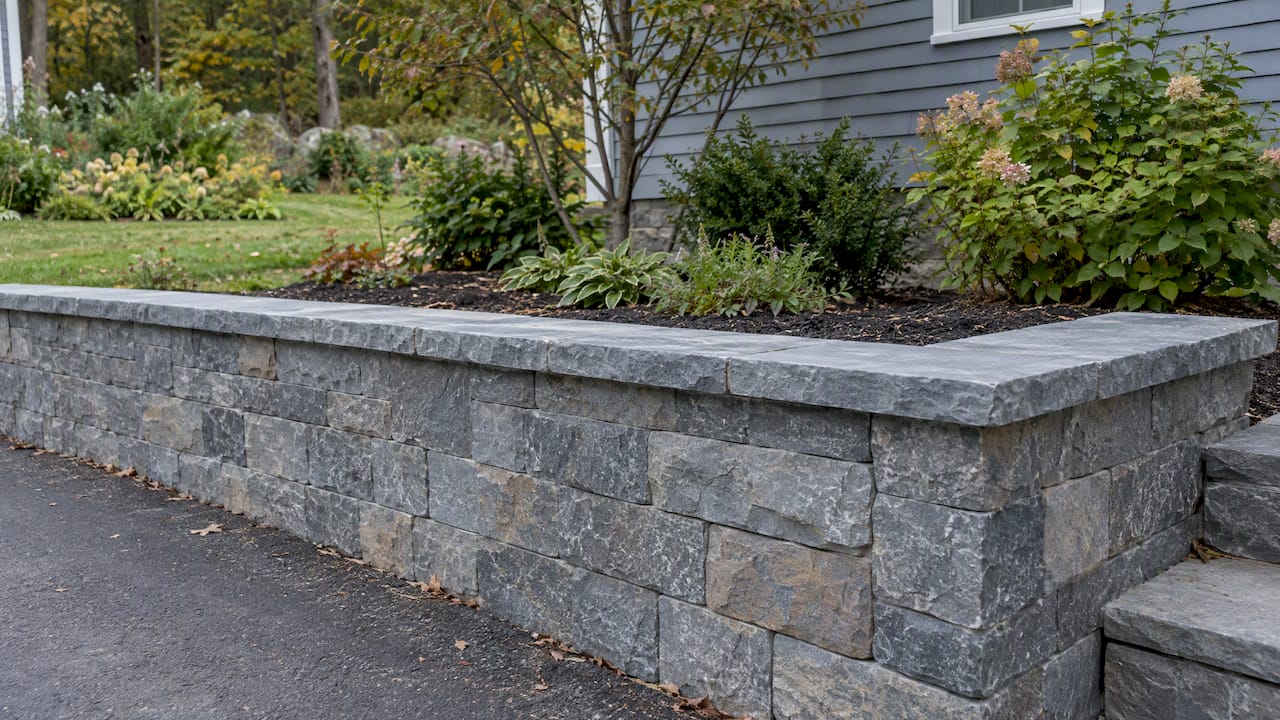
Match the cap material and profile to your existing wall, measure the piece precisely, then bed the new caps with a flexible exterior-grade masonry adhesive or bring in a contractor to handle it. Precast concrete caps are the most common and cost-effective choice for most residential walls, with bullnose, flat, and natural stone profiles covering nearly every style. When a wall needs new caps or a full rebuild, a professional team can supply, fabricate, or install them as part of a complete project.
TL;DR:
- Record each cap’s length, depth including overhang, and thickness; photograph its profile, and measure front and back widths separately for tapered pieces.
- Freestanding and seat walls need caps wide enough to overhang both faces, so check for double sided pieces before ordering.
- Use a flexible exterior grade masonry adhesive because rigid mortar can crack at the joint when freeze thaw cycles or minor wall movement create stress.
- Rebed one or two loose caps after removing old adhesive, but call a contractor if several shift together or the wall tilts.
- Choose standard precast concrete for straight utility walls; reserve custom caps for visible seat walls or historic stone where exact matching matters.
Table of Contents
- Quick Checklist for Sourcing Replacement or New Caps
- Cap Styles and Materials: What to Expect From Each
- How to Measure and Match Your Replacement Caps
- Installing Caps the Right Way: Sequence and Adhesive Choice
- Typical Costs and Where to Buy Matching Caps
- Maintenance and Simple Troubleshooting
- What We Check on a Retaining Wall Site Visit
- Getting the Cap Decision Right the First Time
- Let Us Handle the Measuring and the Matching
- FAQ
- Sources
Quick Checklist for Sourcing Replacement or New Caps
Before you order anything, work through this sequence so you buy once and buy right.
- Measure the overall length, depth (including overhang), and thickness of the existing cap.
- Photograph the cap profile from the side and the top so the curve or bevel is visible.
- Decide whether your wall needs single-sided caps or double-sided caps for a freestanding or seat wall.
- Pick a material and finish that matches the wall face or deliberately contrasts with it.
- Confirm the supplier has the SKU in stock, can provide a color sample, and give a delivery date.
- Weigh the piece size and wall height against your own comfort with lifting and adhesive work, then decide if a contractor makes more sense.
Freestanding and seat walls need caps wide enough to overhang both faces, which rules out some single-sided retail SKUs.
Cap Styles and Materials: What to Expect From Each
Four profiles cover most of what homeowners encounter. Flat caps give a clean, modern line and work well on low garden walls. Bullnose caps round the front edge, which softens the look and feels better underfoot on seat walls. Trapezoid caps taper slightly from back to front, making them the easiest shape to follow a curve without heavy cutting. Natural stone caps bring irregular, textured tops that suit a more rustic or historic property.
Material choice affects both looks and long-term upkeep:
- Precast concrete is the most widely available and budget-friendly option, with consistent sizing that simplifies ordering.
- Cast stone mimics natural stone texture at a lower cost and trims cleanly on-site for curves.
- Natural stone offers the most distinct, non-uniform appearance but is heavier and harder to cut in the field.
- Poured-in-place caps suit custom or irregular wall runs where no stock size fits.
- Polymer-based caps are lightweight alternatives that resist cracking but are less common for visible residential walls.
Precast concrete and cast stone are easier to trim in the field than thick natural stone, which matters most on walls with pronounced curves. All of these materials hold up for years with minimal care, though natural stone generally outlasts cast products if the joints are maintained.
How to Measure and Match Your Replacement Caps
A clean measurement packet is the difference between a cap that fits on delivery and one that gets returned.
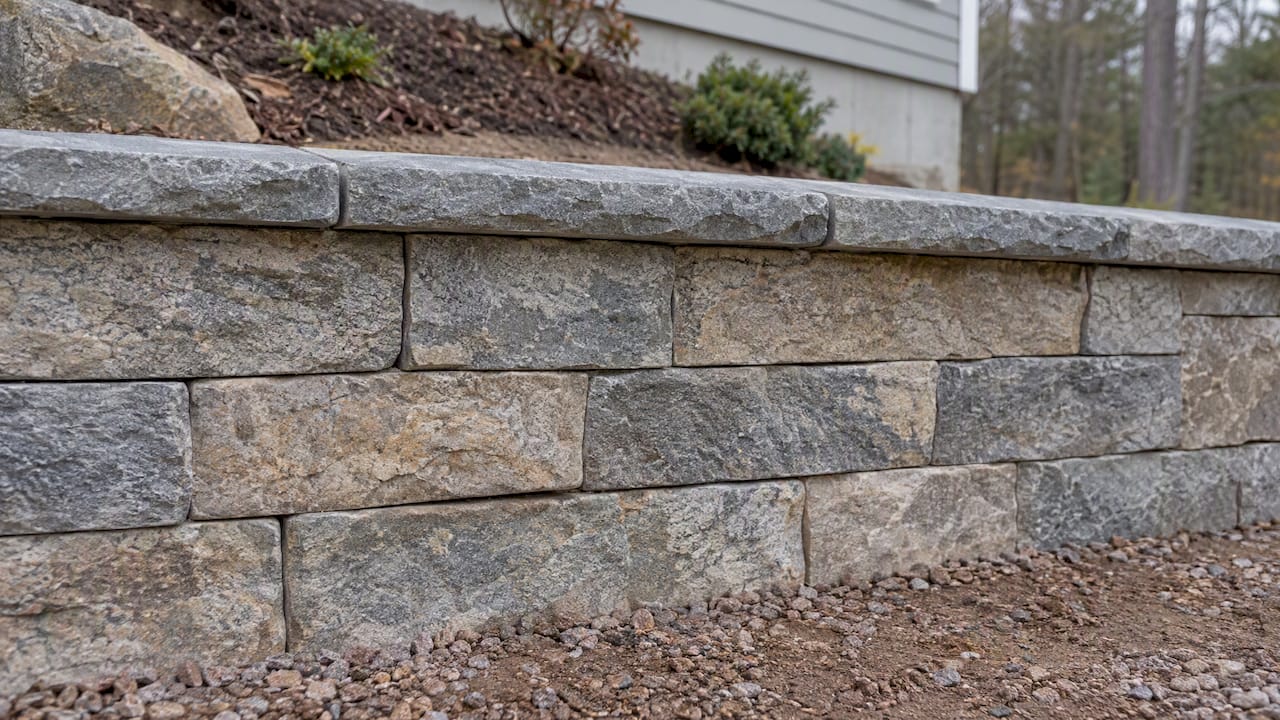
- Record the overall piece length, the depth or overhang past the wall face, and the thickness or height of the cap.
- Trace the front profile onto paper or cardboard if the edge is curved, beveled, or irregular.
- For tapered or trapezoid pieces, measure both the front and back widths separately and note which way the taper runs.
- Take photos of the whole wall, a close-up of one cap from the side, and a close-up from directly above, then label each one with the measurement it corresponds to.
A photo-and-measure packet speeds up matching and cuts down on returns when you send specs to a supplier or contractor. Off-the-shelf caps fit most straight runs; expect custom fabrication, longer lead times, and higher cost only when you need an exact match to a discontinued profile or a historic stone pattern.
Installing Caps the Right Way: Sequence and Adhesive Choice
Getting the sequence right matters more than rushing to finish the job in a weekend.
- Clean the top course of the wall completely, removing debris, old adhesive, and loose material.
- Check that the wall is still plumb and that drainage behind it is functioning before setting anything permanently.
- Dry-fit every cap across the full run first, adjusting spacing and orientation before any adhesive goes down.
- Apply the adhesive in the pattern the manufacturer specifies, then set each cap and press firmly to seat it.
- Tool the joints, apply sealant where the product calls for it, and allow the recommended cure time before foot traffic.
The adhesive choice is where most do-it-yourself jobs go wrong. Rigid mortar bonds often fail at the cap-to-wall joint because freeze-thaw cycles and minor wall movement create stress the mortar can’t absorb. A flexible, exterior-grade concrete masonry adhesive made specifically for retaining wall caps flexes with that movement instead of cracking, which is why contractors treat adhesive selection as the single most important factor in cap longevity in any climate that sees hard freezes.
Pro Tip: Avoid setting caps when temperatures are near freezing; most exterior adhesives need a minimum curing temperature to bond properly.
Keep overhangs modest, generally no more than an inch or two past the wall face, and leave a consistent joint gap so the adhesive has room to flex.
Typical Costs and Where to Buy Matching Caps
Precast concrete caps sit at the lower end of the cost range and are the easiest to find quickly. Cast stone runs a step above that, and natural stone or custom-fabricated caps cost the most, since pricing varies widely by region, piece size, and finish.
- Big-box retailers stock precast concrete SKUs with a handful of standard profiles and colors, though exact matches and lead times vary by store.
- Local landscape supply yards typically carry a wider range of profiles and can special-order less common sizes.
- Masonry fabricators handle custom or natural stone work when no stock size fits your wall.
- A contractor can source and install matching caps as part of a repair, often with better access to fabricators than a retail buyer has alone.
Before buying anywhere, confirm the return policy, ask for a physical color sample, and get a firm delivery or pickup date.
Maintenance and Simple Troubleshooting
Most cap problems are cosmetic rather than structural, but it pays to know the difference. A hairline crack in one cap is usually cosmetic; a cap that rocks, shifts, or has separated from the wall below points to a bond failure or wall movement. Loose caps can often be rebedded with fresh flexible adhesive once the old material is scraped off.
- Check joints and sealant each spring and fall for gaps or crumbling.
- Confirm water is draining away from the wall base, not pooling behind the caps.
- Rebed individual loose caps rather than replacing the whole run when only one or two have shifted.
- Call a contractor when multiple caps have shifted together or the wall itself shows tilt, since that points to a drainage or structural issue rather than a simple adhesive fix. Our drainage checklist covers the warning signs worth checking first, and an independent look at drainage requirements is useful background if you want more detail before calling anyone.
What We Check on a Retaining Wall Site Visit
Our crews handle masonry and hardscape work, including wall installation and repair, across New Hampshire and Massachusetts. On site, we check drainage flow, wall tilt, backfill quality, and any sign of prior repairs before recommending new caps. Before a visit, it helps to have your measurements, photos, and a rough sense of your budget ready.
Getting the Cap Decision Right the First Time
If there’s one thing I’d tell a homeowner before they order anything, it’s this: measure twice and photograph everything, because a cap that’s off by even a half inch in depth won’t sit flush. Custom caps cost more, but that cost pays off on visible seat walls or historic stone walls where a mismatched profile would stand out every time someone walks by. For a straight utility wall tucked along a driveway, a standard precast profile is usually the smarter spend.
— Damian
Let Us Handle the Measuring and the Matching
Finding the exact replacement cap on your own can eat up a weekend before you’ve even started the install. Our team handles the measuring, the material matching, and the installation as part of our masonry and hardscape work, so you get a finished wall instead of a pile of loose caps and a tube of adhesive. We also handle full rebuilds through our retaining wall contractor services when a wall needs more than a cap refresh.
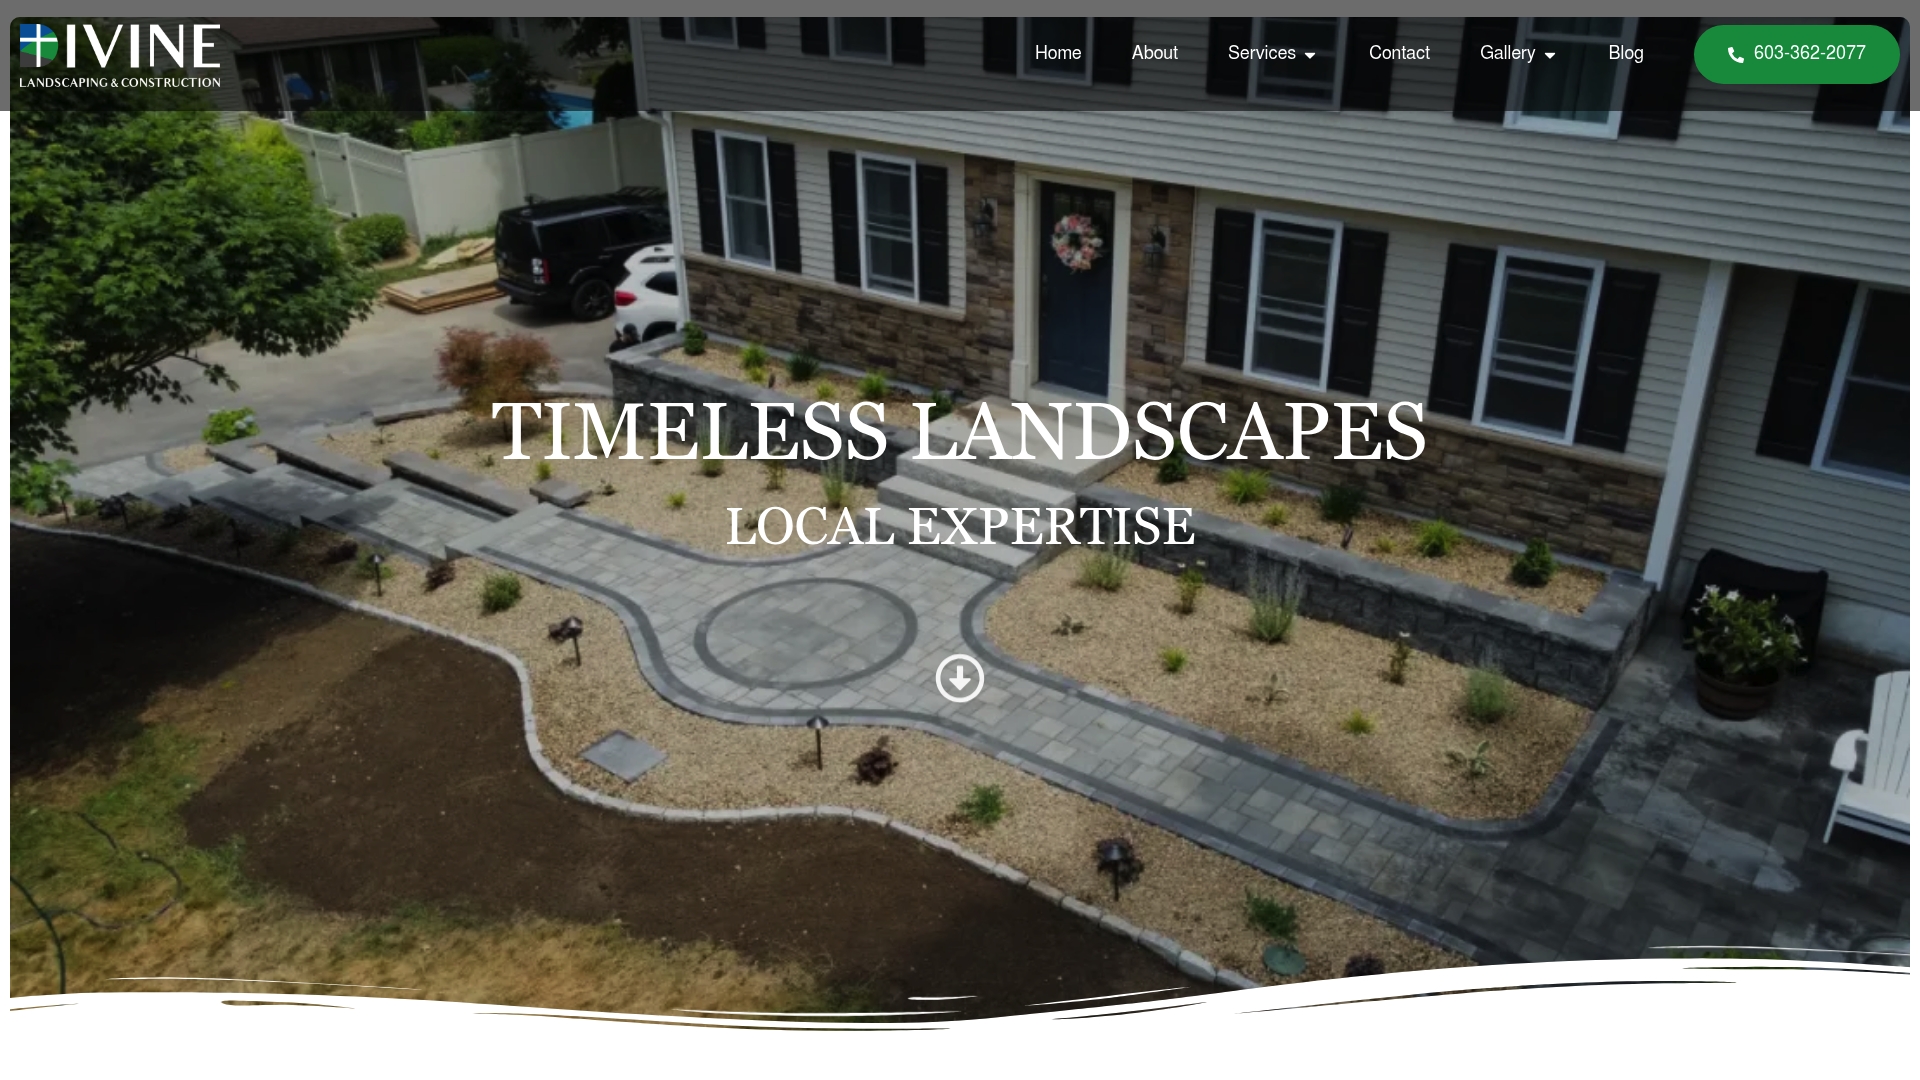
If your wall needs new caps, a repair, or a full rebuild, request a quote and we’ll schedule a site assessment.
FAQ
Should you cap a retaining wall?
Yes, caps protect the top course from water infiltration and give the wall a finished edge. An uncapped wall lets moisture work into the block joints, which speeds up cracking and shifting over time.
How much do retaining wall caps cost?
Precast concrete caps are the most budget-friendly option, cast stone runs higher, and natural stone or custom-fabricated caps cost the most. Exact pricing varies by region, piece size, and finish, so getting a quote from a local supplier or contractor is the most reliable way to budget.
How do you cap a retaining wall?
Clean the top course, dry-fit every cap to check spacing and orientation, then bed each piece with a flexible exterior-grade masonry adhesive rather than rigid mortar. Tool the joints, add sealant where the product calls for it, and let the adhesive cure fully before foot traffic.
What is the best adhesive to use for retaining wall caps?
A flexible, exterior-grade concrete masonry adhesive made specifically for retaining wall caps is the standard choice, since it flexes with freeze-thaw movement instead of cracking the way rigid mortar can. Rigid mortar bonds are more prone to failing at the cap-to-wall joint in climates with hard freezes.