
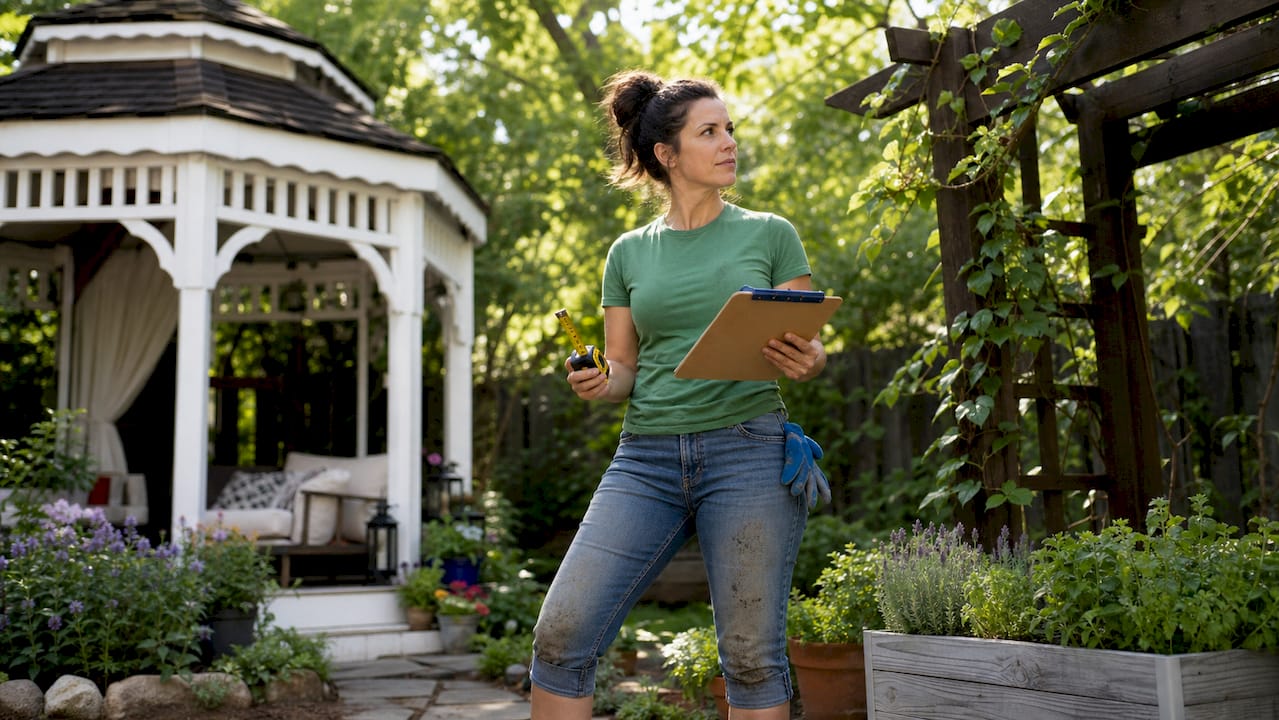
You can transform your backyard without spending a fortune. The most effective budget backyard renovation project starts with one decision: spend on structure first, and save everything else for later. A pea gravel patio typically costs $300–$1,200 DIY depending on size, which is the most affordable way to create a defined outdoor seating area. Fresh mulch across your beds generally costs $200–$500 in bulk. String lights and solar lanterns add ambiance affordably. Done in the right order, these projects compound on each other and produce a yard that looks designed, not just tidied.
Here is what a well-planned affordable outdoor makeover typically covers:
- Hardscape first: gravel paths, concrete or paver patios, and defined bed edges
- Shade and structure: pergolas, trellises, and simple wood benches built from reclaimed lumber
- Ambient lighting: solar path lights, string lights, and lanterns on shepherd hooks
- Water features: repurposed barrels or ceramic pots with a small pump
- Fence upgrades: paint, murals, and vertical planters attached to existing panels
- Greenery on a budget: xeriscaping, drought-tolerant ground covers, and propagated perennials
- Outdoor dining: a bistro corner or picnic table refresh for under $100.
Phased planning ties all of it together. Trying to do everything at once leads to overspending and half-finished spaces. Spread the work across two or three seasons and each phase builds on the last.
1. Build a gravel patio or pathway
A pea gravel or decomposed granite patio is the most affordable way to create a defined outdoor seating area. No concrete mixing, no curing time. You excavate a shallow depth, lay landscape fabric, add steel or aluminum edging, and fill. Gravel costs vary, and a small patio requires multiple tons. Total DIY cost ranges widely depending on size and edging choice.
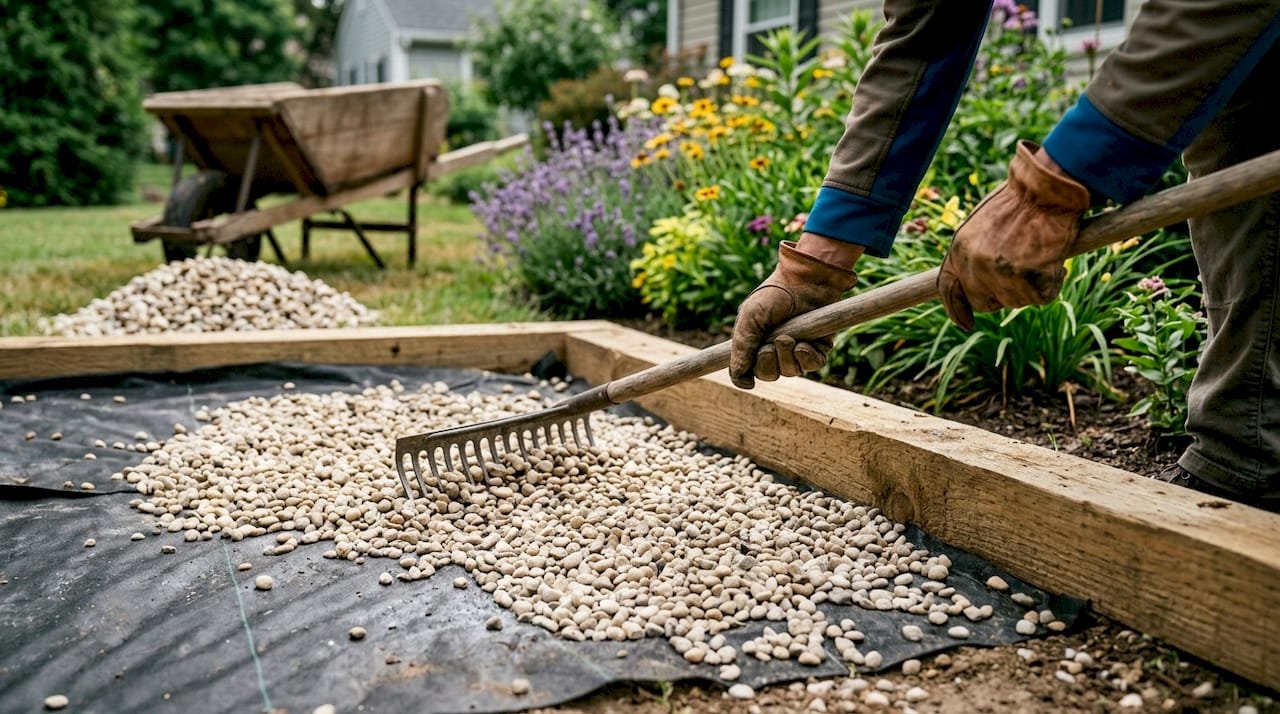
Paths get the same treatment. A stepping stone path from door to patio can improve the yard’s intentional feel. Planning your layout with zones before buying materials prevents redundant purchases and saves money.
Pro Tip: Sketch your yard on graph paper at a scale of 1 square = 2 feet before buying a single bag of gravel. That sketch alone prevents material miscalculations that waste hundreds of dollars.
- Use landscape fabric under all gravel to suppress weeds long-term
- Steel edging at $15–$30 keeps gravel contained and the path looking clean
- Check Facebook Marketplace and local salvage yards for reclaimed pavers before buying new
2. Refresh your garden beds with mulch
Fresh mulch is the single fastest way to make a backyard look maintained. Applying mulch across garden beds costs a few hundred dollars in bulk, and the payoff is immediate. Applying mulch annually suppresses weeds, retains moisture, and feeds the soil as it breaks down, reducing watering time and maintenance costs.
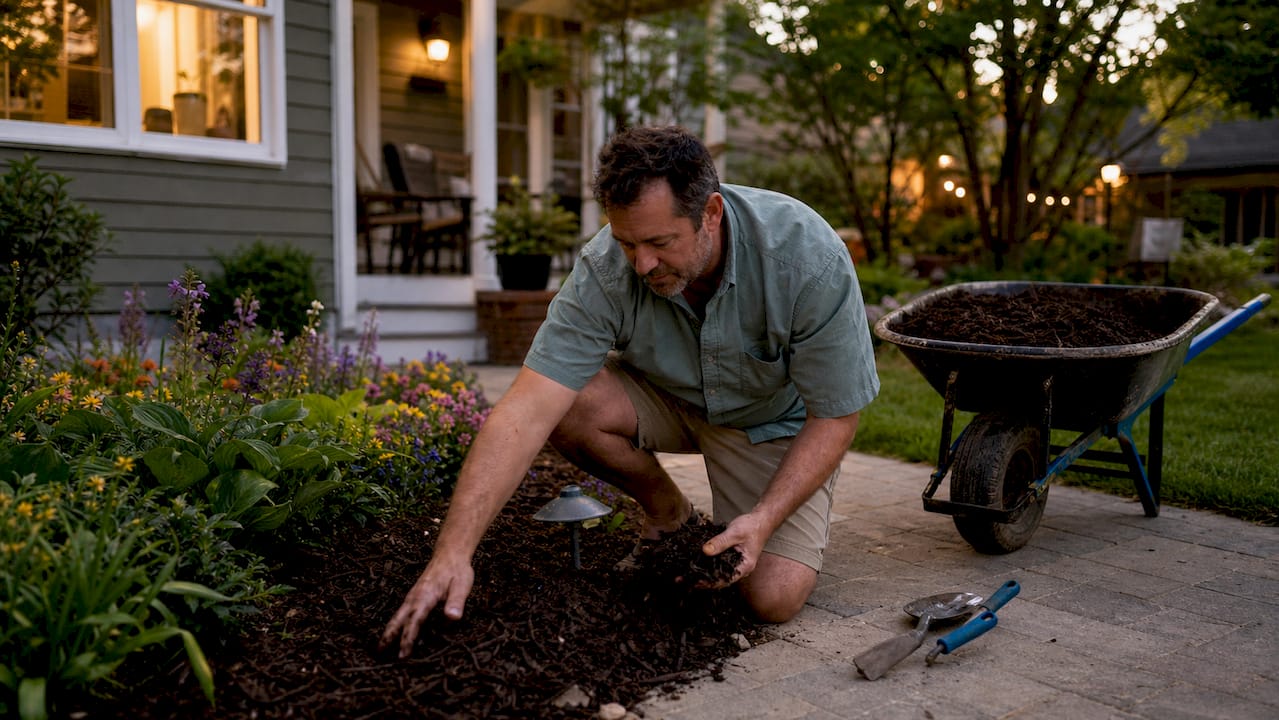
Bulk mulch price varies per cubic yard delivered. A typical backyard with beds requires several cubic yards. Adding edge trimming and bed reshaping enhances the effect, making it a project that takes one Saturday and transforms the yard.
3. DIY a deck or wood platform
A pressure-treated lumber deck has a moderate cost per square foot installed; composite decking costs more but requires little maintenance. Deck sizes vary, affecting total cost. For a tighter budget, simple ground-level platforms from pallet or scaffold board timber offer a more affordable option.
Reclaimed materials make the biggest difference here. Using reclaimed bricks, gravel, and pallet timber can cut hardscape costs by 50–70% compared to buying new. Check local salvage yards and online listings before placing any order at a lumber yard.
- Always check local building codes before starting deck construction
- Ground-level platforms under 30 inches typically require no permit in most U.S. municipalities, but verify with your local authority
- Wear safety glasses and gloves when cutting treated lumber; pressure-treated wood contains preservatives that irritate skin
4. Add a fire pit area
A fire pit creates a natural gathering point and extends how many months you actually use your backyard. A basic 36-inch diameter fire pit kit has a moderate cost for blocks and adhesive. Adding a gravel pad underneath costs extra. A DIY version using retaining wall blocks stacked in a 36-inch circle, two rows high, on a gravel base is possible without mortar. The blocks lock by weight, and the cost can be modest when done purely DIY.
Keep the fire pit at least 10 feet from any structure, fence, or overhead branch. Never place it directly on grass or wood decking.
5. Install a pergola or shade trellis
A 10×12 pressure-treated wood pergola kit costs over a thousand dollars for materials, with optional canopy inserts adding more. For a tighter budget, a simple cedar trellis anchored to an existing fence panel costs less and supports climbing plants that add privacy and shade within one growing season.
Shade is one of the most underrated upgrades in a backyard renovation. A covered seating area extends usable outdoor time through the hottest summer afternoons and makes the space feel like a true outdoor room. For ideas on outdoor living spaces that balance structure and comfort, Divinelandscapingllc covers a range of approaches suited to different budgets.
6. Upgrade your fence with paint and vertical gardens
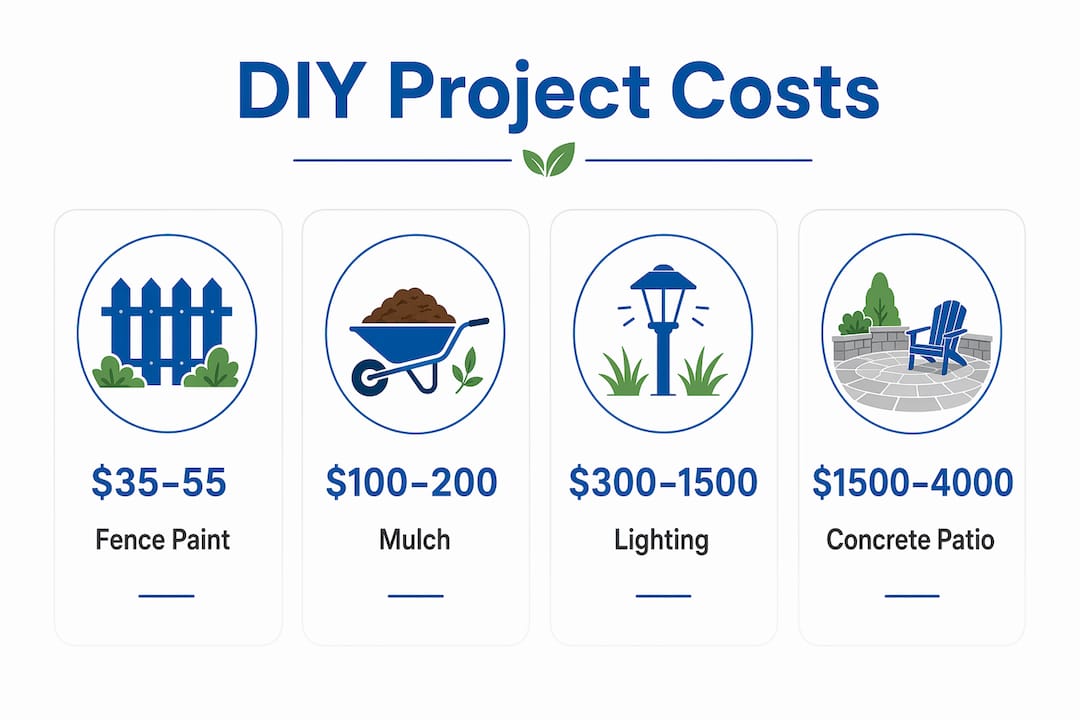
Fence paint delivers a high visual return per dollar in a backyard renovation. A gallon of exterior stain typically covers a full back fence in one weekend. Painting a tired fence black or deep charcoal instantly modernizes the yard backdrop.
Go further by attaching vertical planters or a trellis panel directly to the fence. Pocket planters filled with herbs or trailing plants can be an affordable way to turn a plain fence into a living wall. Editing existing garden elements like cleaning borders and repositioning plants transforms the space at minimal cost.
7. Create a budget-friendly water feature
A small DIY water feature adds sound and visual interest without a major investment. A recycled barrel or large ceramic pot fitted with a small submersible pump creates a self-contained fountain affordably. Add decorative river stones and aquatic plants for an upscale look.
Avoid elaborate built-in ponds at this stage. A contained barrel feature requires no excavation, no liner installation, and no permits. It also moves if you rearrange the yard later.
8. Light up the space affordably
Lighting transforms a backyard after dark and costs far less than most homeowners expect. A 48-foot strand of solar string lights costs under $30. LED path lights and solar lanterns are more expensive options. Combining ground lighting, string lights, and accent lanterns creates a layered effect that looks designed.
Landscape lighting in the $300–$1,500 range covers most backyard setups when you mix solar and low-voltage LED options. Solar fixtures require no wiring and install in minutes, making them the right starting point for any cost-effective garden redesign.
9. Build raised garden beds
A single 4×8-foot raised bed built from cedar boards has a variable cost in materials. Soil fill costs vary, and a 12-inch deep bed needs about one cubic yard. Cedar lasts many years without treatment, making it a practical choice for beginner builds.
Start with one or two beds. Add more each year as the garden develops. Raised beds also solve drainage problems in yards with compacted or clay-heavy soil, which protects your plant investment from the start. For homeowners working with limited space, small yard landscaping ideas from Divinelandscapingllc show how to maximize every square foot.
10. Set up an outdoor dining or entertaining space
An outdoor dining area does not require a full patio build. A bistro corner with two folding chairs and a small table can be set up for under $100. Adding a budget outdoor rug defines the zone, and string lights overhead complete the setup—so for less than $150, you can create a genuine outdoor room.
For a more permanent setup, a concrete patio runs $1,500–$4,000 and anchors the entire design. Patio construction at this level creates a level, durable surface for furniture, grills, and year-round entertaining. Either way, define the space before adding furniture, and the furniture will look intentional rather than scattered.
Pro Tip: Use a $20 outdoor rug to define a seating zone before committing to any hardscape. It lets you test the layout and furniture arrangement before you pour concrete or lay gravel.
11. Try xeriscaping and low-maintenance planting
Xeriscaping and drought-tolerant plants reduce long-term upkeep costs and water bills, making them ideal for budget-conscious homeowners. Ground covers like creeping thyme, clover, or pachysandra cover bare spots for $15–$40 per flat and need almost no maintenance once established. They also eliminate the cost of reseeding problem areas every spring.
Buy small. Perennials in small pots cost roughly a third as much as larger container plants and reach the same size within one or two seasons. Divide existing clump-forming perennials like hostas, daylilies, and ornamental grasses in autumn or early spring. One mature clump splits into three to five full plants at zero cost.
12. Phase your projects to control costs
Spreading a DIY backyard improvement across two or three seasons is the single most effective way to stay on budget. Phasing projects over 2–3 seasons starting with hardscaping, then planting, then furniture and refinement, keeps costs controlled and prevents the burnout that comes from trying to do everything at once.
A practical breakdown:
- Year 1: Lay paths, define edges, improve soil, add one focal point (fire pit, specimen tree, or paver patio)
- Year 2: Fill borders with propagated plants, add raised beds, install lighting
- Year 3: Add furniture, pergola, water feature, and finishing touches
What real budget makeovers actually look like
The most instructive examples share one pattern: structure first, detail second. A $500 backyard makeover on a 35-square-meter plot, documented in a real UK case study, spent its first $100 on fence paint and mulch and produced the biggest visible change of the entire project. Roughly 80% of visual impact came from 20% of the spend: fence paint, gravel, mulch, and three structural shrubs.
“Spend your money on structure (paths, edges, one good tree); get plants cheap or free. A small-garden redesign can be done for £300–£800 if you supply the labour and propagate your own plants.” — Garden UK
The same principle applies at every budget level. A $1,000 transformation that includes steel edging, bulk mulch, a pea gravel patio, stepping stones, and 20 perennial plants produces a yard that reads like a $4,000 project when the layout is planned before any money is spent.
| Project | Typical DIY cost | Visual impact |
|---|---|---|
| Fence paint | $35–$55 per gallon | Very high |
| Mulch refresh | $200–$500 | High |
| Gravel patio or path | $300–$1,200 | High |
| String lights | $18–$24 | High (after dark) |
| Raised garden bed | $75–$200 | Medium |
| Solar path lights | $10–$30 | Medium |
| DIY fire pit | $80–$400 | High |
| Pergola kit | $1,500–$3,000 | Very high |
Pro Tip: Before buying anything, photograph your yard from every angle and mark what stays, what goes, and where you want to sit. That 20-minute exercise prevents the most common budget mistake: buying materials for a layout you later change.
Expert advice on budgeting and planning your renovation
The biggest budget mistake homeowners make is skipping the plan and going straight to the store. A single sketch and zoning plan prevents waste and budget overruns that typically cost $1,000–$3,000 in redundant or incompatible purchases. Measure your yard, draw it to scale, and assign zones (dining, lawn, garden, storage) before spending a dollar.
“Spend on permanent structure and save on everything else. Lay out clear paths and edges first, then fill the borders with plants you grow from seed, division, or cuttings. Use reclaimed materials for hard surfaces and stage the work over several seasons.” — Garden UK
Prioritize spending in this order:
- Drainage first. Water problems destroy everything else you build. Fix grade issues and low spots before laying any hardscape.
- Hardscape second. Paths, patios, and edging define the structure that plants fill in.
- Plants third. Buy small, buy perennial, and propagate what you can.
- Furniture last. New furniture yields poor visual return relative to cost early in a renovation. Delay it until the bones of the yard are established.
For structural projects like retaining walls, concrete patios, or drainage corrections, professional help protects your investment. Divinelandscapingllc offers hardscape services for homeowners who want the structural work done right before tackling the decorative phases themselves. You can also explore curb appeal landscaping ideas that complement a phased DIY approach.
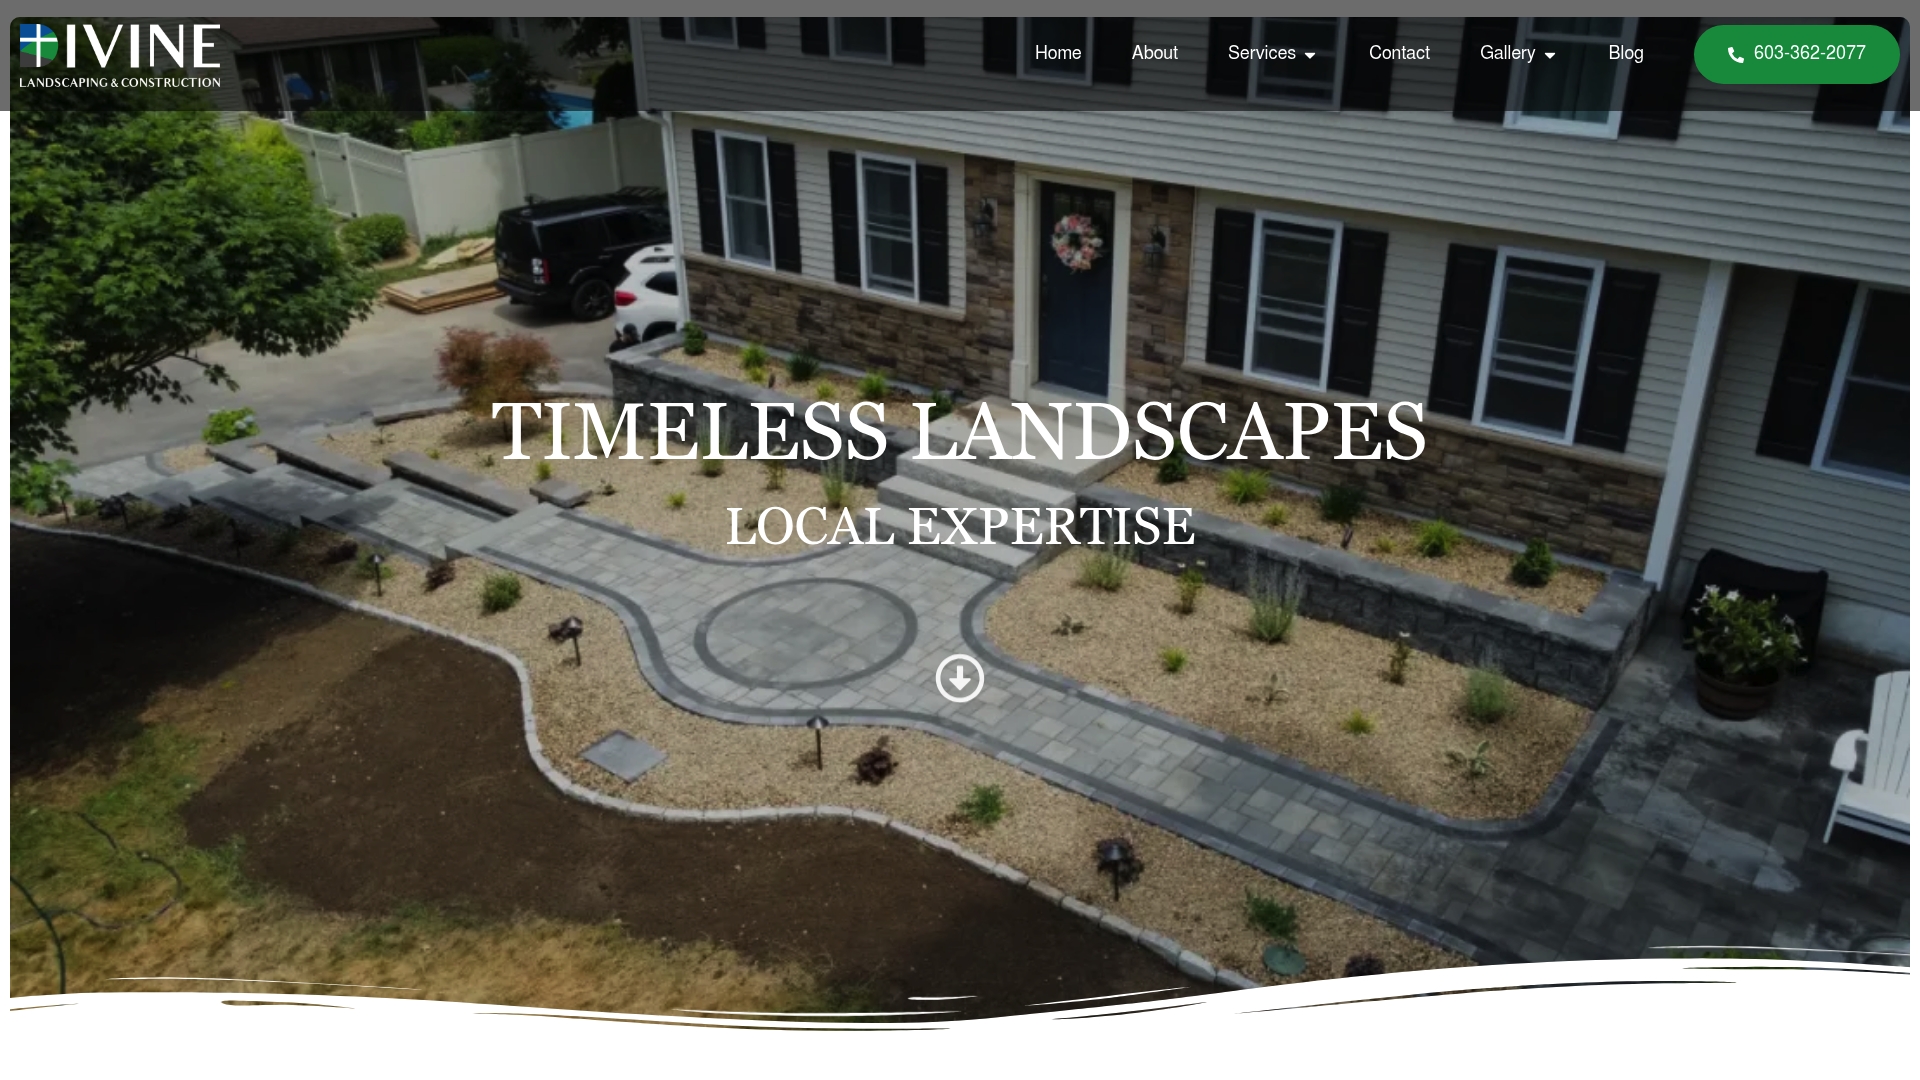
Ready to take your backyard from concept to reality? Divinelandscapingllc designs and builds custom outdoor spaces across New Hampshire and Massachusetts, from patios and walkways to full outdoor living areas. Whether you need professional hardscaping to anchor your DIY vision or a complete design-build, request a quote and get a plan built around your budget.
Key Takeaways
A budget backyard renovation succeeds when you spend on durable structure first and phase all decorative and planting work across two to three seasons.
| Point | Details |
|---|---|
| Structure before everything | Spend on paths, edging, and one focal point before plants, furniture, or lighting. |
| Phase across seasons | Year 1 hardscape, Year 2 planting, Year 3 enhancements keeps costs controlled and quality high. |
| Reclaimed materials cut costs | Using reclaimed bricks, gravel, and pallet timber can reduce hardscape costs by 50–70%. |
| Plan before you spend | A simple scaled sketch and zoning plan prevents $1,000–$3,000 in redundant purchases. |
| Buy small plants | Perennials in small pots cost roughly a third of larger container plants and catch up within a season or two. |