
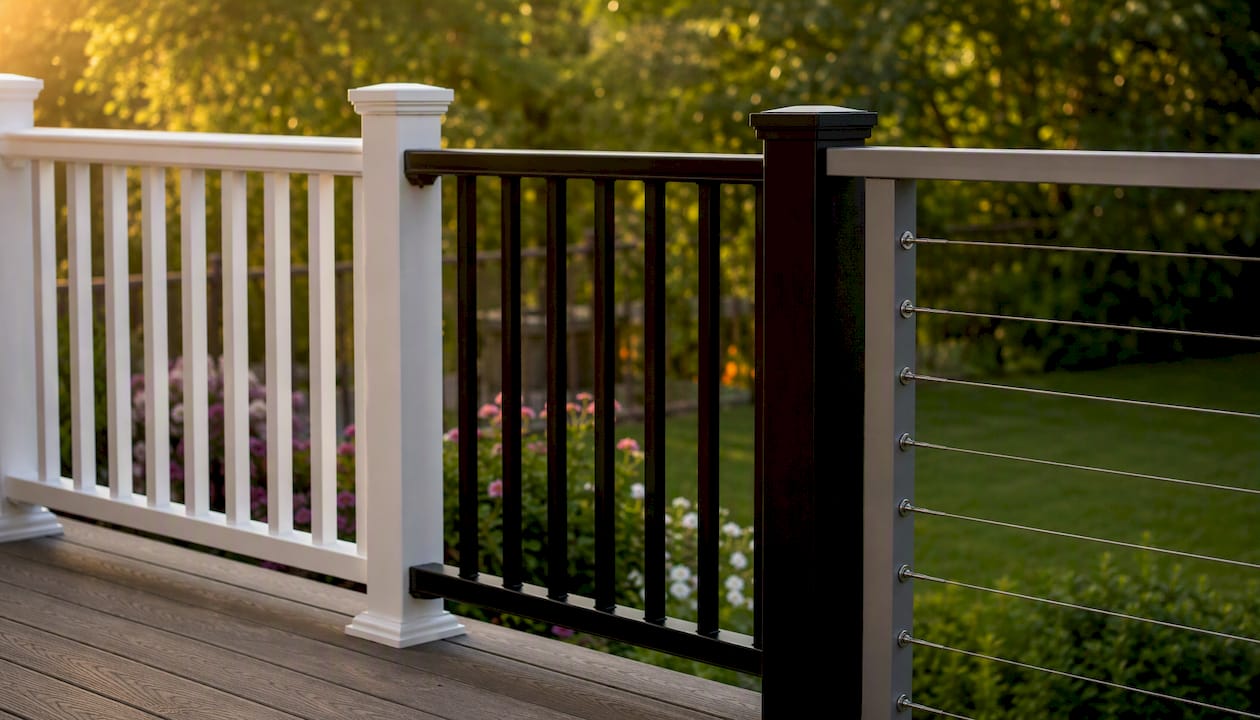
If you want unobstructed views, cable or glass railing wins. If low maintenance matters most, aluminum or composite railing outperforms wood every time. If you’re working with a tighter budget, pressure-treated wood or vinyl gets the job done affordably. Every option has to clear the same bar first: the International Residential Code’s guardrail height rules and the 4-inch sphere rule for baluster spacing, which govern nearly every deck railing project in the country.
That’s the short answer. The right choice for your deck depends on how you weigh four things: how much view you want to protect, how much upkeep you’re willing to do, what you can spend upfront, and who’s using the deck (kids, dogs, or a golden retriever who likes to lean on things count). Before you fall in love with a look, run through this quick checklist:
- Measure your total railing run and count corners. Cost and labor scale with linear footage, and corners add complexity.
- Call your local building department before you buy anything. Height minimums, baluster spacing, and permit rules vary by jurisdiction and by deck height.
- Be honest about maintenance tolerance. If staining a fence sounds like a chore you’ll skip, wood railing is the wrong pick.
- If you’re considering a tensioned cable system or anything requiring structural post upgrades, budget for a professional installer rather than a weekend DIY project.
Key Takeaways
The right deck railing option depends on matching material to your top priority: cable and glass for views, aluminum and composite for low maintenance, and wood or vinyl for tight budgets, all within code.
| Point | Details |
|---|---|
| Match material to priority | Choose cable/glass for views, aluminum/composite for low upkeep, wood/vinyl for budget builds. |
| Code sets the floor | Guardrail height and the 4-inch sphere rule apply to every material choice, no exceptions. |
| Maintenance is a real cost | Wood needs annual staining; aluminum, composite, cable, and vinyl need far less over their lifespan. |
| DIY works for panels, not tension systems | Pre-assembled aluminum and composite kits suit DIYers; cable and glass call for a professional. |
| Coastal homes need T316 stainless | Lower-grade cable corrodes faster in salt air and shortens the system’s lifespan. |
| Divinelandscapingllc handles the full scope | From structural assessment through permits and warranty coordination on railing and deck projects. |
Table of Contents
- What Are the Main Deck Railing Options?
- Which Deck Railing Material Lasts Longest?
- What Parts Make Up a Deck Railing System?
- DIY or Pro Installation: What Should You Expect?
- What Does Building Code Require for Deck Railings?
- How Do You Choose the Right Railing for Your Deck?
- When Does Hiring a Professional Pay Off?
- What Accessories Come With Modern Railing Systems?
- Are Some Railing Materials More Sustainable Than Others?
- Can You Customize or Upgrade Railing Later?
- Do You Need a Permit for Deck Railing?
- A Builder’s Take: What Homeowners Usually Get Wrong
- Ready to Move From Research to a Finished Railing?
- Sources
What Are the Main Deck Railing Options?
Every deck railing option on the market falls into a handful of categories, and each one sends a different visual signal before you even consider material specs.
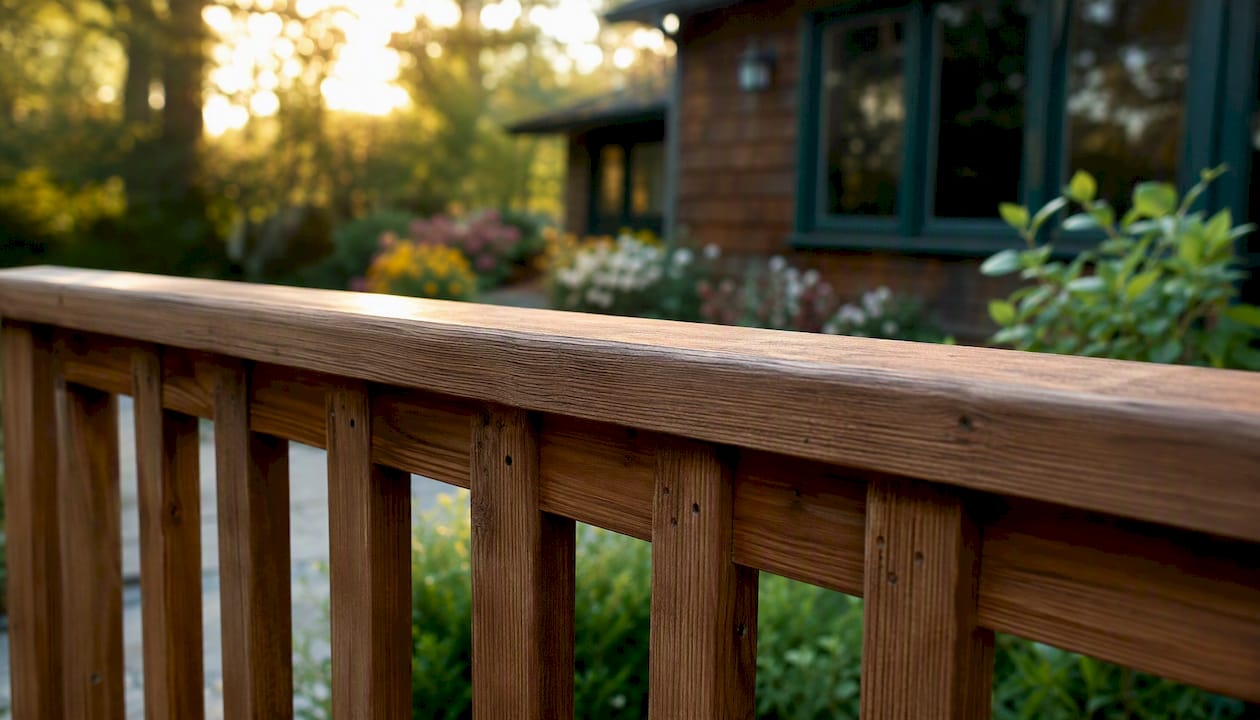
Wood and picket railing is the traditional choice: vertical balusters spaced along a top and bottom rail, usually in pressure-treated pine, cedar, or a hardwood like ipe. It reads as classic and pairs naturally with craftsman or farmhouse homes.
Aluminum and metal railing uses powder-coated aluminum or steel panels, often pre-welded, in vertical picket or horizontal styles. Envision Outdoor Living notes that aluminum finished with an AAMA 2604 powder coat holds up well against fading and corrosion while staying light enough for straightforward installation.
Composite railing mimics painted wood or contemporary metal without the sanding and staining. It’s a strong match for homeowners who want a finished, low-maintenance look that coordinates with composite decking.
Vinyl/PVC railing is the budget-friendly, zero-stain answer. It won’t rot, splinter, or need repainting, though it can look plasticky up close compared with composite.
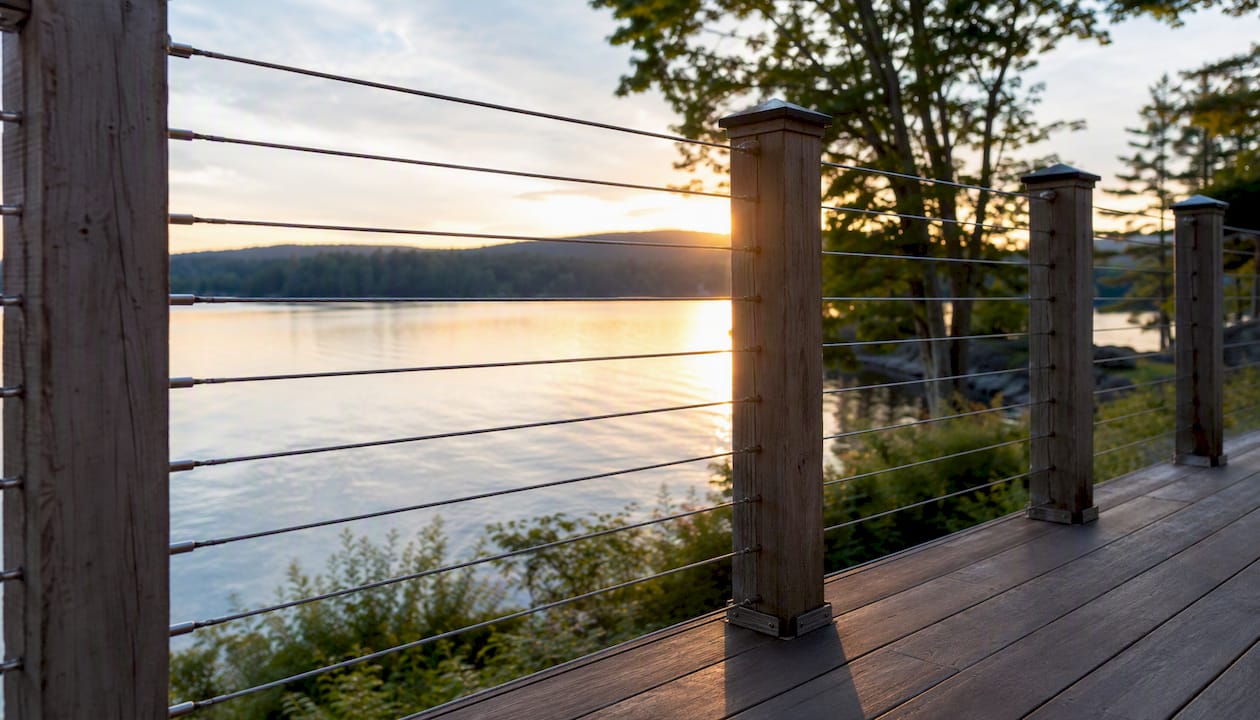
Cable railing uses horizontal or vertical stainless steel cables strung between posts. It’s the go-to for anyone with a view worth protecting, since the thin cables practically disappear against a lake, mountain range, or backyard tree line.
Glass panel railing goes a step further on transparency, using tempered glass panes instead of individual balusters. It suits modern architecture and rooftop decks where wind and view both matter.
Square-web and Chippendale styles swap balusters for a lattice pattern, either functional (wire mesh, sometimes called hog wire) or decorative (crisscrossing wood in a Chippendale grid). Both add texture without blocking light the way solid panels do.
A few quick style-to-use matches:
- Best for preserving a view: cable or glass.
- Best for privacy: solid composite panels or tightly spaced pickets.
- Best for traditional or colonial-style homes: wood pickets or a wrought-iron look.
- Best for modern or contemporary builds: cable, glass, or horizontal aluminum.
TimberTech’s railing lineup illustrates how far infill choice can shift a deck’s character. Its catalog spans drink rail caps, glass, square web, and a wrought-iron look, all mountable on the same basic post-and-rail frame. HGTV’s gallery of railing designs is a useful place to browse photos across all these styles before you commit, since seeing a style on someone else’s deck often clarifies what will and won’t work on yours.
Which Deck Railing Material Lasts Longest?
Marine-grade stainless cable and quality aluminum systems typically outlast every other deck railing material, often by decades, while wood needs the most frequent attention to avoid rot and warping.
A few things drive those ranges. Wood costs the least to buy but the most to keep looking good, and Lowe’s buying guide points out that aluminum’s durability and low upkeep make it worth the higher sticker price for many homeowners. Cable railing sits at the opposite end of the cost spectrum from wood, but the ROI comparison from Senmit shows that gap narrows over time: wood balusters typically run $15 to $60 per linear foot in materials but need repeated refinishing, while T316 stainless cable systems, though pricier upfront, can last decades with minimal intervention.
Pro Tip: If you live within a few miles of salt water, don’t cut corners on cable grade. Anything below T316 stainless is a bet against chloride corrosion you’re likely to lose within a handful of seasons.
Climate should weigh heavily in your material decision. Coastal exposure accelerates corrosion on lower-grade metal fasteners and cable. Freeze-thaw cycles stress wood joints and can crack poorly sealed composite over many seasons. High humidity feeds rot in untreated wood far faster than in a dry climate. Maintenance realistically breaks down like this:
- Wood: Sand, stain, or seal annually or every other year; inspect for loose balusters and soft spots each spring.
- Vinyl and composite: Rinse with soap and water once or twice a year; check post caps and connectors for movement.
- Aluminum and steel: Wipe down and inspect the powder coat for chips; touch up scratches before rust sets in.
- Cable: Check tension seasonally, especially after the first year as components settle; inspect end fittings for corrosion.
- Glass: Clean like exterior windows; inspect clips and gaskets for wear.
On warranty coverage, Deckorators’ aluminum and composite railing lines commonly carry limited lifetime or multi-decade coverage on structural components, with shorter windows on finish and color retention. That’s a meaningful data point when you’re comparing sticker price against how long a product is actually backed to perform.
What Parts Make Up a Deck Railing System?
Every railing, regardless of material, breaks down into the same four components: posts, a top rail, sometimes a bottom rail, and the infill that fills the space between them.
Posts anchor the whole system to the deck frame and carry the structural load. They need to be solidly fastened to a joist or blocking, not just the decking surface. The top rail is what people actually lean on, and it needs to meet load requirements on its own. The bottom rail (when present) holds the lower ends of vertical infill and sits close enough to the deck surface to keep the 4-inch sphere rule satisfied at the base. Infill is the visual and functional centerpiece: what goes between the posts and rails.
Common infill choices, compared:
- Vertical pickets: Classic, code-compliant spacing is straightforward, works in wood, aluminum, or vinyl.
- Horizontal cable: Maximizes view, requires precise tensioning and intermediate posts on long runs to control deflection.
- Glass panels: Best unobstructed sightline, highest material cost, needs specialized clips and occasional gasket replacement.
- Square-web panels: Airy look, good for wind-exposed decks, moderate cost, less common so sourcing can take longer.
- Hog wire: Industrial or farmhouse aesthetic, budget-friendly, needs a sturdy frame to stay taut over time.
Hybrid systems are worth considering if you like the warmth of wood but want low-maintenance infill. Wood or composite posts paired with stainless cable runs give you a traditional frame with a modern, view-friendly fill. If you go this route, use post sleeves or protective end caps where cable fittings meet wood, since raw wood in contact with wet stainless hardware can trap moisture and start rotting from the inside out.
Pro Tip: A hybrid wood-post, stainless-cable system needs stiffer posts than a standard picket railing. Cable tension pulls laterally on end posts, so undersized 4x4s will bow over time unless they’re reinforced or upsized to 6×6.
DIY or Pro Installation: What Should You Expect?
Panelized aluminum and pre-assembled composite systems are the most DIY-friendly deck railing options; cable and engineered metal systems almost always call for a professional.
Rough cost ranges, installed versus materials-only, per linear foot:
- Pressure-treated wood: $20–$45 materials, $40–$70 installed.
- Vinyl/PVC: $25–$50 materials, $45–$80 installed.
- Composite panel systems: $35–$70 materials, $60–$110 installed.
- Aluminum panel systems: $35–$80 materials, $65–$130 installed.
- Cable railing: $55–$160 materials, $100–$250+ installed depending on run length and tensioning complexity.
- Glass panel: $80–$220 materials, $150–$300+ installed.
Timeline expectations vary just as widely:
- A simple panelized rail install (aluminum or composite, pre-assembled sections) typically takes a weekend for a moderate-length deck.
- A full custom wood or hardwood system with individually set balusters can take three to five days depending on run length and corner count.
- Cable railing installation, including precise post spacing and tensioning each run, often takes a professional crew one to two days but can stretch longer on multi-level decks or tight budgets that require phased work.
- Glass panel systems depend heavily on fabrication lead time. Custom-cut tempered glass can take two to four weeks to arrive before installation even starts.
| Railing type | DIY-friendly? | Typical pro involvement |
|---|---|---|
| Panelized aluminum | Yes | Optional, mainly for permit sign-off |
| Pre-assembled composite | Yes | Optional |
| Pressure-treated wood pickets | Moderate | Recommended for stair sections |
| Vinyl panel kits | Yes | Optional |
| Cable railing | Not recommended | Strongly recommended |
| Glass panel | Not recommended | Strongly recommended |
DecksDirect points out that pre-welded metal panels and pre-assembled railing sections are consistently among the easiest products for a homeowner to install without a contractor crew, which tracks with why composite and aluminum panel kits dominate the DIY end of the spectrum.
Watch for hidden costs that rarely show up in a base estimate: post reinforcement if your existing framing is undersized, permit fees that vary by town, corroded ledger anchors on older decks that need replacing before new railing goes up, and shipping or custom fabrication charges on glass. None of these are optional once discovered, and all of them can turn a tidy weekend budget into a bigger line item.
What Does Building Code Require for Deck Railings?
Every deck railing option has to satisfy the same two numbers: minimum guard height and maximum baluster spacing, both set by the International Residential Code and enforced locally.
Guard height typically runs 36 inches for residential decks, though many jurisdictions require 42 inches on decks above a certain height or on commercial applications. The 4-inch sphere rule is the industry shorthand for baluster spacing: a 4-inch sphere should not be able to pass through any gap in the railing, which keeps small children from slipping through. On stair rails, that spacing tightens to 4 3/8 inches in many codes, so don’t assume stair sections use the same spacing as the flat run.
Load requirements matter just as much as spacing, even though they’re less visible. A top rail is generally expected to withstand a 200-pound point load without failing, which is why undersized posts or thin decorative rails are a real safety issue, not just a cosmetic shortcut. For cable systems specifically, installer guidance from Senmit’s cost and comparison research recommends posts spaced 3 to 4 feet apart with cable tensioned in the 200 to 300 pound range per run, since under-tensioned cable can deflect enough under load to exceed the 4-inch sphere rule even though it passed inspection when new.
Pro Tip: Cable that passes the sphere test on install day can fail it a year later once cables stretch slightly. Build in a mid-year tension check, especially on longer runs.
Common mistakes that trip up both DIYers and inspectors:
- Loose or under-tensioned cable that deflects past the 4-inch limit under a light push.
- Posts fastened only to decking boards instead of structural framing or blocking.
- Baluster gaps that creep past 4 inches on older or warped wood railing.
- Stair handrails installed at deck-railing height instead of the lower height code requires for graspable stair rails.
Before you buy materials, call your local building department to confirm current height and spacing rules for your specific deck height and use. Anything involving structural post modifications, cable tensioning systems, or decks more than a few feet off grade often needs an engineered solution and a permit, not just a trip to the hardware store.
How Do You Choose the Right Railing for Your Deck?
Picking the right deck railing option comes down to running your priorities through a short, honest checklist before you shop for materials.
- Measure your total railing run, corner count, and deck height above grade.
- List your top three priorities in order: view, low maintenance, budget, or child/pet safety.
- Check your climate exposure: coastal salt air, heavy humidity, or freeze-thaw winters all push toward different material choices.
- Set a realistic budget that includes installed cost, not just materials, plus a buffer for post reinforcement.
- Decide, honestly, whether this is a weekend DIY project or a job for a licensed contractor.
Questions worth asking any contractor or supplier before you sign anything:
- What warranty applies to the structural components versus just the finish?
- What corrosion resistance grade is the cable or hardware rated for, and is that appropriate for your climate?
- How are posts anchored, and will existing framing need reinforcement?
- What’s the realistic installed timeline, including any custom fabrication lead time?
Red flags to walk away from: a cable supplier who can’t give you a tension specification, a composite or aluminum line with no written warranty, or an installer who’s vague about how posts attach to your deck’s structural frame.
A few real-world scenarios to ground this:
A lakeside second-story deck usually points toward cable or glass, since the whole point of the location is the view, and the added post reinforcement cost is worth it for what you’re protecting. A ground-level deck tucked close to neighbors leans toward solid composite panels or tightly spaced pickets for privacy. An urban rooftop balcony, often wind-exposed and space-constrained, tends to favor glass or aluminum for their combination of durability and a lighter visual footprint.
When Does Hiring a Professional Pay Off?
Structural changes, elevated decks, cable tensioning, and permit complexity are the four situations where Divinelandscapingllc consistently recommends bringing in a professional rather than tackling railing installation solo.
A few project patterns illustrate why. A coastal New Hampshire client wanted to swap outdated wood balusters for cable railing on a second-story deck facing the water. The existing posts weren’t rated for cable tension loads, so the project involved upsizing posts and adding blocking before a single cable went in. The result held tension through two full New England winters without a callback.
Another homeowner asked for a raised composite deck rebuild after the original wood railing had rotted at the post bases. Composite railing panels went on a reinforced frame, and the finished deck needed essentially no upkeep beyond an occasional rinse.
A third project replaced a failing stair rail with a powder-coated metal panel system. Stair railing has tighter code requirements than flat runs, and getting the graspable handrail height and baluster spacing right on an angled run is a common point where DIY installs fail inspection.
The pattern across all three: when a project touches structural framing, requires engineered anchoring, or involves a permit review, professional involvement isn’t just convenient, it protects you from a failed inspection or a railing that doesn’t hold up.
Homeowners who hire out complex railing work consistently tell us the biggest relief wasn’t the labor, it was not having to become an overnight expert in cable tension specs or local permit language just to get one project done right.
What a contractor typically handles that a DIY project doesn’t:
- Pulling and managing permits with the local building department.
- Engineering post attachments rated for the actual load, not a guess.
- Coordinating manufacturer warranties so coverage stays valid.
- Compressing the timeline by running site prep, material sourcing, and installation in parallel instead of sequentially.
What Accessories Come With Modern Railing Systems?
Deck railing today does more than meet code. Drink rail caps, built into the top rail, give you a flat surface wide enough to set down a glass without balancing it on a narrow 2×4 cap. Integrated post-cap or under-rail lighting adds both safety and evening ambiance, particularly useful on stairs or multi-level decks where a dark step is a real tripping hazard. Handrail add-ons, distinct from the main guard rail, are required by code on most stair runs and often overlooked until inspection flags them. Gate hardware, matched to the railing’s material and finish, is worth planning for early if you’re adding a dog-safe closure point or a side-yard access gap.
Are Some Railing Materials More Sustainable Than Others?
Composite decking and railing made from recycled wood fiber and plastic diverts material from landfills and skips the chemical treatments pressure-treated lumber requires, making it one of the more environmentally conscious choices in the category. Aluminum railing is highly recyclable at the end of its service life, and its multi-decade lifespan means fewer replacement cycles overall, which reduces cumulative material use even if the initial manufacturing footprint is higher than wood. Wood railing, particularly from responsibly harvested sources, is renewable, but the more frequent replacement cycle from rot and weather damage offsets some of that advantage over the life of a deck. Vinyl and PVC railing are durable and low-maintenance, but they’re petroleum-based products that aren’t easily recycled at end of life, which is worth weighing if sustainability ranks high on your priority list.
Can You Customize or Upgrade Railing Later?
Aluminum and composite systems tend to offer the most upgrade flexibility after installation. Many aluminum lines support swappable infill inserts, so you can start with basic pickets and later switch a section to glass or a decorative panel without replacing the entire post structure. Color options on powder-coated aluminum and composite railing have expanded significantly, letting you match or contrast with siding and decking rather than settling for a single stock finish. Cable systems offer less retrofit flexibility since the posts are engineered specifically for tension loads, so if you think you might want to switch to a different infill down the road, that’s worth deciding before installation rather than after.
Do You Need a Permit for Deck Railing?
Most municipalities require a permit for new deck railing installation, especially when it involves structural changes to posts or framing. Simple like-for-like infill swaps on an existing, code-compliant frame sometimes fall outside permit requirements. Inspection typically checks guardrail height, baluster spacing against the 4-inch sphere rule, and post attachment to structural framing rather than just the decking surface. Rules vary meaningfully by town and by deck height, so confirming with your local building department before you order materials saves you from a failed inspection and a redo. This is general guidance, not a substitute for checking your specific jurisdiction’s current code.
A Builder’s Take: What Homeowners Usually Get Wrong
The regret we hear most often isn’t about style. It’s about posts and anchors. Homeowners fall in love with a railing’s look, spend their whole budget on the visible material, and skip reinforcing the structural connections that actually keep it standing. A beautiful cable system on an undersized post will loosen within a couple of seasons, and by then the fix costs more than doing it right the first time would have.
The second-most common regret is skipping marine-grade cable near salt water to save a few dollars per foot. The pitting resistance research on T316 stainless isn’t marketing fluff. Lower grades corrode visibly within a few years of coastal exposure, and replacing corroded cable on an installed system is far more disruptive than paying the upgrade cost during the original install.
Pro Tip: If you’re deciding where to spend extra budget, put it into post stiffness and anchoring before you put it into a fancier top rail finish. Nobody notices a slightly plainer cap rail. Everyone notices a wobbly railing.
Think about lifetime cost, not just the number on the initial quote. A $40-per-foot wood railing that needs refinishing every other year and partial replacement in fifteen years can cost more over two decades than a $70-per-foot aluminum system that needs almost nothing. Price the whole ownership period, not just the invoice.
Ready to Move From Research to a Finished Railing?
Divinelandscapingllc gives you a faster route to a finished railing than sourcing panels yourself and hoping your existing posts can handle a cable retrofit. We assess your deck’s structure first, so you’re not guessing whether your framing can support the system you want before we ever order materials.

Our scope on railing projects typically covers site assessment and structural evaluation, material sourcing across wood, composite, aluminum, and stainless cable, engineered post attachments where tension loads demand it, permit pulls with your local building department, and warranty coordination with the manufacturer. If your railing project connects to a larger deck build or hardscape work, we handle that scope in the same project rather than passing you between separate crews.
If you’re ready to see what a properly engineered railing system looks like on a deck like yours, browse our outdoor living project gallery or start with a site visit through our home page to schedule an estimate.
Sources
- DecksDirect — deck railing overview and product categories
- Deckorators — railing product lines and warranties