
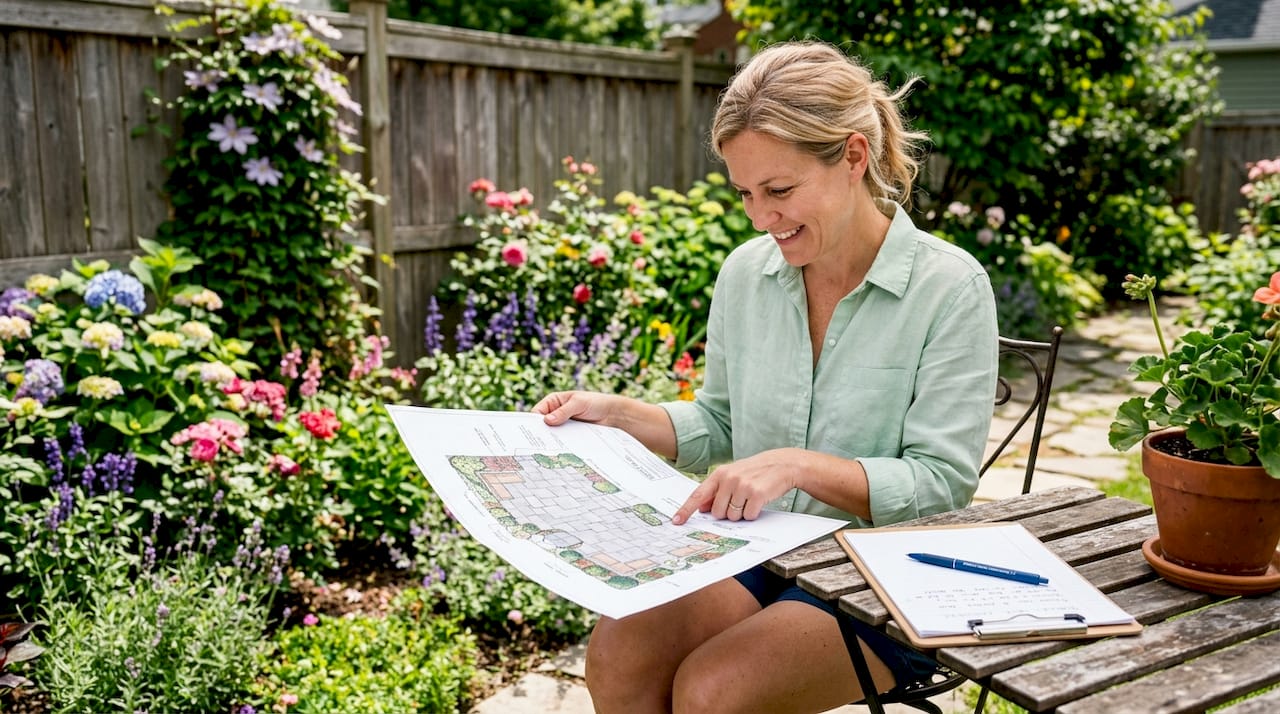
Planning your backyard patio layout means designing an outdoor space that balances function, flow, and aesthetics for your home and lifestyle. The industry term for this process is hardscape design, and it covers everything from sizing zones to selecting materials and managing drainage. A well-planned patio adds usable square footage to your home, increases property value, and gives you a space you will actually use. Divinelandscapingllc works with New Hampshire homeowners every season to turn underused backyards into purposeful outdoor living spaces. The principles in this guide apply whether you are starting from scratch or renovating an existing patio.
How to plan backyard patio layout: sizing and zoning first
The single most important decision in patio design is getting the size right. A well-proportioned patio should occupy about 25–30% of your total backyard area. That ratio keeps a healthy balance between hardscaping and greenery, so your yard does not feel like a parking lot.
Once you know your target square footage, divide the space into functional zones. Each zone serves one primary activity, and focusing on 2–3 key activities produces a more usable patio than trying to fit everything in. Common zones include lounging, dining, and a focal point area such as a fire pit or grill station.
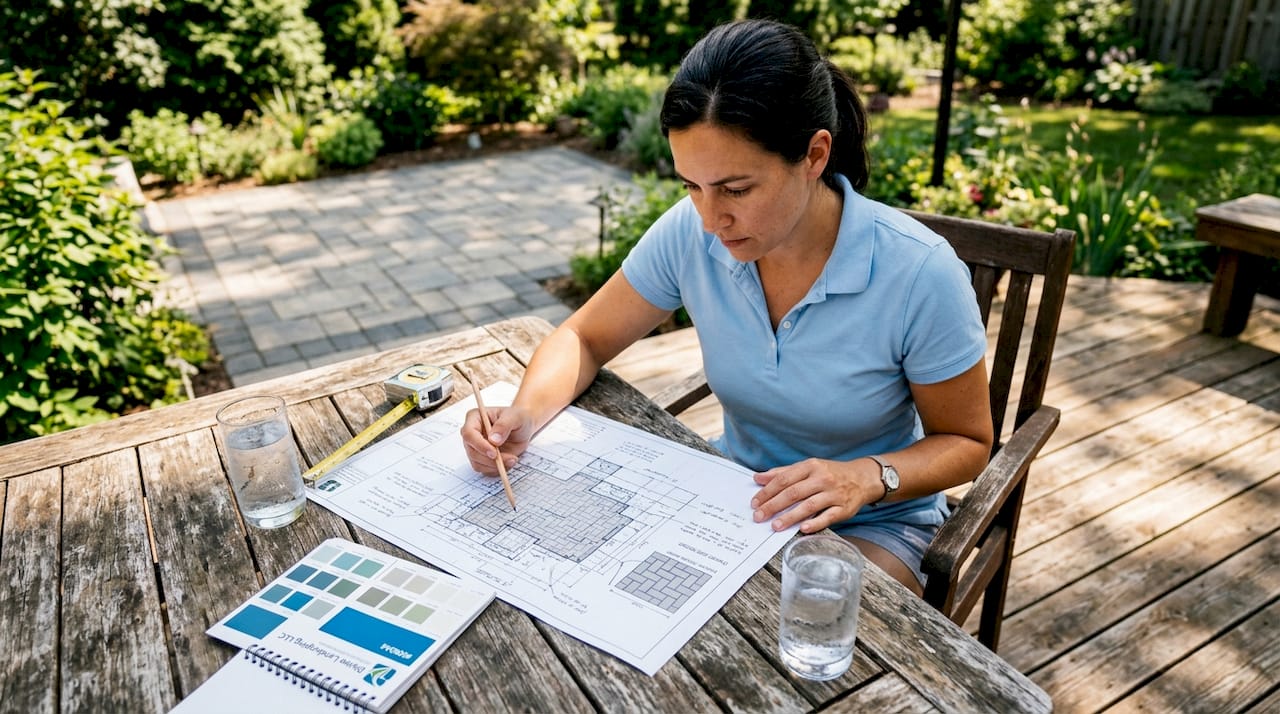
Standard spatial requirements give you a concrete starting point. A 4-person lounge area needs at least 8×10 feet. A 6-person dining setup requires 10×10 feet. Walking paths between zones need 36 inches of clear width for comfortable traffic flow. Dining chairs alone need 36 inches of clearance behind them so guests can pull back and stand without bumping into planters or walls.
Pro Tip: Use outdoor rugs to visually anchor each zone. Rugs extending 18–24 inches beyond your furniture prevent the “floating” effect and make each area feel like a defined room.
| Zone | Minimum size | Clearance needed |
|---|---|---|
| 4-person lounge | 8×10 ft | 36 in. pathways |
| 6-person dining | 10×10 ft | 36 in. behind chairs |
| Walking path | 36 in. wide | Unobstructed |
| Fire pit seating | 10×12 ft | 36 in. around perimeter |
| Grill station | 5×8 ft | 48 in. in front |
What is the step-by-step process for laying out a patio?
A clear process prevents costly mistakes before a single paver goes down. Follow these steps in order.
-
Measure your backyard accurately. Use a tape measure and record the full dimensions of your yard, including the house footprint, existing trees, utility boxes, and fence lines. Sketch everything to scale on graph paper or enter it into a free design tool.
-
Track sun and wind patterns. Observe sun arcs and prevailing winds at different times of day and across several days before finalizing your layout. A seating area that sits in direct afternoon sun in july will go unused by August.
-
Map access points and house connections. Note every door, window, and utility line that touches your backyard. Your patio layout should align with the primary door you use most, creating a natural path from indoors to outdoors.
-
Draft a bird’s-eye view. Place furniture footprints on your sketch using the zone dimensions from the table above. Leave room for circulation. Walking traffic should not cross sitting traffic to avoid bottlenecks and preserve the intimate feel of each seating area.
-
Identify your anchor focal point. Every strong patio layout has one dominant feature, whether that is a dining table, a fire pit, or a built-in grill. Arrange secondary zones around that anchor.
-
Finalize zone boundaries. Use chalk, garden hoses, or string to mark your zones on the actual ground. Walk through the layout and test the flow before committing to any construction.
Pro Tip: For sloped yards, consider a multi-level patio. Splitting the space across two grades creates natural zone separation without retaining walls eating into your usable area.
Here is a quick comparison of common layout planning methods:
| Method | Best for | Limitation |
|---|---|---|
| Graph paper sketch | Simple rectangular yards | Hard to visualize curves |
| Free design software | Complex shapes and multiple zones | Learning curve for new users |
| String and chalk on-site | Final confirmation before build | No scale precision |
| Professional design consultation | Large or sloped yards | Requires scheduling and budget |
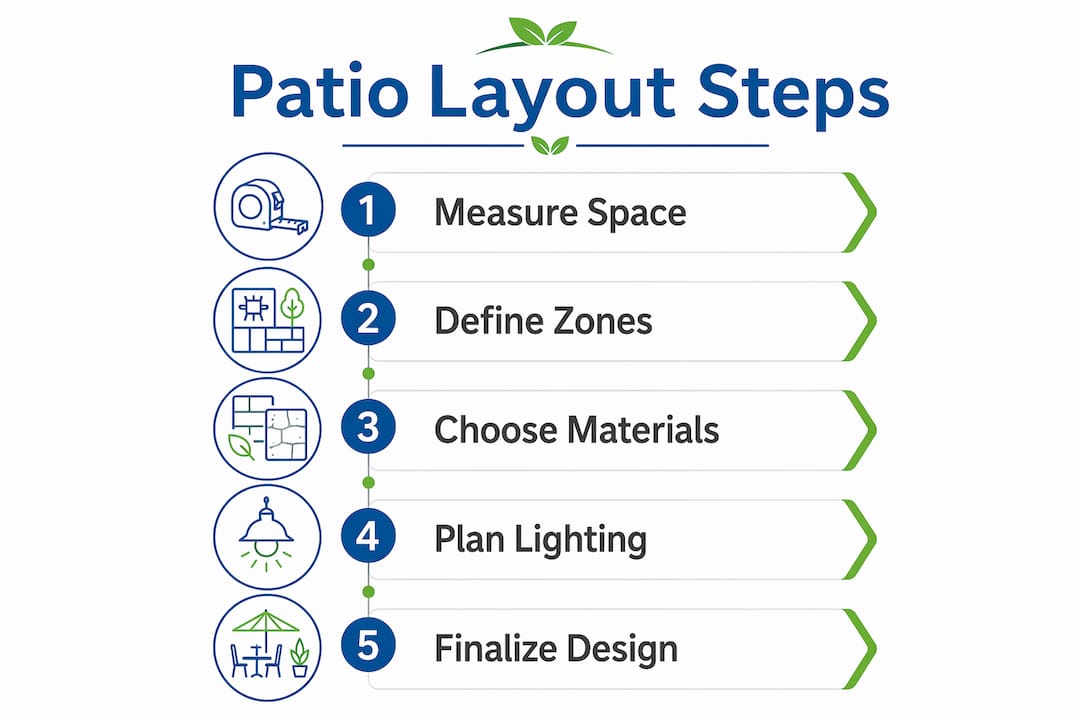
Which materials work best for your patio and yard conditions?
Material choice shapes how your patio looks, how long it lasts, and how much work it takes to maintain. Each option has a clear profile.
- Concrete pavers are the most popular choice for residential patios in New England. They handle freeze-thaw cycles well, come in dozens of colors and shapes, and individual pavers can be replaced if they crack. Learn more about patio material options suited to New Hampshire’s climate.
- Natural stone (bluestone, granite, fieldstone) delivers a premium look and exceptional durability. It costs more upfront but requires minimal maintenance over decades.
- Brick offers a classic, warm aesthetic and holds up well in cold climates. Older brick can become slippery when wet, so a textured surface or joint sand treatment helps.
- Gravel with steel edging is the most budget-friendly option. Gravel patios with steel edging cost $3–$5 per square foot, making a 10×12-foot patio possible for under $500 in materials. Gravel drains naturally but requires periodic raking and top-off.
- Composite decking works well for raised platforms and transitions from interior floors. It resists moisture and fading, though it carries a higher upfront cost than pavers.
Drainage is non-negotiable regardless of material. A proper patio grade slopes away from the house at 1/4 inch per foot. Skipping this step leads to pooling water, frost heave, and foundation issues over time.
Vertical elements like pergolas and trellises add shade and privacy without consuming floor space. They also create a ceiling effect that makes the patio feel like an outdoor room. For indoor-to-outdoor flow, match flooring materials and complementary styles between your interior and exterior spaces. A continuous sight line from your living room to the patio makes both spaces feel larger.
Lighting deserves early planning. Layer three types: ambient (string lights or overhead fixtures), task (path lights and grill area lighting), and accent (uplights on plantings or architectural features). Running conduit during construction costs a fraction of what a retrofit costs after the patio is finished.
Pro Tip: Plan your electrical layout before any pavers go down. Adding outlets or conduit after installation means cutting into finished hardscape, which adds labor cost and disrupts the surface.
What are the most common patio layout mistakes?
Most patio problems trace back to decisions made before construction started. Avoiding these errors saves money and frustration.
- Building too small. Homeowners consistently underestimate how much space furniture, people, and movement actually require. Use the zone dimensions above as your floor, not your ceiling.
- Ignoring sun and wind. A dining area facing west in New Hampshire gets blasted by afternoon sun in summer and cold northwest winds in fall. Observe your site conditions before locking in orientation.
- Skipping chair clearance. Forgetting the 36-inch pull-back space behind dining chairs is one of the most common spatial errors. The result is a dining area where guests cannot sit down without moving other furniture.
- Cramming in too many zones. Trying to fit a lounge, dining area, fire pit, outdoor kitchen, and play zone into a modest backyard creates a cluttered, uncomfortable space. Prioritize 2–3 zones and do them well.
- Neglecting drainage. A flat patio or one that slopes toward the house will collect water. Over time, that water damages the foundation, causes pavers to shift, and creates a slip hazard.
- Adding lighting as an afterthought. Retrofitting lighting into a finished patio is expensive and disruptive. Plan conduit runs and outlet locations during the design phase.
- Underestimating maintenance. Natural stone needs sealing. Gravel needs raking. Composite decking needs annual cleaning. Match your material choice to the maintenance commitment you are willing to make.
Avoiding these common patio mistakes protects your investment and keeps the space functional for years.
Key Takeaways
A successful patio layout starts with accurate sizing, clear zone priorities, and material choices matched to your climate and maintenance capacity.
| Point | Details |
|---|---|
| Size to 25–30% of backyard | This ratio balances hardscape and greenery without overwhelming the yard. |
| Limit to 2–3 activity zones | Focused zones deliver better usability than cramming multiple functions into one space. |
| Follow clearance standards | Allow 36 inches behind dining chairs and 36 inches for all walking paths. |
| Observe site before designing | Track sun and wind patterns over several days to avoid uncomfortable, underused areas. |
| Plan drainage and lighting early | Grade at 1/4 inch per foot and run conduit before pavers go down to avoid costly retrofits. |
What I have learned from years of watching patios succeed and fail
Most homeowners come to us with a list of everything they want: a dining area, a fire pit, a lounge, an outdoor kitchen, a play zone, and a garden border. My honest advice is to cut that list in half before you start measuring.
The patios that get used every weekend are almost always the simpler ones. A well-sized dining area with good lighting and a single focal point outperforms a crowded patio with five zones that nobody can move through comfortably. The goal is not to fit everything in. The goal is to create a space that feels right the moment you step outside.
Site observation is the step most homeowners skip because it feels slow. Spending two weeks watching where the sun hits, where the wind comes from, and where you naturally walk in your yard will save you from building a beautiful patio that nobody wants to sit on in july or september.
When the project is large or the yard is complex, working with a design professional pays for itself. Divinelandscapingllc has built custom patios across New Hampshire for years, and the clients who come in with a clear sense of their priorities always end up with a better result. Know what matters most to you, observe your site, and build for the life you actually live.
— Damian
Ready to build your ideal backyard patio?
Divinelandscapingllc designs and installs custom patios for New Hampshire homeowners, from initial layout planning through final installation. Whether you need a simple concrete paver patio or a multi-level outdoor living space with lighting, drainage, and built-in features, the team brings hands-on hardscape expertise to every project.
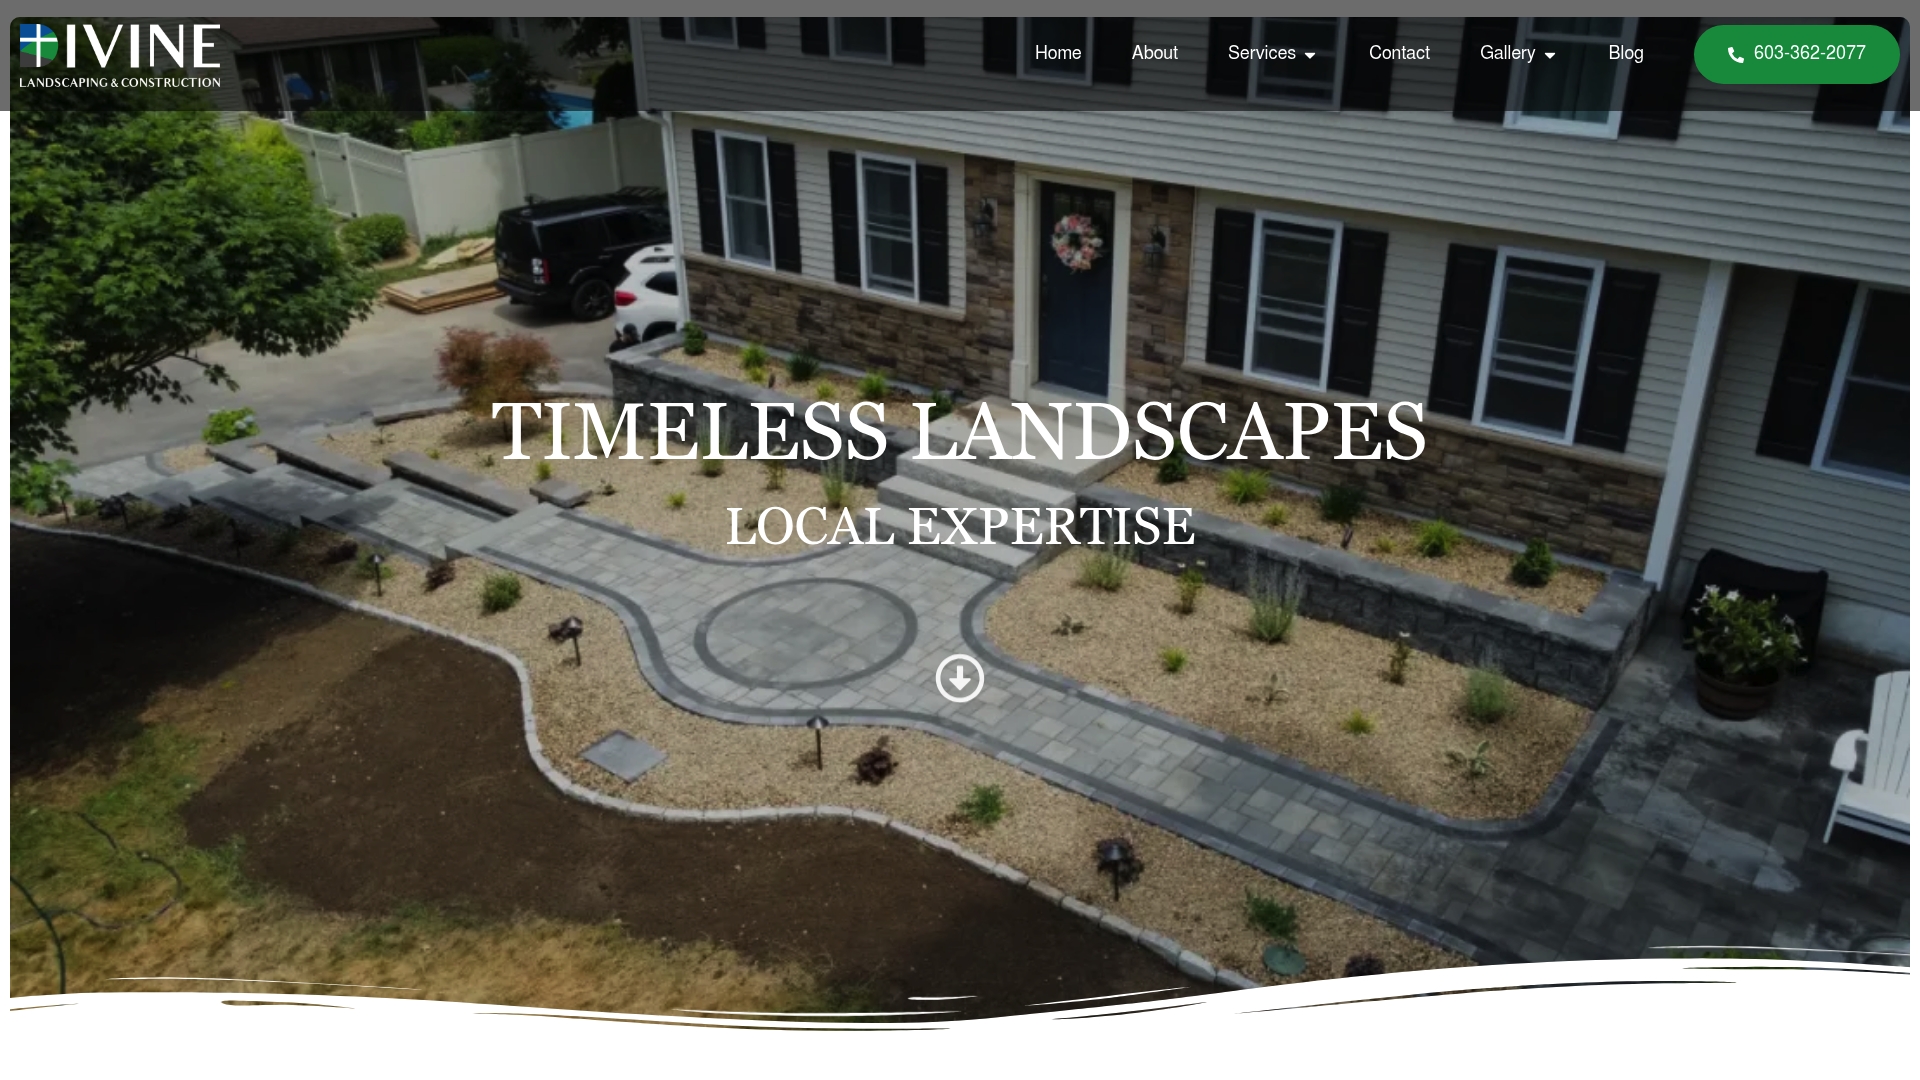
Every project starts with a site visit and a clear understanding of how you want to use your space. Divinelandscapingllc’s hardscape services cover patio installation, retaining walls, walkways, and full outdoor living builds. You can also browse completed projects in the project gallery to see real layouts built for New Hampshire backyards. When you are ready to move from planning to building, request a quote and get a professional assessment of your site.
FAQ
What percentage of my backyard should a patio cover?
A patio should cover 25–30% of your total backyard area. That ratio keeps a healthy balance between hardscaping and lawn or garden space.
How much space does a patio dining area need?
A 6-person dining setup requires a minimum of 10×10 feet, plus 36 inches of clearance behind each chair for comfortable pull-back and movement.
How do I separate zones on a small patio?
Use outdoor rugs extending 18–24 inches beyond your furniture to visually define each zone. This creates the feel of separate rooms without physical dividers.
What is the correct drainage slope for a patio?
A patio should slope away from the house at 1/4 inch per foot. This grade prevents water pooling, frost heave, and foundation damage over time.
When should I hire a professional to plan my patio layout?
Hire a professional when your yard is sloped, irregularly shaped, or when you want multiple zones with drainage, lighting, and built-in features. Complex sites benefit most from expert layout planning before any construction begins.