
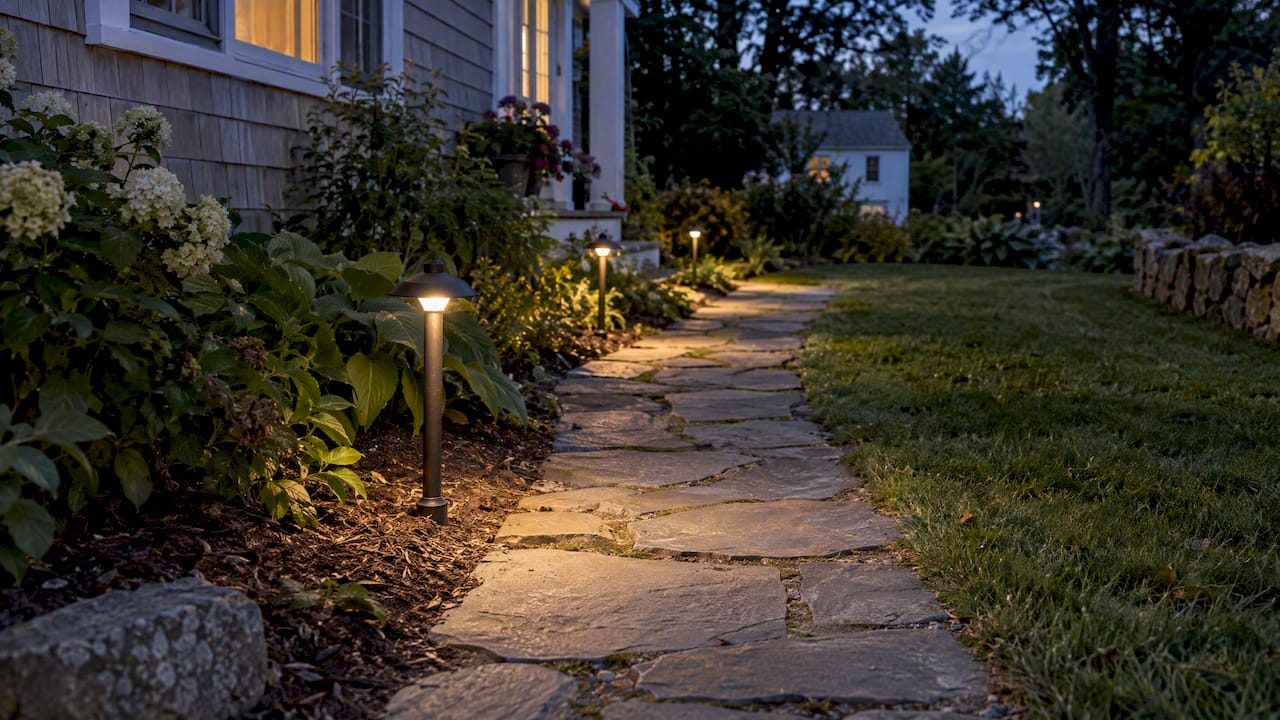
For most residential walkways, path light spacing of 6 to 8 feet gives balanced light. Tighten it to about 5 to 6 feet where security or uneven footing matters, and stretch it to 10 to 15 feet only for subtle orientation. The right number depends on beam spread, mounting height, fixture type, and path width, and our field work and DarkSky and ERCO guidance point the same way.
TL;DR:
- Use 0.8 to 1.0 times mounting height for tight coverage, about 1.5 times for general use, and up to 2 times for orientation.
- Beam width and output determine reach: wide, bright fixtures cover more ground, while narrow or dim fixtures need closer spacing; test one after dark.
- Use one sided placement on narrow walks; wider paths suit staggered layouts, while matched lights on both sides roughly double the fixture count.
- Aim shielded fixtures downward and choose warm, lower output lighting to reduce glare and limit spill; timers, dimmers, and motion sensors prevent all night brightness.
- Long low voltage cable runs can dim distant fixtures; split long paths, use heavier gauge cable, or place the transformer near the layout’s midpoint.
Table of Contents
- What spacing works for different kinds of paths?
- How do beam spread and mounting height set the spacing?
- Which fixtures and beam patterns fit your spacing plan?
- Where should you place lights along the path?
- How do you calculate spacing yourself?
- How do you control glare and protect the night sky?
- What have we learned from our own installs?
- How do you keep path lights working as designed?
- Why do wiring and voltage drop change your spacing?
- What does good spacing look like in different settings?
- Why a test fixture beats any formula
- Need help planning or installing your path lighting?
- FAQ
- Sources
What spacing works for different kinds of paths?
Start with the job the path light has to do. A front walk that guests use after dark needs more light than a garden path you stroll for ambience. These are the ranges we use as starting points on residential jobs:
- Security and safety paths, about 5 to 6 feet apart: Best for front walks, steps, and any route with uneven ground or a narrow width.
- General walkways, 6 to 8 feet apart: The default for most paths, giving overlapping pools of light without a runway look.
- Orientation and ambience, up to 10 to 15 feet apart: Works for wide garden paths where you want gentle guidance, not full coverage.
Tighten spacing near stairs, grade changes, and tight turns, because shadows between fixtures hide trip hazards. You can relax it on a wide, flat garden path meant to feel soft and atmospheric.
One caution: these are starting points, not guarantees. A high-output fixture with a wide beam covers more ground than a low-output one with a narrow beam, so the effective spacing shifts with the fixture you buy. We cover the math in the next section.
How do beam spread and mounting height set the spacing?
Light from a low fixture spreads in proportion to how high it sits. That is why spacing is usually expressed as a multiple of mounting height. ERCO’s path-lighting guidance gives a ground-wash spacing limit of up to 2 times the mounting height, and recommends a horizontal illuminance of 0.6 to 5 lux for good path recognition. DarkSky also advises that luminaires mounted above 1.2 meters use spacing consistent with their mounting height and distribution.
Here is how to turn that into a working rule:
- Downlights: Set spacing in relation to mounting height and the light distribution.
- Ground-wash fixtures: Set spacing in relation to mounting height and the light distribution.
- Narrow beams: Tighten the multiplier, because each fixture lights a smaller circle.
- Worked example: A fixture mounted 1 foot (12 inches) high with a 1.5 multiplier gives spacing of 1.5 feet. A taller 2-foot fixture at the same multiplier gives 3 feet.
Overlap is the other half of the story. When neighboring pools of light overlap more, the path looks smoother and has fewer dark gaps. The tradeoff is simple: more overlap means more fixtures, so decide how even you want the light before you count what to buy.
Which fixtures and beam patterns fit your spacing plan?
Fixture type decides how far each light can reach, so pick the fixture first and then lock in the spacing. Each style behaves a little differently:
- Low-voltage path lights: Short, mushroom-style heads that pool light on the ground. They suit the 6 to 8 foot general range. Our low-voltage landscape lighting guide covers the basics.
- Bollards: Taller posts with either 180° distribution (light thrown forward onto the path) or 360° (light in all directions). ERCO notes bollard spacing can reach 8 to 10 meters with a wide distribution, though residential paths rarely need anything close to that.
- Ground wash fixtures: Spread light low and wide across the surface, which stretches spacing toward the 2 times height limit.
- Downlights: Mounted in trees or on structures, they cast broad pools from above and need careful aiming to avoid glare.
Narrow beams create bright circles with dark gaps, so they need tighter spacing. Wide beams blend into one another and allow more distance. For color, we generally recommend warm LEDs, which can flatter plants and stone and keep glare soft. Lumen output matters too: brighter lamps stretch spacing, dimmer ones shrink it.
Pro Tip: Choose a wide-distribution fixture first, then add fixtures only where a dark gap shows up at night. It is cheaper than overbuying up front.
Where should you place lights along the path?
Placement pattern changes both the look and the safety of a walkway. Here are the three layouts we use most:
- Single side: The simplest and most economical. It suits narrow paths, and it keeps the other side dark for a calmer look.
- Both sides, matched: Gives even light on wider paths and a formal feel, though it roughly doubles your fixture count.
- Staggered: Alternates fixtures left and right, which fills shadows with fewer lights than matched pairs and feels more natural.
As for distance from the edge, we typically set fixtures back from the path edge, or within an adjacent planting bed. That keeps heads out of the way of feet, mowers, and snow shovels while still throwing light across the surface.
Path width drives the choice. A narrow walk may be well served by single-side placement. If you are planning a wider route, our walkway width guide discusses accessibility, and wider paths usually call for staggered or both-sided layouts.
How do you calculate spacing yourself?
You do not need special software. Follow these four steps:
- Measure the mounting height of your fixture from the ground to the light source.
- Choose how even you want the light: tight, normal, or ambient.
- Apply a multiplier: roughly 0.8 to 1.0 times height for tight coverage, 1.5 times for general use, and up to 2 times for orientation only.
- Test with one fixture at night before you buy the rest.
Try it on a short front walk. With 1.5 feet of mounting height and a general 1.5 multiplier, you land at about 2.25 feet, which tells you a very low fixture needs a lot of heads, so many homeowners choose a taller one. Now a wide garden path: a 2-foot fixture at the 2 times orientation limit gives 4 feet of spacing.
Keep the results in perspective. The formulas set your starting point, and the nighttime test sets the final answer. Place one fixture, stand at the far end of the path, and see where the light fades.
How do you control glare and protect the night sky?
Good path lighting helps you see the ground without blinding anyone. DarkSky’s guidance for pedestrian comfort luminaires limits uplight and high-angle output, and the Joshua Tree lighting plan favors low-mounted, shielded fixtures that aim light along the path to protect the surrounding darkness. These habits apply just as well in a backyard:
- Aim down and shield the source so the bulb is not visible from the street, windows, or patio seats.
- Lower the output and the color temperature, since warm, dimmer light is easier on eyes, neighbors, and wildlife.
- Position fixtures low, so light stays on the walking surface instead of drifting into the air.
- Add controls: timers, dimmers, and motion sensors keep lights from running at full strength all night.
What have we learned from our own installs?
On a small front walk, we typically hold spacing near the tight end of the range because guests arrive after dark and steps need clear definition. On a wider garden path with planting beds on both sides, we open the spacing and stagger fixtures for a relaxed, layered look. The reason for each is simple: safety paths get tighter spacing, ambience paths get more breathing room.
If you want to see how we apply the same thinking at a larger scale, our driveway lighting layouts show tested spacing on longer runs, and our project gallery shows finished outdoor spaces you can judge for yourself.
Pro Tip: Always mock up and test one fixture at night. We do it on every job.
How do you keep path lights working as designed?
A perfect layout drifts out of tune if the fixtures are neglected. Dirt on a lens, a dim bulb, or a leaning head all quietly widen the gaps between pools of light.
Clean lenses and covers a few times a season with a soft cloth and mild soapy water. Pollen, hard-water spray, and road salt film build up fast, and a cloudy lens can throw noticeably less light. Wipe off any debris around the fixture base too.
Check that heads still point where you aimed them. Frost heave, lawn equipment, and shifting mulch push fixtures out of line. A tilted fixture moves its light pool, which opens up a dark spot you never planned for. Reset the stake and re-aim after each freeze and thaw cycle, which matters in a New Hampshire climate.

Replace failing bulbs or modules promptly, and match the replacement to the original in color temperature and output. Mixing a warm bulb with a cool one makes the path look patchy, and a brighter bulb beside a dim one ruins the even overlap you worked to achieve. LED fixtures last a long time, but when one dims or flickers, swap it rather than waiting.
Trim plants that grow into the beam. A shrub that was fine at planting can shade a fixture two seasons later. Keep foliage clear of the light and mulch below the lens line.
Finally, walk the path at night once or twice a year. Look for dark gaps, glare spots, and fixtures that have gone dim. It takes ten minutes and tells you exactly which fixtures need attention.
Why do wiring and voltage drop change your spacing?
Spacing is not only an optical question. It also decides how long your wire runs are and how much power each fixture gets. Most residential systems use low-voltage wiring, and voltage falls as current travels farther through the cable. Fixtures at the far end of a long run can end up dimmer than those near the transformer, which undermines the even spacing you planned.
Several layout choices keep the lights consistent:
- Keep runs reasonably short and split a long path into more than one run when needed.
- Use heavier-gauge cable for longer distances, since thicker wire loses less voltage.
- Place the transformer near the middle of the layout so each side of the run is shorter.
- Add up fixture loads before you connect, so the transformer is not overloaded.
Wider spacing means fewer fixtures and less wire, but it does not remove the need to plan the circuit. Tight spacing on a long path adds load quickly, and the last few lights may suffer. If you notice the end of a run looking dim, the problem is often voltage, not the bulb.
Low-voltage systems are safer to handle than line voltage, but buried cable still needs to be routed away from future digging, edging, and irrigation lines. The U.S. Department of Energy offers general guidance on efficient, safe lighting design. We plan wiring and fixture spacing together, since the two choices affect each other.
What does good spacing look like in different settings?
Picture three common scenarios, and how spacing adapts to each.
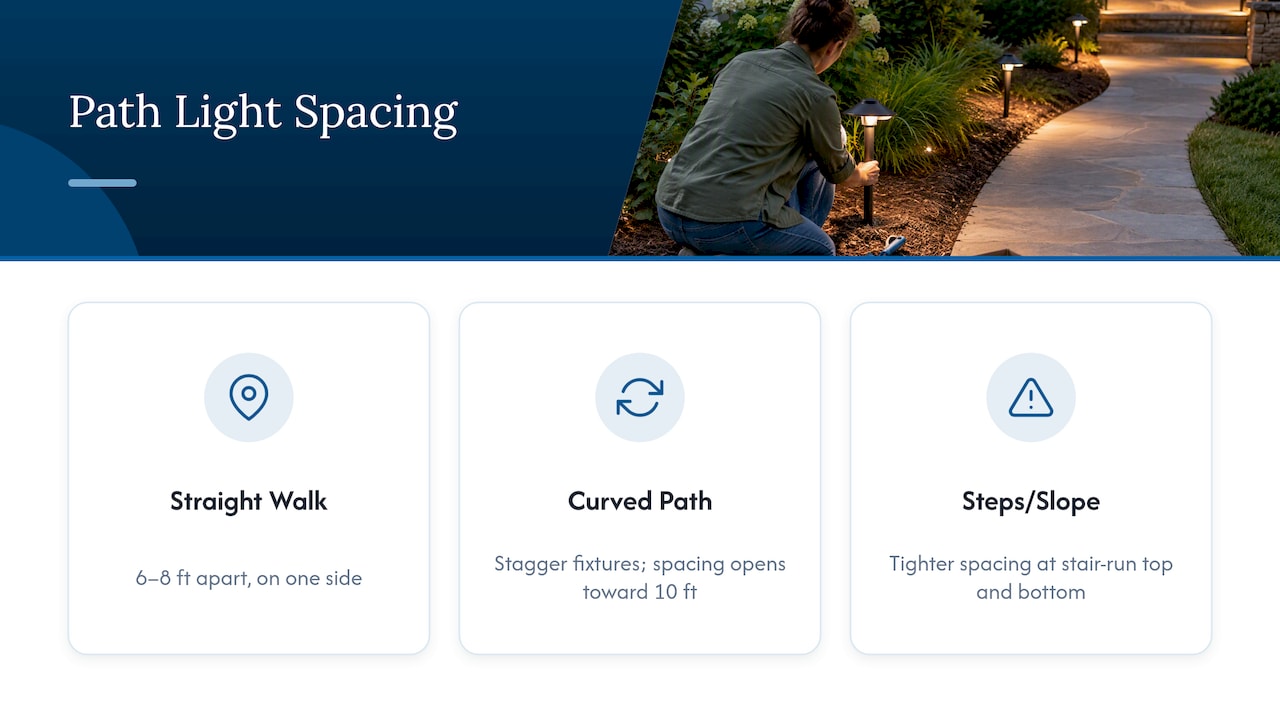
A straight, level front walk. Lights sit 6 to 8 feet apart on one side, set back about 6 to 12 inches from the edge. Pools of light overlap enough that you never step into shadow, and the line reads clean from the street.
A curved garden path through planting beds. Here a staggered pattern works better. Fixtures tuck behind low plants so you see the glow, not the lamp. Spacing opens toward 10 feet because the goal is gentle guidance, and curves are marked by placing a fixture at each bend.
A path with steps or a slope. Spacing tightens, with fixtures positioned to illuminate the top and bottom of each set of steps. Shadows on stairs are the biggest hazard, so we favor more fixtures at lower output over fewer bright ones.
Conditions matter too. Snow cover reflects light and can make paths look brighter in winter, while dense evergreens absorb it and call for tighter spacing. Wet stone and dark pavers reflect differently than pale, dry gravel. A pale walkway needs less light than a dark one.
To see a plan in your own yard, sketch the path on paper, mark each fixture at your chosen spacing, and check that no gap exceeds your multiplier. You can also stake flags at each position and walk it at dusk. If you want a finished plan rather than a sketch, our landscape design service can help you plan your property.
For help choosing the look of your fixtures, this accent lighting primer covers color temperature and fixture styles from a retail perspective.
Why a test fixture beats any formula
Every spacing rule in this article is a starting estimate, and I think homeowners lean on formulas harder than they should. Multipliers and ranges are useful because they get you to a sensible first guess in minutes. But no formula knows your soil, your plantings, your pavers, or how dark your street is.
What the conventional advice underplays is the nighttime test. A single fixture, placed where you plan to put it, tells you more than any chart. You see the real pool of light, the real glare, and the real gap to the next position. Spending ten minutes with one fixture can save you from buying a dozen you do not need.
What I’d prioritize, in order: decide what the path is for, pick a wide-distribution shielded fixture, apply the multiplier, then test and adjust. Skip the temptation to over-light. More light is rarely better, and a path with soft, even pools looks more expensive and works better than one with bright spotlights every few feet.
The most overrated advice is “closer is safer.” Past a certain point, extra fixtures only create glare and clutter. Aim for no dark gaps, not maximum brightness.
— Damian
Need help planning or installing your path lighting?
If you would rather have the spacing worked out and installed for you, we can do that. We offer landscape lighting and walkway installation.

Our irrigation and lighting services cover perimeter, safety, and landscape lighting, and if the walkway itself needs building or rebuilding first, our masonry and hardscape team handles walkway installation and repair. Pricing is available on request after we see your property.
Ready to light your walkway the right way? Schedule a consultation with us to discuss a layout built around how you actually use the space.
FAQ
How far should path lights be spaced apart?
For most residential walkways, 6 to 8 feet works well. Tighten to about 5 to 6 feet for safety on steps or uneven ground, and stretch toward 10 feet or more only for decorative, low-need paths.
What is the rule of thumb for outdoor lighting spacing?
Tie spacing to mounting height. ERCO suggests ground-wash fixtures can be spaced up to 2 times their mounting height, and many designers use about 1.5 times for downlights.
How far apart should LED lights be placed on a path?
LEDs follow the same rules as other fixtures, so spacing depends on beam angle and output, not the bulb type. A wide-beam LED can reach farther than a narrow one, so test one fixture before buying the rest.
Do path lights need to overlap?
Yes, a little overlap prevents dark gaps that hide trip hazards. More overlap gives smoother light but requires more fixtures, so choose based on how the path is used.
Sources
- Path lighting: Correctly illuminating paths | ERCO
- DarkSky Approved Luminaires guidelines | DarkSky International