
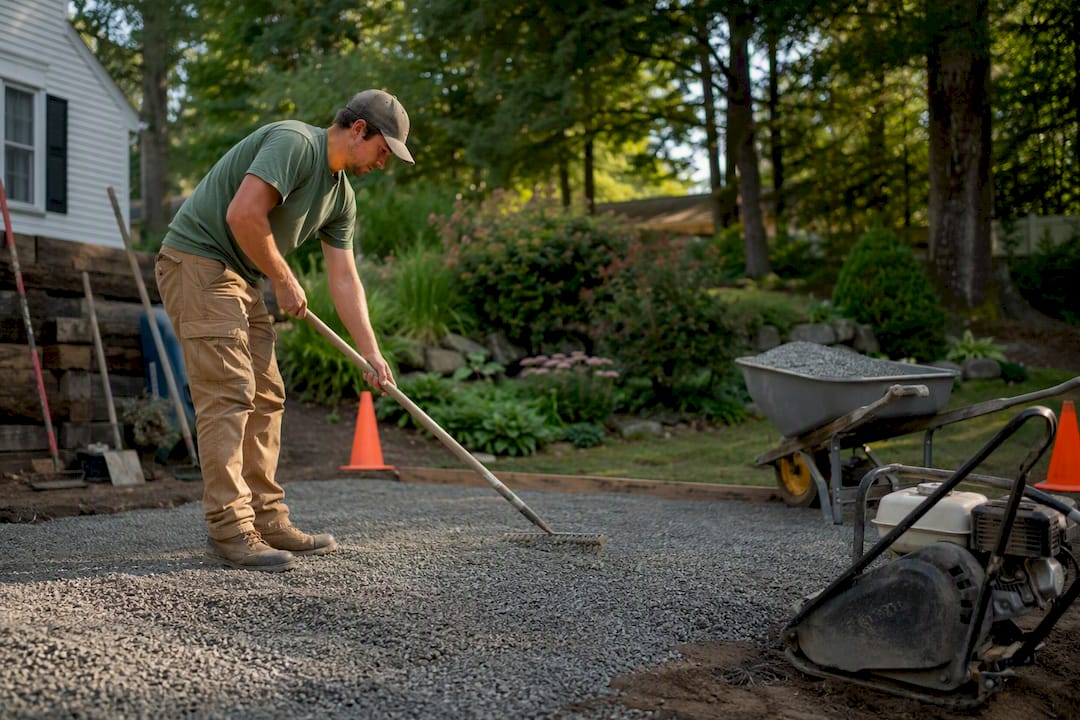
A patio base is the compacted layer of crushed stone or aggregate placed beneath your pavers to support weight, drain water, and resist the freeze-thaw cycles that heave surfaces out of place. It sits between the soil (subgrade) and the thin layer of sand that levels your pavers. For any patio meant to last, this layer does three jobs at once:
- Load distribution: spreads foot traffic and furniture weight evenly so pavers don’t sink or wobble
- Drainage: channels rainwater away from the surface instead of letting it pool under the pavers
- Freeze-thaw protection: keeps water from collecting and expanding under the pavers during winter
If you’re building a permanent patio or a walkway that will see regular foot traffic, you need a proper base. Skip it, and you’re building on borrowed time.
Key Takeaways
A patio base works because it distributes load, manages drainage, and resists freeze-thaw movement, and skipping proper depth or compaction is the leading cause of DIY patio failure.
| Point | Details |
|---|---|
| Base depth matters | Use a standard compacted gravel base depth for patios and walkways for standard patios, 6 or more in cold climates or poor soils. |
| Compact in lifts | Build the base in 2 to 3 inch layers, compacting each one before adding the next. |
| Match material to drainage needs | Open-graded aggregate drains best; dense-graded balances cost and stability. |
| Avoid rounded gravel | Angular crushed stone compacts and interlocks; river gravel does not. |
| Divine Landscaping LLC builds climate-aware bases | Divine Landscaping LLC plans base depth and drainage around New Hampshire’s freeze-thaw conditions on every hardscape project. |
Table of Contents
- What Is a Patio Base’s Role in the Full Paver System?
- Choosing the Right Base Material for Your Patio
- How Deep Should a Patio Base Be?
- Do You Really Need a Patio Base?
- How to Install a Patio Base: Step-by-Step
- Choosing a Base Material or Hiring a Pro: A Decision Checklist
- What We’ve Learned Building Patios Across New Hampshire
- Why Most DIY Patio Failures Trace Back to One Decision
- Let Divine Landscaping LLC Handle the Base While You Handle the Design Fun
- Frequently Asked Questions
- Sources
What Is a Patio Base’s Role in the Full Paver System?
Think of your patio as a sandwich, and the base is the layer doing all the structural work. Each layer has a specific job, and skipping or shortcutting one throws off the whole system.
- Subgrade: the native soil, graded and compacted to the right slope before anything else goes down
- Base (paver base): crushed stone or aggregate compacted in layers to support weight and manage water
- Bedding sand: a thin leveling layer, typically about a thin layer of concrete sand, that lets you fine-tune paver height
- Pavers: the visible surface, set tight against each other with minimal gaps
- Joint sand: fills the gaps between pavers to lock them together and block weed growth
The base interacts directly with the subgrade below it and the bedding sand above it. If the subgrade isn’t compacted first, the base has nothing solid to sit on and will settle unevenly no matter how well you install it. Get this sequence right, and you avoid the two failures homeowners dread most: pavers that shift underfoot and puddles that never drain.
Choosing the Right Base Material for Your Patio
Not all base materials perform the same way, and the right choice depends on your soil, climate, and what you’re building. Dense-graded aggregate (often called crusher run) is the most common choice for residential patios. It’s a mix of crushed stone in various sizes that compacts into a dense, stable layer, which is why it shows up in most standard installation guides.
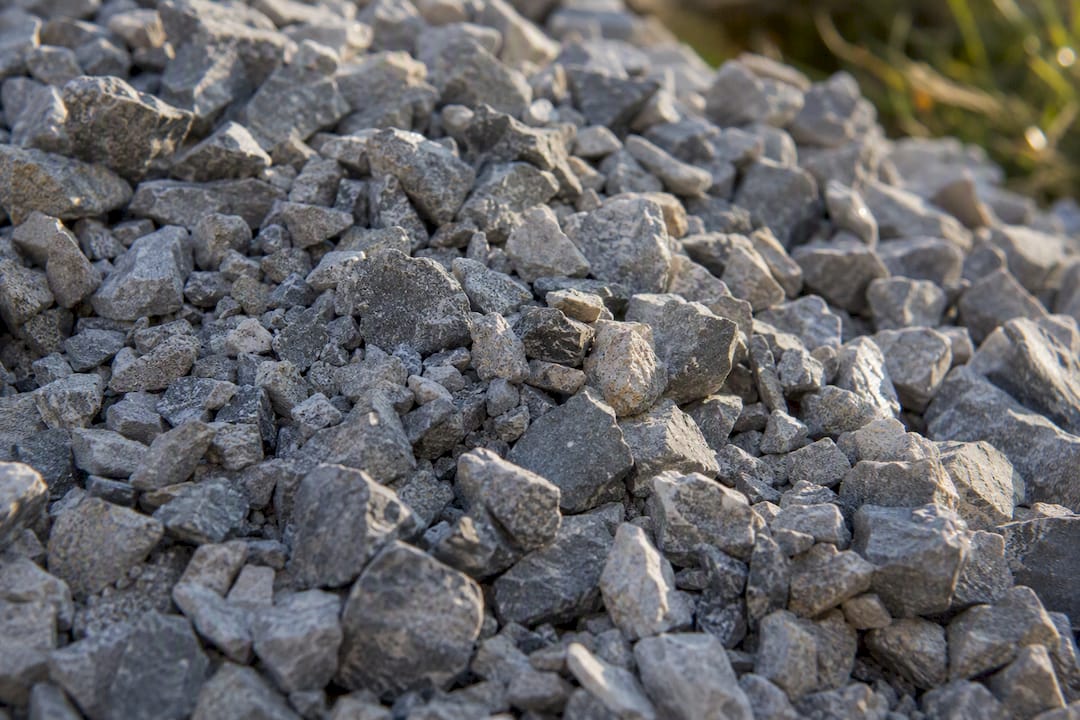
Open-graded bases, built from uniform crushed stone like #57 stone, trade some rigidity for superior drainage. Water moves through the gaps between the stones instead of sitting on top, which matters a lot in wet climates or areas with heavy clay soil. Professional installers increasingly favor open-graded, permeable systems paired with sub-surface drainage for long-term performance in freeze-thaw regions, since moving water away beats trapping it every time.
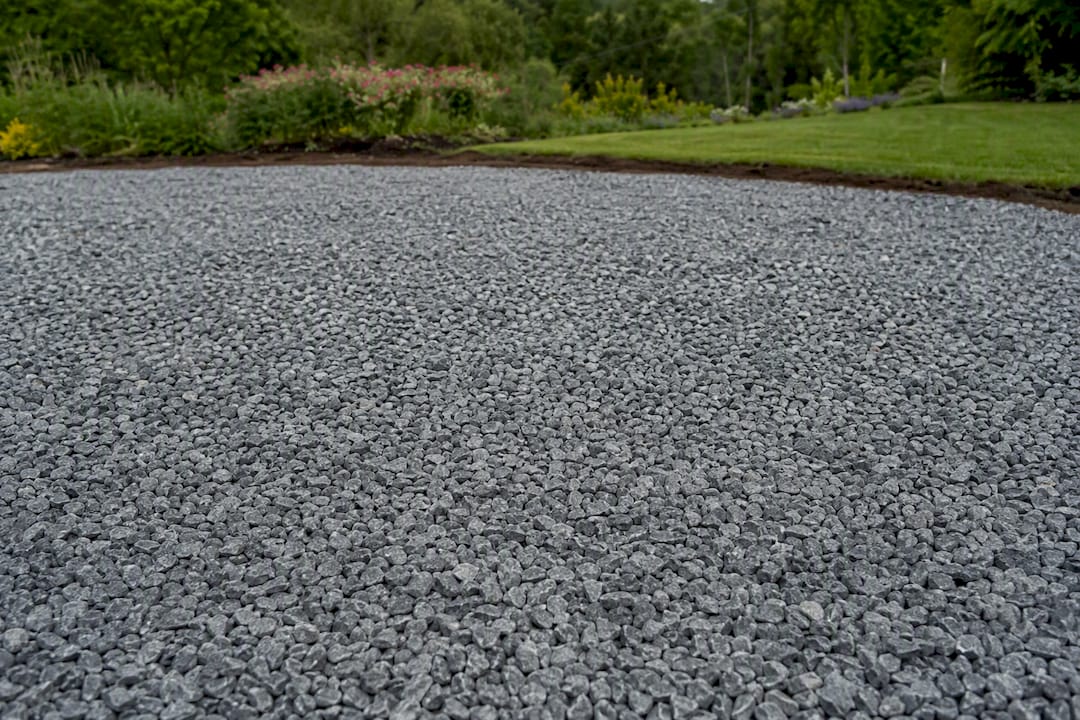
Concrete slabs make sense when you need maximum rigidity, such as under a pool deck or a patio that will support heavy equipment. Gravel and open-graded systems, by comparison, drain well and flex with ground movement, which makes them the more forgiving choice for most backyard patios.
Synthetic interlocking panels are a newer option that can cut down on excavation depth and heavy equipment needs while still managing drainage well for smaller projects.
- Dense-graded: balanced cost and stability for typical patios
- Open-graded: best drainage for wet sites or freeze-prone regions
- Concrete slab: maximum rigidity for high-load applications
- Synthetic panels: less excavation, good drainage, higher material cost
Pro Tip: Paver sand and paver base are not interchangeable. Sand alone won’t support weight or drain properly under a patio. It’s a leveling layer, not a structural one.
How Deep Should a Patio Base Be?
A standard patio or walkway needs a compacted gravel base of typical residential thickness, and that range covers most residential projects built on reasonably stable soil. Cold climates and poor soils push that number higher, often to 6 inches or more, because frozen ground expands and pushes against anything built too shallow.
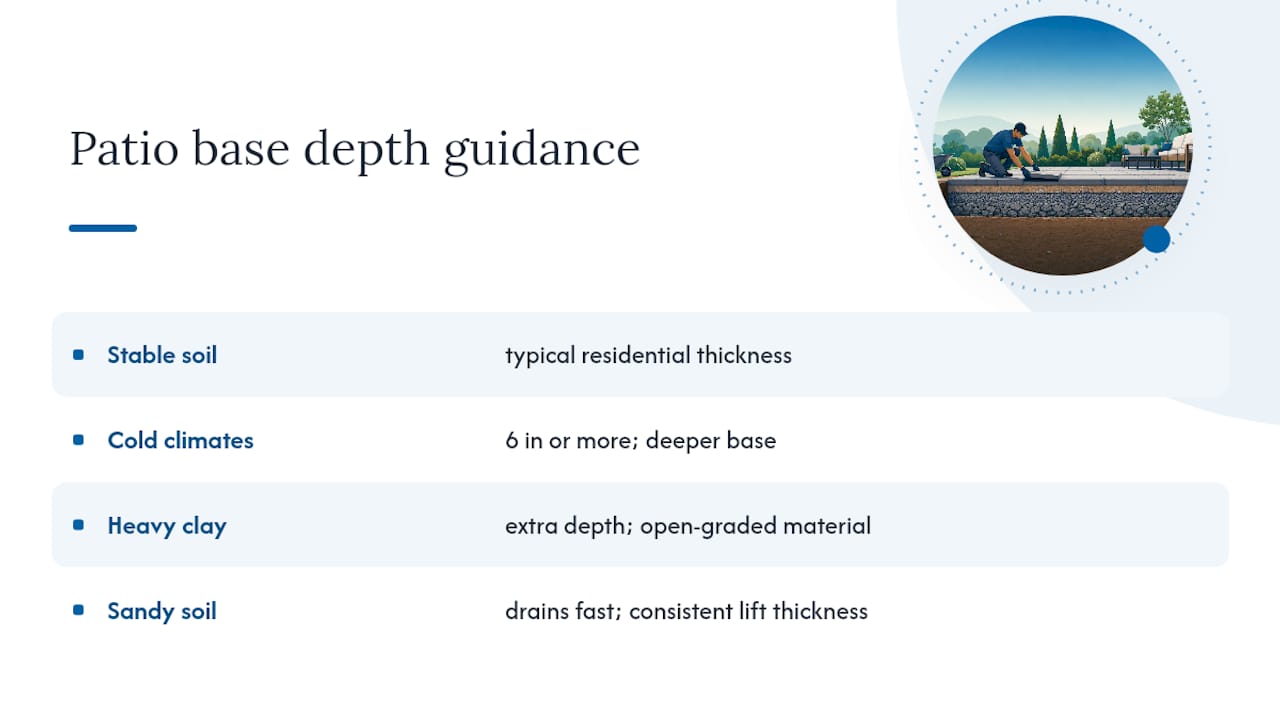
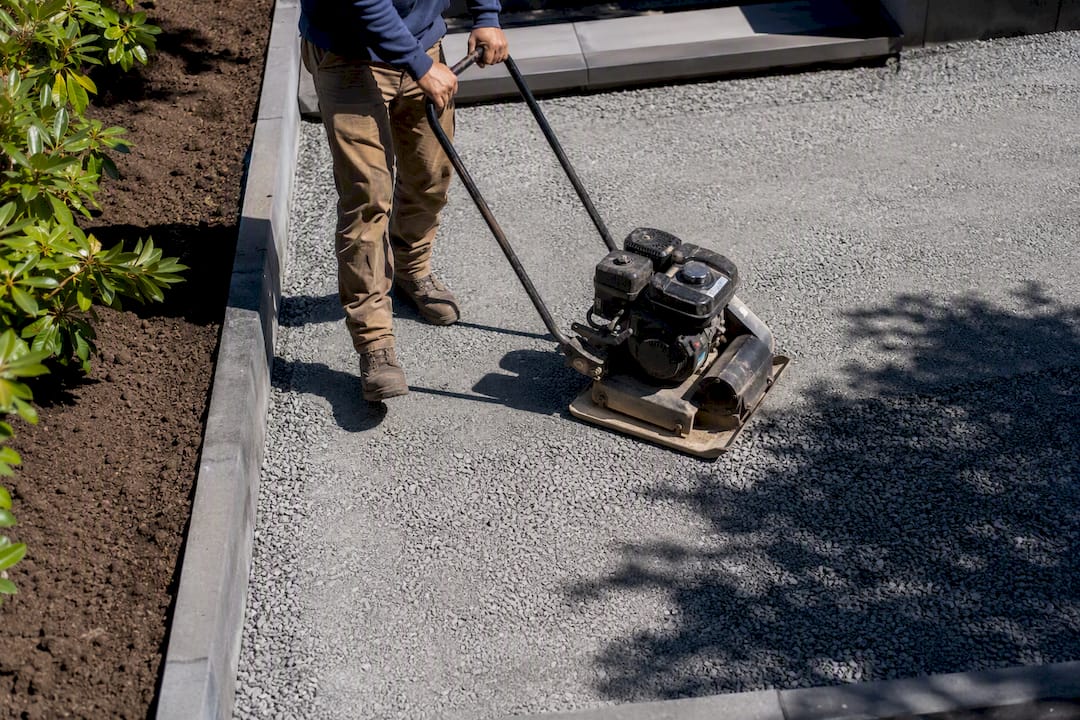
Depth isn’t poured in one shot. Installers build it in lifts, typically multiple thinner layers at a time, compacting each layer before adding the next. Skip this step and dump 6 inches of gravel at once, and you’ll compact only the top inch or two, leaving a soft, unstable layer underneath that settles the moment it takes real weight.
Soil type matters as much as climate. Heavy clay holds water and drains poorly, which argues for extra depth and an open-graded material. Sandy soil drains fast on its own but compacts less predictably, so consistent lift thickness becomes even more important.
Do You Really Need a Patio Base?
Any permanent patio, high-traffic walkway, or installation on clay or poorly draining soil needs a proper base. This isn’t optional for a project you expect to last more than a season or two.
A few exceptions exist. Temporary surfaces, pedestal paver systems used on rooftops or over existing concrete, and some engineered rooftop decks handle drainage and support differently, so they don’t always follow the standard gravel-base formula.
Where DIY patios most often fail:
- Base installed too shallow for the local frost depth
- Poor or skipped compaction between lifts
- Using rounded river gravel instead of angular crushed stone, which won’t interlock or compact properly
- No edge restraint to keep the base and pavers from spreading outward over time
How to Install a Patio Base: Step-by-Step
Here’s the basic sequence, whether you’re doing the work yourself or checking a contractor’s plan against best practice:
- Excavate to your required depth, accounting for base thickness plus bedding sand plus paver height, and confirm a slight slope away from your house for drainage.
- Compact the subgrade before adding anything on top, then install edge restraints around the perimeter to lock everything in place.
- Install the base in 2 to 3 inch lifts, compacting each layer with a plate compactor before adding the next. Rushing this step is the single most common cause of patio failure.
- Screed the bedding sand to a consistent 1 inch layer, lay your pavers in your chosen pattern, then compact the surface and sweep polymeric jointing sand into the gaps.
- Check your work: confirm the slope still drains away from structures and look for any soft spots that indicate incomplete compaction.
Pro Tip: Walk the compacted base before laying pavers. If you can feel any give or bounce underfoot, it needs more compaction passes before you go any further. Installers track this by counting plate-compactor passes and watching for visible settlement, since exact density testing is rarely practical on a residential job.
If you’d rather have someone handle the sand and jointing details for you, our guide to polymeric sand for pavers covers how that final layer locks everything together.
Choosing a Base Material or Hiring a Pro: A Decision Checklist
Start with these five factors before you buy a single bag of gravel:
- Soil type: clay demands better drainage; sandy soil demands more careful compaction
- Expected load: furniture and foot traffic versus a hot tub or heavy planters
- Drainage needs: low spots in your yard may require an open-graded base regardless of soil
- Equipment access: can you rent and maneuver a plate compactor on your site
- Budget: synthetic panels and concrete slabs cost more upfront than standard gravel
If you’re getting bids from contractors, ask these questions before signing anything:
- What base depth are you planning, and why that number for my soil and climate?
- What compaction method and equipment will you use?
- How will the patio drain, and where does the water go?
- What warranty covers settling or shifting after installation?
Vague answers to any of these are a red flag. A contractor’s hardscape services should include a clear base plan before a single shovel goes in the ground. Complex soils, drainage challenges, or a warranty requirement are exactly the scenarios where hiring a professional pays for itself.
What We’ve Learned Building Patios Across New Hampshire
New Hampshire’s freeze-thaw cycles are unforgiving on shortcuts. We’ve rebuilt more than one patio that a previous installer set on too-shallow, poorly compacted base, and the fix always costs more than doing it right the first time. Our approach favors open-graded materials with real drainage planning in areas prone to standing water, and we compact in lifts every time, no exceptions.
A base that looks fine in October can heave visibly by March if the compaction was rushed. Freeze-thaw doesn’t forgive guesswork.
If you’re weighing material options for your specific soil and site, our guide to patio materials for New Hampshire homes walks through regional considerations in more depth.
Why Most DIY Patio Failures Trace Back to One Decision
The research on this topic points to a clear pattern: patio failures rarely come from the wrong paver color or pattern. They come from someone skipping the base, shortchanging its depth, or rushing compaction to save a weekend.
Conventional DIY advice spends most of its energy on paver selection and layout, which is the fun part, and treats the base as a quick step to get through. That’s backward. The base is the only layer you can’t fix later without tearing everything up. Get the depth wrong on a walkway and you’ll notice a wobble. Get it wrong on a patio in a freeze-prone region and you’ll be re-laying sections within a few winters.
If you take one thing from this guide, prioritize compaction over material brand names. A mid-grade crushed stone base, compacted correctly in lifts, will outperform premium aggregate that got dumped in one lazy pass. Homeowners planning their own project should rent a real plate compactor, not borrow a hand tamper from a neighbor, and budget the extra hour it takes to do lifts properly. That single decision determines whether your patio still looks right in five years.
Let Divine Landscaping LLC Handle the Base While You Handle the Design Fun
Building a proper patio base means renting compaction equipment, hauling aggregate, and getting soil conditions right the first time, which is where most DIY timelines stretch from a weekend into a month. Divine Landscaping LLC handles the excavation, compaction, and drainage planning as part of every hardscape project, so you get a base built to your soil and climate instead of a generic depth pulled from a rule of thumb.

Our hardscape services cover patios, walkways, and masonry installations across New Hampshire and Massachusetts, including projects on clay-heavy or poorly draining lots where a standard base won’t cut it. If your soil is tricky, your site sits in a freeze-prone spot, or you want a warranty backing the work, that’s exactly when it makes sense to bring in a pro instead of renting equipment for a weekend. Reach out through our hardscape services page to get a plan built around your yard’s actual conditions.
Frequently Asked Questions
What is a patio base made of?
A patio base is usually made of crushed, angular stone such as dense-graded aggregate (crusher run) or open-graded stone like #57 stone. Rounded gravel is a poor choice because it won’t interlock or compact evenly.
How deep does a patio base need to be?
Most patios and walkways need a standard compacted gravel base depth. Cold climates, clay soil, or poor drainage often push that to 6 inches or more.
Can I skip the base and lay pavers directly on soil?
You can for a temporary surface, but any permanent patio built directly on soil will shift, sink, and pool water within a season or two. A compacted base is what keeps pavers stable long term.
What’s the difference between paver base and paver sand?
Paver base is the structural layer that supports weight and drains water. Paver sand is a thin leveling layer on top of the base, used to fine-tune paver height before installation. Sand alone can’t replace the base’s structural role.
Do I need a different base for a driveway than a patio?
Yes. Driveways carry vehicle weight, so they typically need a thicker compacted base depth compared to the standard compacted gravel base depth for patios and walkways.
Sources
For deeper technical detail beyond this guide, a few sources are worth bookmarking:
- What is Paver Base and Should You Use It
- Paving a Patio: How to Lay Pavers for a DIY Patio
- How To Install a Paver Patio Base
- How to Choose the Right Base for Pavers – NT Pavers