
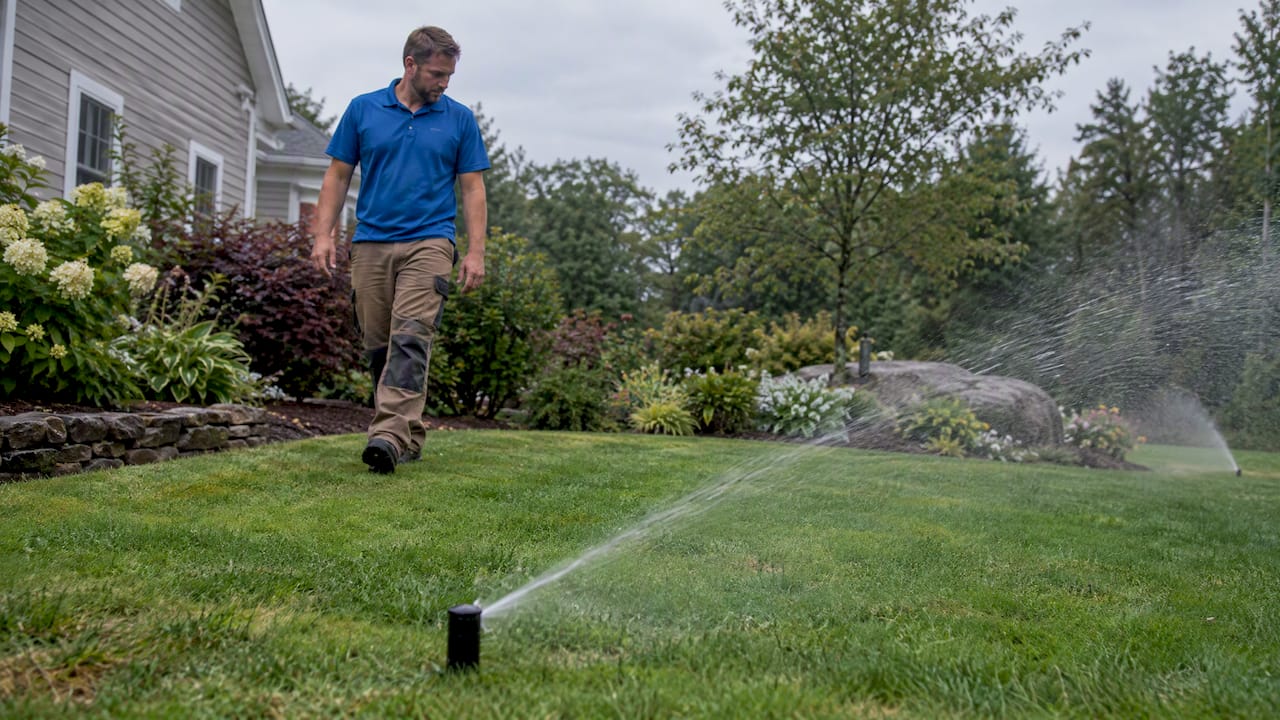
An irrigation zone is the set of sprinklers or emitters controlled by a single valve and station on your controller. Start by mapping each zone on your property and checking the flow and pressure available at your point of connection. From there, we’ll walk through designing zones around plant needs, programming your controller correctly, and troubleshooting the problems that show up most often.
TL;DR:
- Group plants by water needs before assigning valves: lavender and rosemary need a low water schedule, while vegetables and young trees need separate schedules.
- Add each outlet’s rated flow, then keep zone demand 10% to 15% below available supply; add another zone whenever demand exceeds capacity.
- On slopes or clay, split a 20 minute rotor run into three 6 to 7 minute cycles, with 30 to 60 minute soak gaps.
- Run every zone once each season, checking for leaks, weak pressure, dry spots, overspray, and ponding; mixed spray and rotor heads require redesign, not adjustment.
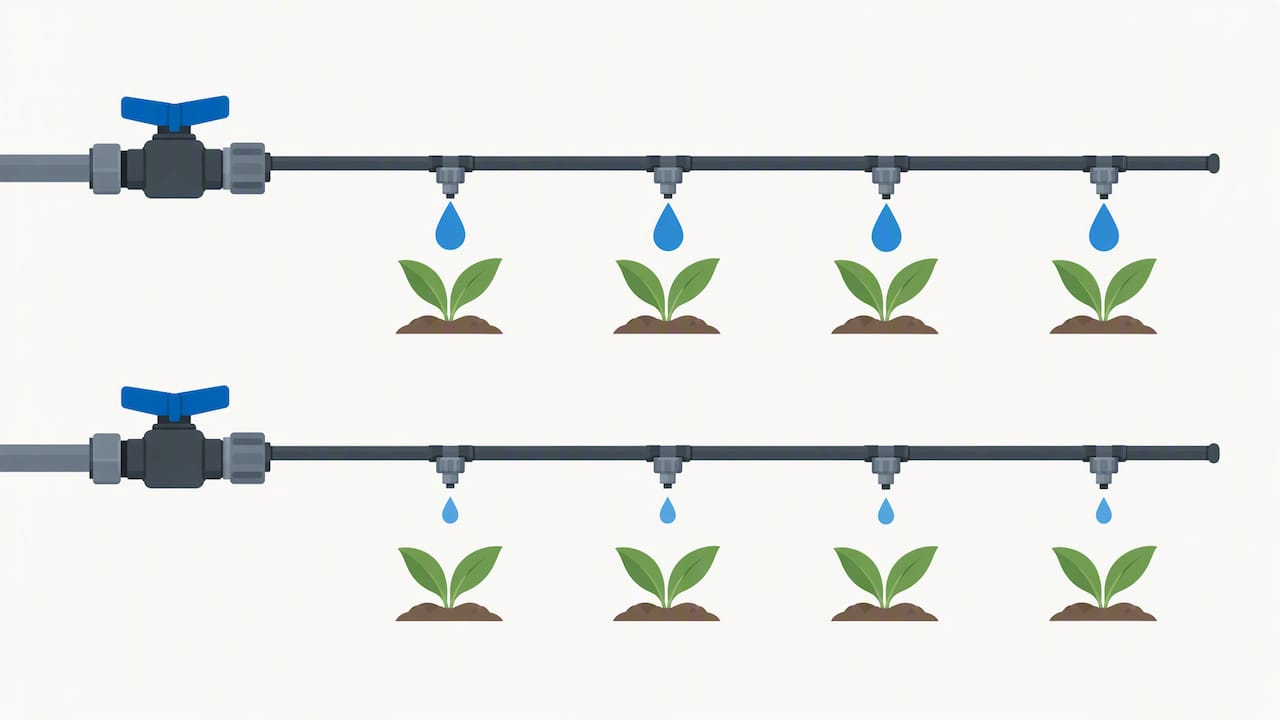
- Keep drip emitters on each line at the same flow rating; lines longer than 100 feet benefit from pressure compensating emitters to maintain even flow.
Table of Contents
- What an irrigation zone is and common zone types
- Plan and design zones: hydrozoning and estimating zone count
- Set and program controllers: schedules and smart-controller features
- Troubleshooting and maintenance for irrigation zones
- Quick zone checklist and sample settings
- Installer-tested tips from Divine Landscaping
- When to DIY and when to hire a contractor
- Divine Landscaping’s irrigation services and how to request a quote
- FAQ
- Sources
What an irrigation zone is and common zone types
A zone groups outlets, whether sprinkler heads or drip emitters, that share one valve and one station on your irrigation controller. According to the Understanding Your Irrigation System guide from Santa Rosa, zones exist because almost no residential water supply can run an entire system at once. Splitting a property into zones lets each valve draw the flow and pressure it needs without starving the rest of the yard.
That constraint, flow and pressure, is the real reason zones exist in the first place. Every point of connection has a maximum GPM and PSI it can deliver, and exceeding that limit drops pressure across the board, leaving heads underperforming everywhere at once.
Most residential systems mix a few zone types:
- Spray zones cover small, uniform areas like narrow lawn strips with fixed-pattern heads.
- Rotor zones cover larger turf areas efficiently since rotors apply water more slowly over a wider radius.
- Drip zones deliver water directly to plant beds, trees, and containers with minimal runoff.
Matching the zone type to the planting area is the first decision that determines how well the rest of the system performs.
Plan and design zones: hydrozoning and estimating zone count
Group plants by water need before you draw a single zone line. The UC Master Gardener Program of Sonoma County calls this hydrozoning: lavender and rosemary belong in a low-water zone, while vegetables and young trees need their own separate schedule. Use WUCOLS or a local plant list to classify species before assigning them to a valve, since watering a drought-tolerant shrub on the same schedule as a thirsty vegetable bed wastes water on one and stresses the other.
Once plants are grouped, sketch a zone map of the property and note where coverage might overlap or leave gaps. Design-zone workflows used in landscape planning software help compare total outlet flow against the maximum the point of connection can supply, which is exactly the number you need before finalizing zone count.
- Find your point-of-connection GPM and PSI by checking your water meter size or running a bucket test at an outdoor spigot.
- Add up the rated GPM of every head or emitter you want on one zone.
- Compare that total to your available GPM, leaving a safety margin of about 10 to 15 percent.
- Split the area into additional zones whenever the total exceeds what your point of connection can supply.
As a rule of thumb, most residential spray zones run 4 to 8 heads, rotor zones run fewer heads over a larger area, and drip zones can carry more emitters since individual flow rates are much lower. When in doubt, split the zone. For a full walkthrough of this process, our guide to planning a residential irrigation system covers sizing and layout in more detail.
Set and program controllers: schedules and smart-controller features
Each zone runs as its own station on the controller, and each station stores its own run time, start time, and program assignment. Keeping turf, drip, and tree zones on separate programs, commonly labeled A, B, and C, lets you give each one the schedule it actually needs instead of forcing a single runtime across very different plant types.
Soak-and-cycle programming matters most on slopes or clay soil, where water runs off before it soaks in. Splitting a 20-minute rotor run into three 6 to 7 minute cycles with a 30 to 60 minute soak gap between each usually eliminates runoff without reducing total watering time.
- Set separate programs for turf, drip, and tree zones so each gets an appropriate schedule.
- Use percent adjust (water budget) to scale all run times up or down seasonally without reprogramming every zone.
- Connect a rain or soil moisture sensor input where your controller supports it.
Over 80% of water applied per zone should reach the root zone, with no more than 10% lost to excess, according to the EPA WaterSense specification for weather-based controllers. That benchmark is why WaterSense-labeled controllers require zone-specific programming and sensor interfaces rather than a single blanket schedule. Our guide to smart irrigation controllers walks through choosing and setting one up.
Troubleshooting and maintenance for irrigation zones
Run a short test cycle through every zone at least once a season and walk the yard while each one runs. A municipal irrigation readiness checklist recommends this exact approach: watch for leaks, low pressure, incorrect nozzles, and ponding, then mark problem spots for repair before they waste water for weeks unnoticed.
- Watch each head or emitter for full coverage, then mark any dry spots or overspray.
- Check for ponding or runoff, both signs of a broken pipe, a stuck valve, or an oversized nozzle for that zone’s pressure.
- Clear clogged nozzles, straighten bent heads, and replace any that have sunk below grade.
- Flush drip filters and check for leaking valves, which often show up as a soggy patch near the valve box.
Spring startup should include a slow water turn-on, a full test cycle, and a filter check on drip zones. Winterizing means shutting off the supply, draining or blowing out the lines, and insulating any exposed backflow components before freezing temperatures arrive.
Some problems aren’t fixable with a nozzle swap. Mixed emitter types on one drip line, or spray and rotor heads sharing a zone, waters unevenly no matter how you adjust the controller, and that calls for a redesign rather than a repair. Our list of common irrigation mistakes covers several of these design errors in more depth.
Quick zone checklist and sample settings
Before you touch the controller, record your point-of-connection GPM and PSI, list every zone with its head or emitter type, and flag any heads that are already misbehaving.
- Spray zones: 10 to 15 minutes, 2 to 3 times per week depending on soil and season.
- Rotor zones: 20 to 30 minutes total, split into two or three soak cycles on slopes.
- Drip zones: 30 to 60 minutes, 1 to 2 times per week, longer but less frequent than spray.
- Tree zones: 45 to 90 minutes, once every 7 to 10 days for established trees.
On your zone map, note the nozzle or emitter type, rated GPM, and the program letter (A, B, or C) assigned to each zone. That record saves time on every future adjustment.
Installer-tested tips from Divine Landscaping
Experienced irrigation crews often see recurring design issues, and the fixes are usually simple once you know what to look for. On long drip runs, pressure-compensating emitters keep flow even from the first plant to the last, which standard emitters can’t do once a line gets past 100 feet. Mixing emitter flow rates on a single line is the most common cause of patchy plant health we’re called out to fix, and it’s a quick zone-map correction once it’s spotted.
Pro Tip: Keep every emitter on a drip zone at the same GPH rating; if you need different flow rates, run a separate zone instead of mixing them on one line.
When to DIY and when to hire a contractor
Nozzle swaps, basic controller programming, and cleaning drip filters are reasonable DIY tasks for most homeowners. Point-of-connection upgrades, flow-limited systems, or a full zone redesign usually call for a contractor visit that includes a flow test, an updated zone map, and a written estimate before any work begins.
— Damian
Divine Landscaping’s irrigation services and how to request a quote
Whether you’re designing new zones or untangling a system that’s grown unbalanced over the years, we handle full-lawn irrigation installation, drip bed design, and controller setup and programming across New Hampshire and Massachusetts. Our first step on any irrigation project is always an on-site flow test paired with a custom zone map built to your property’s actual GPM and PSI, not a generic layout.

That approach avoids the most common zone mistakes we see in DIY systems: overloaded valves, mismatched emitters, and schedules that never accounted for real pressure limits. If you’d rather hand off the flow test and zone mapping entirely, our irrigation and lighting services page outlines what’s included, and for landscape architects or contractors putting together a visual zone plan for clients, Rendimension’s 3D walkthroughs are a useful resource for presenting a design before installation begins.
- Full-lawn irrigation installation, replacement, and repair
- Plant bed drip irrigation design and installation
- Controller setup, zone programming, and sensor integration
Ready to get a zone map built for your property? Request a quote and we’ll schedule an on-site flow test as the first step.
FAQ
What are zones in an irrigation system?
A zone is a group of sprinkler heads or drip emitters connected to one valve and controlled by one station on your irrigation controller. Properties are split into zones because most water supplies can’t run every head at once without losing pressure, according to Santa Rosa’s irrigation guide.
What is the 30/30 rule for irrigation?
Definitions of the “30/30 rule” vary by region and source, and it isn’t a standardized industry term. A common version refers to running zones in shorter cycles with roughly 30-minute soak gaps to prevent runoff on slopes or clay soil, similar to the soak-and-cycle approach described above.
How many sprinkler zones for 5,000 sq ft?
The right number depends on your point-of-connection flow, soil type, and the mix of spray, rotor, or drip heads you use rather than lot size alone. A property that size often needs several zones once turf, beds, and any tree watering are separated by water need, so a flow calculation at your specific connection is the only reliable way to size it.
How do I know how many irrigation zones I have?
Turn your controller to manual or test mode and run each station one at a time while you walk the yard to see which heads activate. Count each distinct station, then update your zone map with the head type and location for each one you find.
Sources
- WaterSense® Specification for Weather-Based Irrigation Controllers
- When it comes to irrigation, consider hydrozoning | UC Master Gardener Program of Sonoma County
- Understanding Your Irrigation System | Santa Rosa, CA
- Ready. Set. Get Your Yard Ready! — Frisco irrigation checklist (municipal guide)