
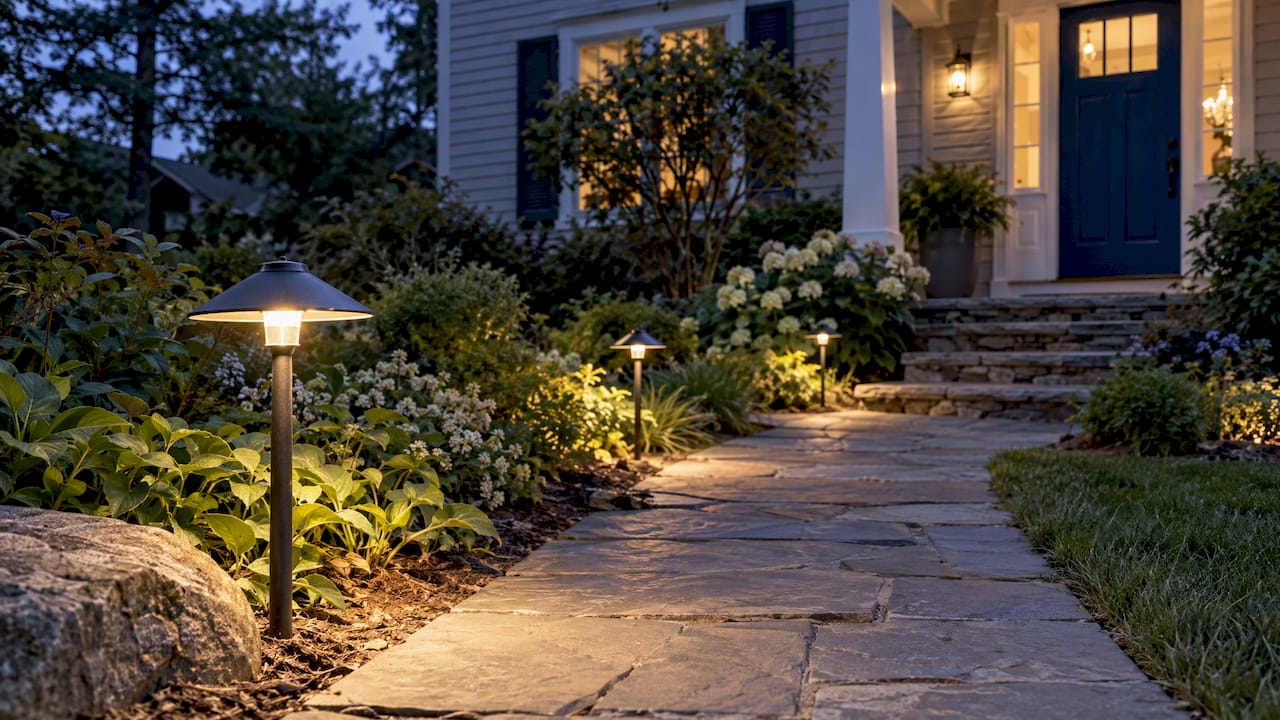
Landscape lighting needs a short check once or twice a year, plus a look after storms, planting, irrigation work or any change to your hardscape. In New Hampshire, frost, snow, mulch and fast-growing plants do most of the damage, so the work is mostly cleaning lenses, re-aiming fixtures, tightening connections and replacing lamps that have failed. This guide gives you a seasonal routine, a symptom-by-symptom troubleshooting table, and clear limits on what to leave to a licensed electrician.
TL;DR
- Walk your property once or twice a year, and again after storms, landscaping or irrigation work, to find dark lamps, dirty lenses and fixtures that have drifted off target.
- Clean with a soft cloth and mild soap and water. Skip ammonia, alcohol, abrasive pads and household glass cleaner, which can damage the finish.
- Freeze-thaw cycles push path lights out of true and plants grow into beams, so spring is your main reset.
- Most “dead zone” problems come from a tripped GFI or breaker, a loose connection, voltage drop or a failed lamp, in that order of ease to check.
- Anything inside the transformer’s high-voltage side belongs to a licensed electrician.
Table of Contents
- Why lighting systems drift out of shape
- How often to inspect your lighting
- Cleaning landscape lights without damaging them
- Re-aiming and resetting fixtures
- Seasonal care in New Hampshire
- Troubleshooting: why landscape lights stop working, flicker or look dim
- What is safe to do yourself, and when to call a professional
- When maintenance points to a redesign
- Our perspective
- Let us look after your lighting
- Frequently asked questions
- Sources
Why lighting systems drift out of shape
A well-installed system looks right on day one. Then a year passes. Shrubs fill in, mulch gets topped up and covers a lens, a lawn crew nudges a path light, and a hard winter heaves a fixture a few degrees off vertical. None of it is dramatic, but together it turns a soft, even glow into a patchy one.
Manufacturers describe the same pattern. Kichler’s maintenance guidance says that freeze-thaw conditions can make path and spread lights prone to heaving, and that lawn crews or children can move them. That is a good description of a New Hampshire yard in April.
The good news is that the work is light and predictable. If you spend an hour in spring and another in fall, most systems stay in good shape for years.
How often to inspect your lighting
There is no single interval that fits every property. Kichler suggests walking the property once or twice a year to look for lamps that are out, dirty fixtures and fixtures that need realigning. Its care FAQ adds that lamps should be changed at least once a year, and twice a year on heavy-use systems, while integrated LED fixtures do not need lamp replacement.
That gives you a baseline. Then add event-based checks, because a calendar does not know when a storm came through. Take an extra look after:
- A major storm, heavy snow melt or flooding.
- Planting, mulching or pruning near a fixture.
- Irrigation repairs or new sprinkler heads, which often mean trenching near low-voltage cable.
- Patio, walkway or wall work that changes grade or buries a fixture.
- Any light that looks dim, dark, flickers or points the wrong way.
A simple yearly rhythm for New Hampshire
| When | What to do | Time for an average yard |
|---|---|---|
| Early spring, after frost is out | Re-set heaved fixtures, clear mulch and debris, clean lenses, check for chewed or exposed cable, replace dead lamps | 1 to 2 hours |
| Late spring, after plants leaf out | Re-aim fixtures blocked by growth, trim back foliage in front of lenses | 30 to 60 minutes |
| Early fall | Clean again, check connections, test timer and photocell settings for shorter days | 1 hour |
| Before the ground freezes | Pull leaves and debris off fixtures, mark path lights where snow plows or shovels travel | 30 minutes |
| After any storm or yard project | Spot check for dark fixtures, tripped GFI or breaker | 10 minutes |
These times are our rule of thumb for a typical residential system, not a standard. A property with dozens of fixtures and long cable runs takes longer.
Cleaning landscape lights without damaging them
Cleaning is the cheapest way to get brightness back. Dust, pollen, hard-water spray from irrigation and mud splash all cut light output, and you rarely notice it because the change is gradual.
What to use and what to avoid
Kichler’s care guidance says to avoid abrasive cloths and cleaners, products with ammonia or alcohol, and household window or glass cleaners, because they can damage the fixture coating. Stick with a soft cloth, a soft brush for crevices, and mild soap and water.
A cleaning routine that works
- Turn the system off at the timer or transformer and let the fixtures cool. Hot glass and cold water do not mix.
- Clear debris first. Remove leaves, pine needles, grass clippings and mulch from the lens, the lamp and the fixture body. Kichler’s safety instructions call for clearing this debris from the bulb, lens or fixture body, partly because buildup traps heat.
- Wipe the lens and housing with a damp soft cloth. Work the brush around louvers and hoods where insects nest.
- Look inside the lens. Fog or water droplets mean moisture has gotten past a gasket. Note the fixture and plan to reseat or replace the seal or the fixture.
- Dry everything thoroughly. Kichler recommends drying fixtures and glass and using a corrosion-preventative compound on metal sockets or components.
- Check the lamp and replace it if it is dark, discolored or flickering. Match the wattage or LED rating the fixture is built for.
If you have hard water from a well, expect white mineral crust on lenses near sprinkler spray. A damp cloth with mild soap usually handles light film. For heavier buildup, work gently and test a hidden spot first, because a harsh fix can cost you the finish.
Re-aiming and resetting fixtures
Cleaning gets the light out. Aiming decides where it lands.
Kichler advises adjusting fixtures from the base rather than by the head or stem, and notes that growing plants may require repositioning or re-aiming. Twisting a fixture by its neck is how stems crack and wires pull loose.
Here is how we suggest approaching the job:
- Go at dusk. You cannot judge aim in daylight. Bring a flashlight, a hand trowel and a helper if possible.
- Fix vertical first. Straighten any path light that has heaved or leaned. Loosen the soil around the stake, set it plumb and firm the ground back in.
- Then aim. Uplights on trees and walls should graze the surface you want to highlight, not shine into windows or your neighbor’s yard. Our guide to tree uplighting with 2700 to 3000K LEDs covers why test placement matters before you settle on a final position.
- Check spacing. If a gap has opened because a fixture was removed or moved, compare it to the layout you started with. Our notes on path light spacing at home explain a 6 to 8 foot starting point.
- Cut back growth. A plant that blocks a lens will cook it or dim it. Trim the plant, not the fixture’s position, when you can.
Because path lights, walkway lights and driveway lights sit in places people and equipment touch, they move most. If you keep resetting the same ones, look at why. A light at a turning point where a mower swings wide may want a different position, and our driveway lighting ideas show layouts that protect fixtures from vehicles and plows.
Seasonal care in New Hampshire
Spring: the big reset
Spring is when the winter’s damage shows. As frost leaves the ground, check each fixture for heaving, leaning and exposed cable. Rake out winter debris and any compacted mulch from the base of each fixture. Replace failed lamps and run the whole system at dusk, walking the property to see what is dark.
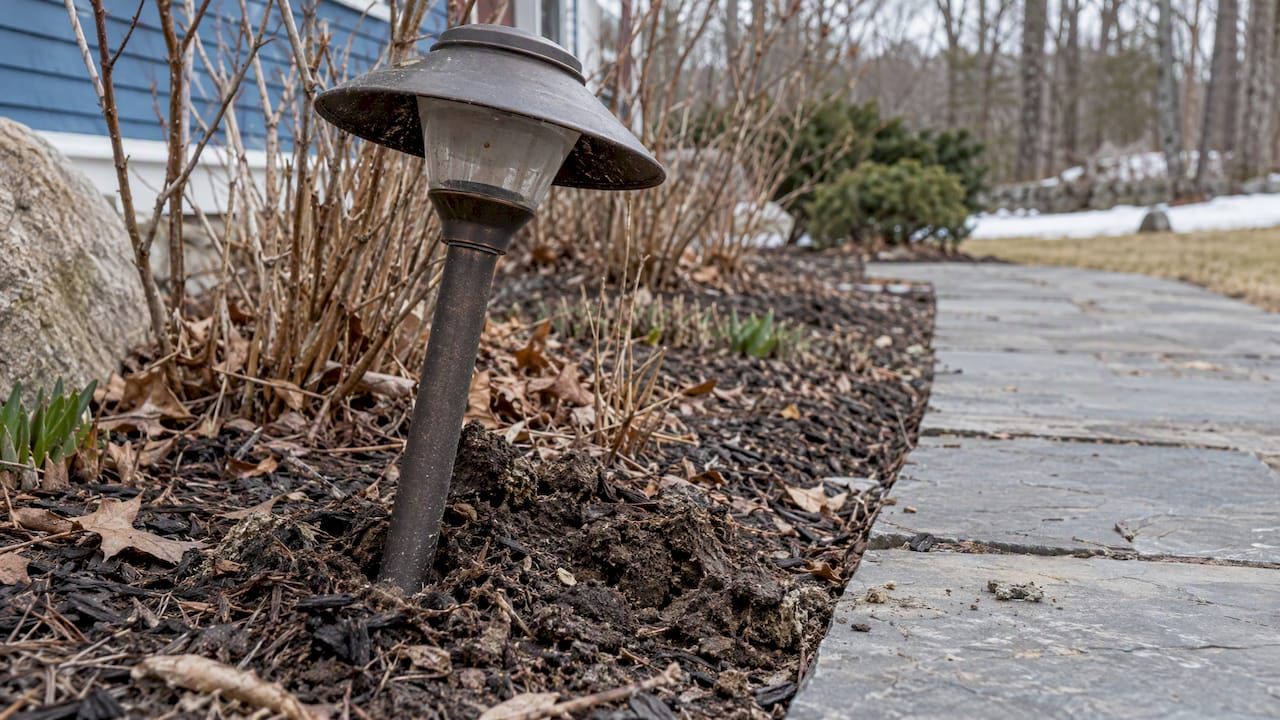
If you spot a fixture that looks lower than it should, mulch may have buried it. Pull the mulch back from the lens so light is not blocked and heat can escape.
Summer: growth and water
Plants do their growing now, and irrigation runs on a schedule. Re-aim lights that plants have started to block. Check that sprinkler spray is not hitting lenses every cycle, which leaves mineral spots and can push moisture past seals. If you are adding irrigation or changing zones, see our guides on irrigation zones and common irrigation system mistakes. Trenching in the wrong place is a leading way low-voltage cable gets cut.
Fall: prepare for darkness and leaves
Days shorten, so your lights run longer. This is the time to confirm your timer or photocell settings and to clean fixtures once more. Leaves collect on fixtures and can smother a lens. Clear them before they pack down under snow.
Adjust timer settings for the new sunset time and think about how much of the night you really need lit. Our partners in electrical work describe outdoor lighting control systems that handle dusk-to-dawn scheduling, which can save you the seasonal fuss of resetting timers by hand.
Winter: observe and protect
You will not do much hands-on work with the ground frozen, but you can still look. Mark path lights along walkways with a stake or flag if you plow or shovel near them, and keep snow blowers away from cable runs. If a light is out in January, check the GFI outlet and breaker first, since cold and moisture trip them more easily. Leave anything that needs digging until the ground thaws.
Troubleshooting: why landscape lights stop working, flicker or look dim
Kichler’s troubleshooting guidance lists the usual suspects: tripped GFI switches or breakers, amperage overload, voltage drop, loose connections or failed lamps. Start with the easiest checks and move to the harder ones.
| What you see | Likely cause | What to check first |
|---|---|---|
| Entire system is dark | Tripped GFI outlet or breaker, timer or photocell fault, transformer issue | Reset the GFI and breaker once, check the timer setting, and confirm the transformer has power |
| One fixture is out | Failed lamp or loose connection at that fixture | Swap in a known good lamp, then check the connector |
| Lights at the far end of a run are dim | Voltage drop over a long cable run, or too many fixtures on one run | Compare brightness along the run; a pro can measure voltage at the last fixture |
| Lights flicker | Loose or corroded connection, failing lamp | Reseat the lamp and inspect connectors for green or black corrosion |
| Fixtures go out only after rain or irrigation | Moisture in a lens or splice | Look for fogging or droplets inside the lens; check where cable splices sit |
| Several fixtures out in one area | Cut or chewed cable, or a damaged splice | Walk the cable route and look for disturbed soil from digging or from animals |
| Breaker trips again right after reset | Short circuit or overload | Stop. Leave the system off and call a licensed electrician |
In our experience the same few patterns come up again and again: moisture inside lenses, connections that have corroded, and cable that animals have chewed. If you find one, replace the damaged part rather than taping over it. Tape fails, and the problem returns after the next thaw.
A quick order of operations
- Confirm the power source: outlet, GFI, breaker and timer.
- Check the transformer’s output side and its connections.
- Walk the cable route for damage or disturbed soil.
- Test the dark fixture with a known good lamp.
- Inspect connectors and splices for corrosion or moisture.
- If lights are dim at the end of a run, think voltage drop, not lamp failure.
A pattern helps here. If everything is dead, look at the source. If one fixture is dead, look at the fixture. If a section is dead, look at the cable between the last working light and the first dead one.
What is safe to do yourself, and when to call a professional
Most homeowners can clean, re-aim, clear debris and swap lamps. Kichler’s safety instructions call for disconnecting power before installation work, and the same habit applies to any hands-on work on a fixture: turn it off first.
Call a licensed electrician if:
- Your breaker keeps tripping after you reset it.
- You see scorched, melted or discolored parts at the transformer or outlet.
- The problem is on the high-voltage primary side of the transformer, or in the house wiring that feeds it.
- You need a new outlet, a new circuit or a GFI replacement.
- You are not sure what you are looking at.
The same manufacturer documentation states that the fixture is intended for installation in accordance with the National Electric Code and local code specifications. Work on the line side of the transformer is electrical work, and in New Hampshire that means hiring a licensed electrician.
For problems on the landscape side, meaning buried cable, moved fixtures, drainage that floods a fixture, or layouts that no longer match how you use the yard, a landscape contractor who installs lighting can help. That is where we come in.
When maintenance points to a redesign
Sometimes repeated maintenance is a sign that the design is working against you. Consider a redesign if:
- The same fixtures keep flooding or failing in a low spot. This is often a grade or drainage problem. Our article on patio drainage fixes covers contractor-backed solutions.
- Plants have outgrown the original plan and fixtures are now buried in foliage.
- You have added a patio, deck or wall and the lighting no longer matches the space. Our deck lighting ideas and homeowner’s guide to low-voltage landscape lighting are useful starting points.
- Your system uses older halogen lamps and you want to move to LED fixtures that do not need regular lamp changes.
- You run a business and your lighting has become a safety or liability concern. See our notes on commercial landscape lighting design.
A new design does not need to mean a rebuild. Often a few repositioned fixtures, a new run of cable and updated lamps bring the whole system back.
Our perspective
We build and care for outdoor spaces across New Hampshire, and we see the same thing on service calls: lighting rarely fails all at once. It fades. A homeowner tells us the yard “just doesn’t look the way it did,” and when we walk it, the cause is a dozen small things: lenses with a year of film on them, a path light leaning after the spring thaw, a shrub that grew into a beam.
Our view is that lighting should be treated like the rest of your landscape: planned, then looked after on a schedule. When we design a system, we think about where fixtures will sit in relation to plant growth, snow storage, mowing lines and irrigation, because those are what move and bury lights later. A fixture placed where the plow turns is a fixture you will reset every spring.
We would rather you spend an hour each spring and fall than call us in a panic. Do the cleaning and re-aiming yourself if you like. Bring us in when the cause is below grade, in the layout, or in how the yard has changed since the system went in. Good materials and a tidy installation make maintenance easy, and that is how we build.
— Damian
Let us look after your lighting
If your system is dim, patchy or no longer fits your yard, our team designs, installs and repairs landscape lighting, including path, perimeter and safety lighting, alongside irrigation. We can walk your property, tell you what needs a simple reset and what needs rework, and plan changes around your patio, walkways and plantings. See our irrigation and lighting services or get in touch to schedule a consultation.

We do not publish prices for lighting work, because it depends on the size of the property, the number of fixtures and the condition of existing wiring. We will walk you through the scope after we see the site.
Frequently asked questions
How often should landscape lights be serviced?
Walk your property once or twice a year, and again after storms, planting, irrigation work or hardscape changes. Clean lenses, check aim and replace failed lamps during each visit. Lamp-based fixtures may need new lamps at least yearly, while integrated LED fixtures typically do not need lamp changes.
Can I use window cleaner on my landscape lights?
No. Manufacturers warn against ammonia, alcohol, abrasive pads and household glass cleaners because they can damage the fixture coating. Use a soft cloth with mild soap and water, then dry the fixture and glass thoroughly.
Why do my landscape lights flicker?
The usual causes are a loose or corroded connection, a lamp that is failing, or voltage drop on a long run. Turn the system off, reseat the lamp and check the connectors for green or black corrosion. If the flicker continues or the breaker trips, call a licensed electrician.
Why did my path lights lean after winter?
Freeze-thaw cycles heave the soil around stakes, and lawn equipment or people can nudge fixtures. Reset each one plumb, firm the soil around the stake and adjust from the base rather than the head. If the same lights keep moving, the spot may need a different position or a more stable mount.
Should I hire someone for landscape lighting maintenance?
You can handle cleaning, re-aiming and lamp swaps yourself. Hire a professional for buried cable damage, repeated outages, redesigns and anything involving the transformer’s high-voltage side, which needs a licensed electrician.
Sources
- Landscape Maintenance, Kichler Lighting
- Installation and Care FAQs, Kichler Lighting
- Troubleshooting a Landscape Lighting System, Kichler Lighting
- Safety Instructions, Kichler Lighting
- Outdoor Lighting Installation and Control Systems